In previous articles, I showed how to use Azure Media Services (AMS) to work with video that you upload. In this article, I will show how to broadcast a live event using AMS.
Before you get started, you will need some streaming software. For the demo in this article, I used Wirecast from Telestream. Telestream offers a free version, which is good for learning and demos but not for production, as it places a watermark on all streaming videos.
You will need to create an Azure Media Services account, as described in this article.
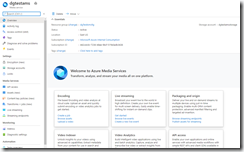
After the Media Service is created, navigate to the Azure Portal and to your Azure Media Services account, as shown in Fig. 1.
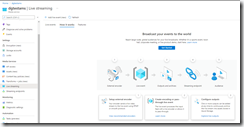
Then, select "Live streaming" from the left menu to open the "Live streaming" blade, as shown in Fig. 2.
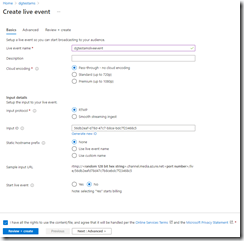
Click the [Add live event] button (Fig. 3) to open the "Create live event dialog", as shown in Fig. 4.
At the "Live event name" field, enter a name for your event.
You may optionally enter a description and change the Encoding, Input protocol, Input ID, or Static hostname prefix.
Check the "I have all the rights..." checkbox to indicate you are not streaming content owned by anyone other than yourself.
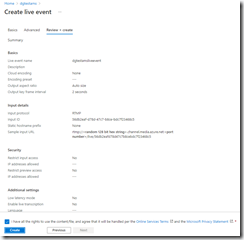
Click the [Review + create] button to display the summary page, as shown in Fig. 5.
If any validation errors display, return to the "Basics" page, and correct them.
Click the [Create] button to create the live event.
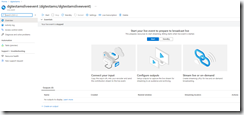
When the event is created, you will return to the "Live streaming" blade with your event listed, as shown in Fig. 6.
Click the event name link to display the event details, as shown in Fig. 7.
Click the [Start] button (Fig. 8) and click [Start] on the confirmation popup (Fig. 9) to start the event.
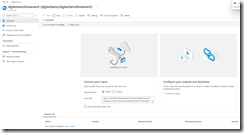
When the event is started, the event details page will show information about the input, as shown in Fig. 10.
The "Input URL" textbox (Fig 11) displays a URL that you will need in your streaming software. Copy this URL and save it somewhere. You will need it in your streaming software.
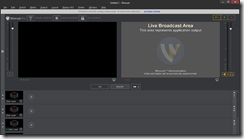
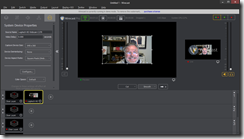
For the next part, you will need some streaming software. I used Wirecast from Telestream. The user interface of the free demo version is shown in Fig. 12.
The following steps are specific to Wirecast, but other streaming software will have similar steps.
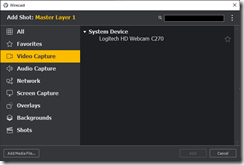
Click the [+] button on the first layer (Fig. 13) to open the "Add Shot" dialog, as shown in Fig. 14.
I chose to share the image captured by my webcam, but you can share screen captures or videos, if you like. The image you are capturing will be set as a "preview". Make this same layer broadcast live by clicking the "Live" button (Fig. 15).
Now, configure your streaming software to send its live video to your AMS Live Streaming event. Select Output | Output Settings... from the menu to open the Output dialog, as shown in Fig. 16.
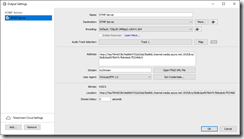
Select "RTMP Server" from the "Destination" dropdown and click the [OK] button to open the "Output settings" dialog, as shown in Fig. 17.
In the "Address" text box, paste the Input URL that you copied from the AMS Live Stream event. Click the [OK] button to close the dialog.
Your UI should look similar to the following.
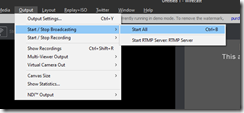
To begin streaming, select Output | Start / Stop Broadcasting | Start All from the menu, as shown in Fig. 18.
Your UI should look similar to Fig. 19.
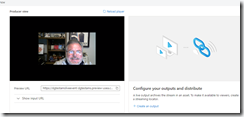
Return to the Azure Media Services live event. You should see a preview of what you are broadcasting from your streaming software, as shown in Fig. 20. Refresh the page if you do not see it. There may be a few seconds delay between what is captured and what is displayed.
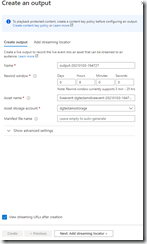
Click the [+ Create an output] button (Fig. 21) to open the "Create an output" dialog with the "Create output" tab selected, as shown in Fig. 22.
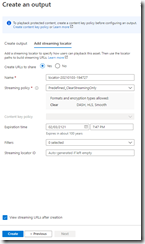
Verify the information on this tab; then, click the [Next: Add streaming locator] button to advance to the "Add streaming locator" tab, as shown in Fig. 23.
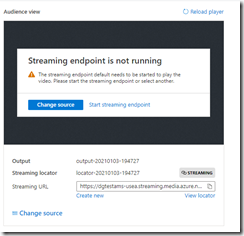
Verify the information on this tab; then, click the [Create] button to create a streaming locator and endpoint. You will return to the live event blades, as shown in Fig. 24.
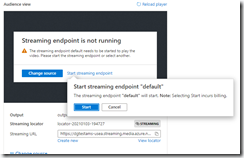
Click the [Start streaming endpoint] button, then click the confirmation [Start] button, as shown in Fig. 25.
After the streaming endpoint is started, copy the "Streaming URL" textbox contents (Fig. 26). You will need this to create an output page for viewers to watch your live event.
Create and launch a web page with the HTML in Listing 1.
Listing 1:
lang="en">
</span>Azure Media Services Demo<span style="color: rgb(0, 119, 0);">
href="https://amp.azure.net/libs/amp/2.3.6/skins/amp-default/azuremediaplayer.min.css" rel="stylesheet">
Video
id="vid1" class="azuremediaplayer amp-default-skin" autoplay controls width="640" height="400" data-setup='{"nativeControlsForTouch": false}'>
src="STREAMING_URL"
type="application/vnd.ms-sstr+xml" />
