Microsoft Power Automate (formerly Microsoft Flow) is a tool that allows people to design and build workflows without writing code.
It ships with a workflow engine and a designer. The design work is done in the browser.
To make it easier to get started PA includes hundreds of templates - workflows to accomplish common tasks.
You can get started quickly by selecting one of these templates.
Navigate to flow.microsoft.com and sign in.
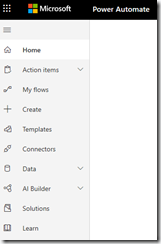
A workflow in Power Automate is known as a "flow". From the left side menu (Fig. 1), select "My flows".
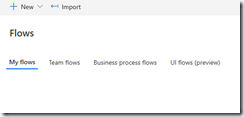
This will list all flows that you have created so far. If you haven't yet created any, the list will be empty, as shown in Fig. 2.
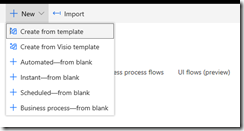
To get started creating a new flow, click the [+New] button above this list. A dropdown menu displays, as shown in Fig. 3.
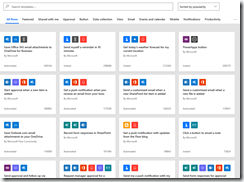
Select "Create from Template". A list of available templates displays, as shown in Fig. 4.
You can use the "Search templates" box to search for a template by its name or description or you can click the [See More Templates] button (Fig. 5) at the bottom of the list to display another page of available templates.
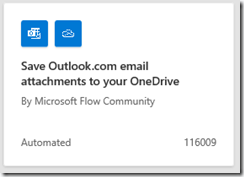
One simple template allows you to save email attachments to a OneDrive folder. To get started, click the [Save Outlook.com email attachments to your OneDrive] card, as shown in Fig. 6.
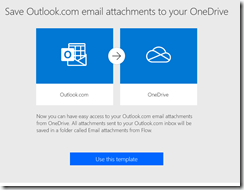
A summary page for this template displays, as shown in Fig. 7.
Click the [Use this template] button. The connectors used by this template will display, as shown in Fig. 8.
You will need to configure these 2 connectors to specify and authenticate against your specific email account and OneDrive account.
When, you have finished configuring these, click the [Continue] button.
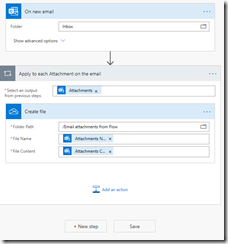
A new flow is created based on this template. The Flow Designer for this flow displays, as shown in Fig. 9.
This workflow consists of 2 steps: One Trigger and one Action.
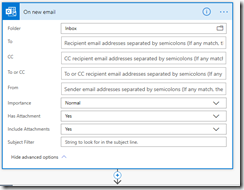
The Trigger ("On new email", in this case), specifies what must happen in order to run this flow. For this flow, it is the receipt of an email. The connector configured above specified the email account, but there are more options. For example, by default, we only look at messages in the Inbox, but we can check a different folder if we only want to consider emails routed to a specific Outlook folder.
Click the "Show advanced options" link to display advanced options (Fig. 10).
Here, you can filter the trigger, so it is only activated by messages to and/or from certain parties or with a specific word or words in the subject.
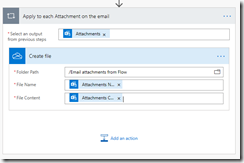
Look at the first action in this flow with the title "Apply to each attachment on the email". (Fig. 11)
Notice that it contains another action. This is a type of "Control" action, known as an "Apply to each control" and it works similarly to a LOOP or FOREACH construct in a programming language. It will exit all contained actions for every email attachment that the trigger finds.
The contained action is a "Create file" action. So, it will create a file in your Dropbox folder for every email attachment that arrives in your inbox. You have the option to modify the name and contents of the file created, but the default behavior is to use the name and contents of the attached file.
You can add more actions to this flow if you like. To add an action inside the control, click the [Add an action] button (Fig. 12) at the bottom of the control.
To add an action after the control, click the [New Step] button (Fig. 13) below the control.
To add an action between actions or before all actions, hover your mouse over the arrow connector and click the [+] button (Fig. 14) that appears.
You can save the flow by clicking either the [Save] button at the bottom (Fig. 15) or in the top right toolbar (Fig. 16).
Now your flow is ready to test, which I will cover in the next article.
In this article, I showed how to create a new flow based on a template in Microsoft Power Automate.
