What is MinIO?
MinIO is an object storage system, similar to Amazon S3 or Azure Blob storage. It is built on top of Docker containers, which makes it easy to scale.
Because MinIO runs in a Docker container, it requires the installation of Docker.
You can either install the Docker engine here or install Docker Desktop at one of the following links:
Starting a MinIO Server
Once Docker is installed, use the following command to start a MinIO server:
docker run -p 9000:9000 -e "MINIO_ACCESS_KEY=myAccessKey" -e "MINIO_SECRET_KEY=mySecretKey" minio/minio server /data
You can replace myAccessKey and mySecretKey with just about any string you like. These will be used to log into the MinIO server. Write down these values and keep them in a safe place! You will need them in order to access your server.
After you run the above command, you can access the server's UI by opening a web browser and navigating to
http://127.0.0.1:9000/
(NOTE: Of course, you may choose to run your server on a different port than 9000. If so, modify the “Docker” command above.)
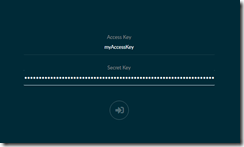
You will be prompted to log in, as shown in Fig. 1
Enter the access key and secret key you selected in the Docker command above.
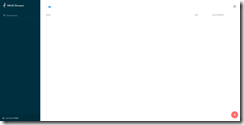
After successfully logging in, you will see the MinIO user interface, as shown in Fig. 2.
MinIO organizes objects into buckets, which are analogous to folders in a file system or containers in Azure blob storage. To create a new bucket, click the [+] icon (Fig. 3) in the lower right of the screen.
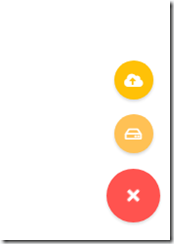
A popup menu will display, as shown in Fig. 4.
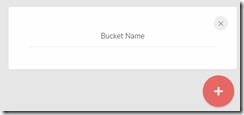
Click the [Create Bucket] icon (Fig. 5) to display the "New Bucket" dialog, as shown in Fig. 6.
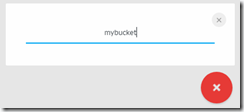
In the "New Bucket" dialog, enter a name for your bucket, as shown in Fig. 7. This name must be unique within this MinIO server, must be at least 3 characters long and may consist only of numbers, periods, hyphens, and lower-case letters.
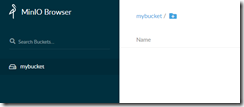
Press ENTER to create the bucket. The Bucket will now be listed along the left side, as shown in Fig. 8.
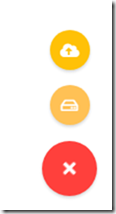
You can add files to this bucket by again clicking the lower-left [+] icon to display the popup menu shown in Fig. 9.
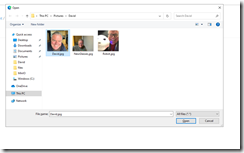
Click the "Upload File" icon (Fig. 10) to open a File Selection dialog, as shown in Fig. 11.
Navigate to and select a file on your local drive and click the [Open] button. The file will be listed within the bucket, as shown in Fig. 12.
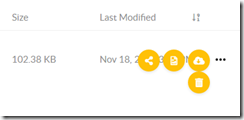
You can click the […] at the right of the file listing row to expand a menu with options to share, preview, download, or delete the file from MinIO, as shown in Fig. 13
In this article, I introduced MinIO Server and showed the basics of getting started and using this object storage tool.
