Overview
Java is a popular language for developing applications on a variety of platforms. In order to create applications, you must first install Java on your machine or virtual machine. This article will walk you through the steps to install Java on Windows 10 or 11.
Is Java Already Installed?
You can test whether Java is currently by opening a command prompt, typing "java -version", and pressing ENTER.
If Java is installed, information about the current Java version will display. If Java is not installed, you will see a message similar to the following:
'java' is not recognized as an internal or external command, operable program or batch file.
A Note About Versions
You can choose from a number of available versions of Java. Generally, I recommend installing the latest Long Term Support ("LTS") version of Java. You may want to install a more recent non-LTS version of Java if you require a feature that is only available in that version. Also, the application on which you are working may require a specific version of Java.
As of this writing, Java 18 is the most recent version of Java, but it is not LTS. The available LTS versions are Java 8, 11, and 17.
This article describes the current LTS versions of Java.
Download the installation Executable
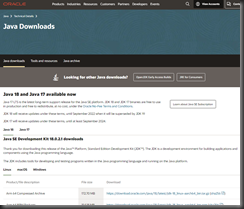
To download the installation files, navigate to https://www.oracle.com/java/technologies/downloads/. This page is shown in Fig. 1.
In the center of the page are tabs for "Java 18" and "Java 17", as shown in Fig. 2.
Currently, Java 18 is selected, so I will select "Java 17" because I want the LTS version. The "Java 17" tab is shown in Fig. 3.
Lower on the page are tabs for different operating systems (Linux, macOS, and Windows), as shown in Fig. 4.
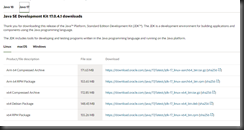
Currently, Linux is selected; but I want to install this on Windows, so I will click the Windows tab. The Windows tab is shown in Fig. 5.
NOTE: As of this writing, you navigate directly to the Java 17 Windows tab with the following URL: https://www.oracle.com/java/technologies/downloads/#jdk17-windows
The tab lists the available downloads relevant to Windows developers for Java 17.
Click jdk-17_windows-x64_bin.exe to begin downloading it.
Install It!
When the exe file finishes downloading, click the file to launch the install wizard.
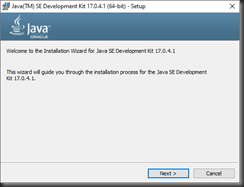
The Installation Wizard displays, as shown in Fig. 6.
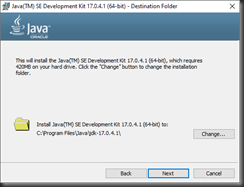
Click the [Next>] button to advance to the next page of the Wizard, as shown in Fig. 7.
If desired, click the [Change…] button to change the folder in which Java is installed. Usually, there is no reason for doing this.
Click the [Next] button to begin installing Java.
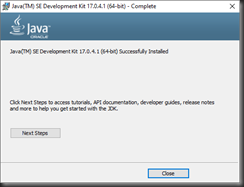
When installation completes, a confirmation dialog displays, as shown in Fig. 8.
Click the [Close] button to close the Installation Wizard.
Verify Installation
After installing Java, it is a good idea to verify that it was installed correctly. The simplest way to do this is to open a command prompt, type "java -version", and press ENTER.
If Java is installed, information about the current Java version will display. If Java is not installed, you will see a message similar to the following:
'java' is not recognized as an internal or external command, operable program or batch file.
Note that you must open this command prompt after installing Java. If you opened the prompt before installation, it will not know that Java is installed.
Conclusion
In this article, I showed you how to install the latest LTS version of Java on your Windows machine.
