Sometimes, I like to build fancy automations in Microsoft PowerPoint.
PowerPoint provides a simple way to animate objects on a slide. The steps are:
Select an object,
choose an animation
Set properties (e.g. timing) of that object
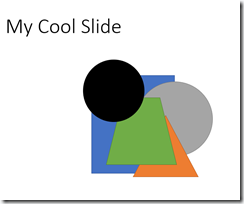
When a slide has a complex animations, you can end up with a lot of objects to manage. Sometimes those objects are stacked on top of one another, as shown in Fig. 1.
This makes it difficult to select the desired object. Further, if some shapes look alike, it's difficult to know which one to select.
PowerPoint provides a feature to help with this: The Selection Pane.
It's a good bet you've never used the Selection Pane, because it is not obvious where to find it.
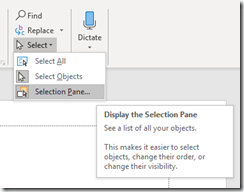
To show this pane, select the Home ribbon (Fig. 2); then, select Select | Selection Pane, as shown in Fig. 3.
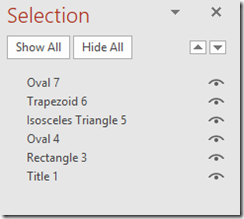
The Selection Pane displays, as shown in Fig. 4.
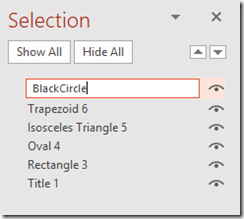
Each object on the current slide is listed. Notice that it each item is given a generic name, based on the type of shape.
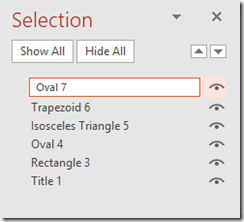
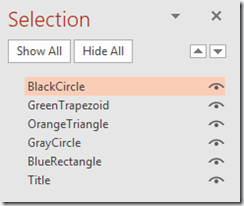
You can rename any shape by double-clicking the shape name in the Selection Pane, typing in a new name, and pressing ENTER, as shown in Fig. 5 and Fig. 6.
Fig. 7 shows all the objects with more meaningful names. When I'm working with a complex slide, I like to rename each object to something to easily identify it.
Clicking the icon to the right of each object name allows you to toggle the visibility of that object. Hiding objects on top of and around an object can make it much easier to select and work on a given object. Fig. 8 shows the slide with every object hidden except the 2 circles.
When you are finished working on objects, click the icon(s) again to reveal the hidden objects.
The PowerPoint Selection Pane is a little-used feature that can make it much easier to work with animations and complex slides in PowerPoint.
