Overview
Microsoft Azure Spring Apps (ASA) offers a simple, reliable, and scalable way to host your Java Spring applications. ASA frees you from managing the hardware, networking, infrastructure, and containers on which your application is running. All of those things are handled by the platform. ASA also provides simple deployment mechanisms for your code.
In a previous article, I showed how to create an Azure Spring App Service. A service can host many Apps.
Creating an Azure Spring App
To add an Azure Spring App to an Azure Spring App Service, log into the Azure portal and navigate to your Azure Spring App Service "Overview" tab, as shown in Fig. 1.
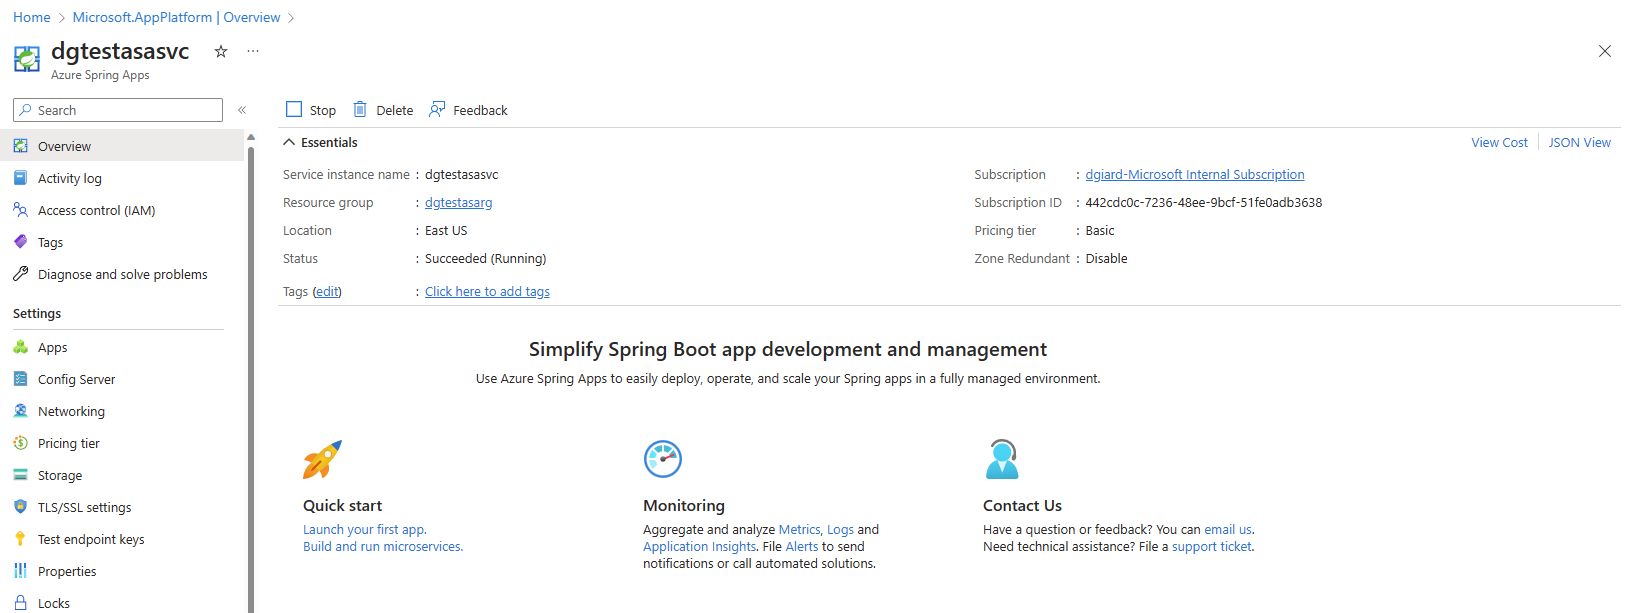
Fig. 1
Click the [Apps] button (Fig. 2) to open the "Apps" blade, as shown in Fig. 3.

Fig. 2
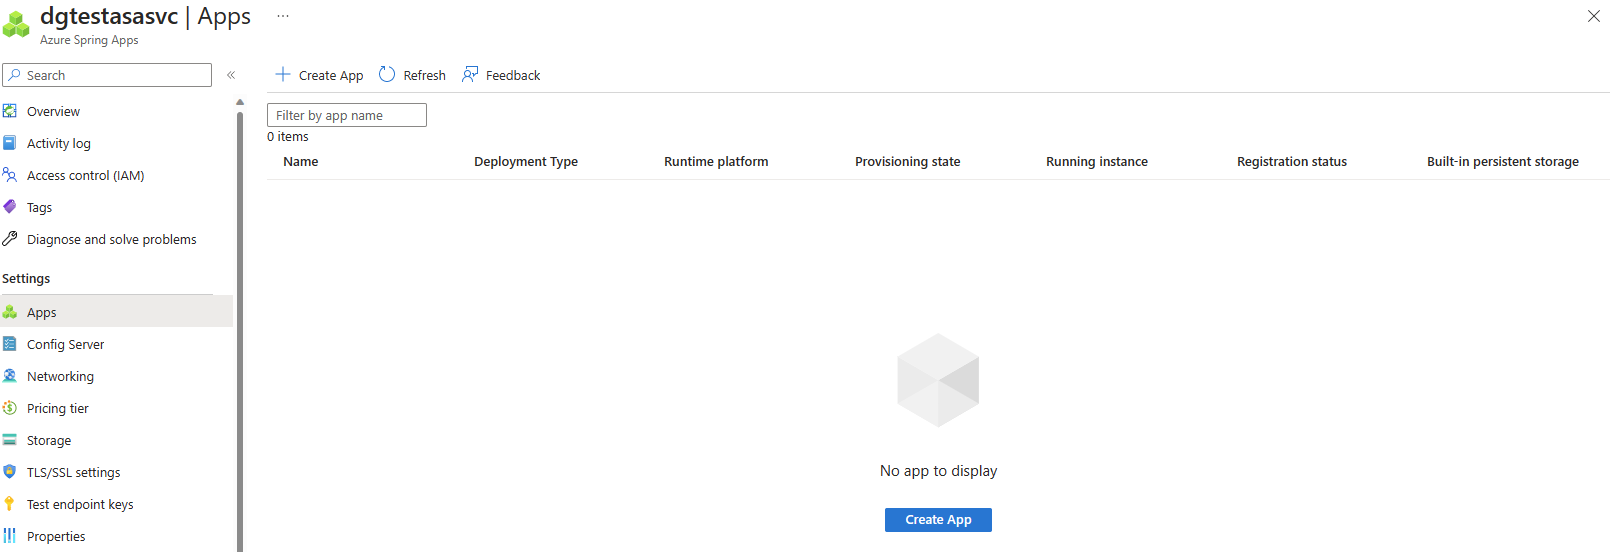
Fig. 3
Click the [Create App] button (Fig. 4) to open the "Create App" dialog, as shown in Fig. 5.

Fig. 4
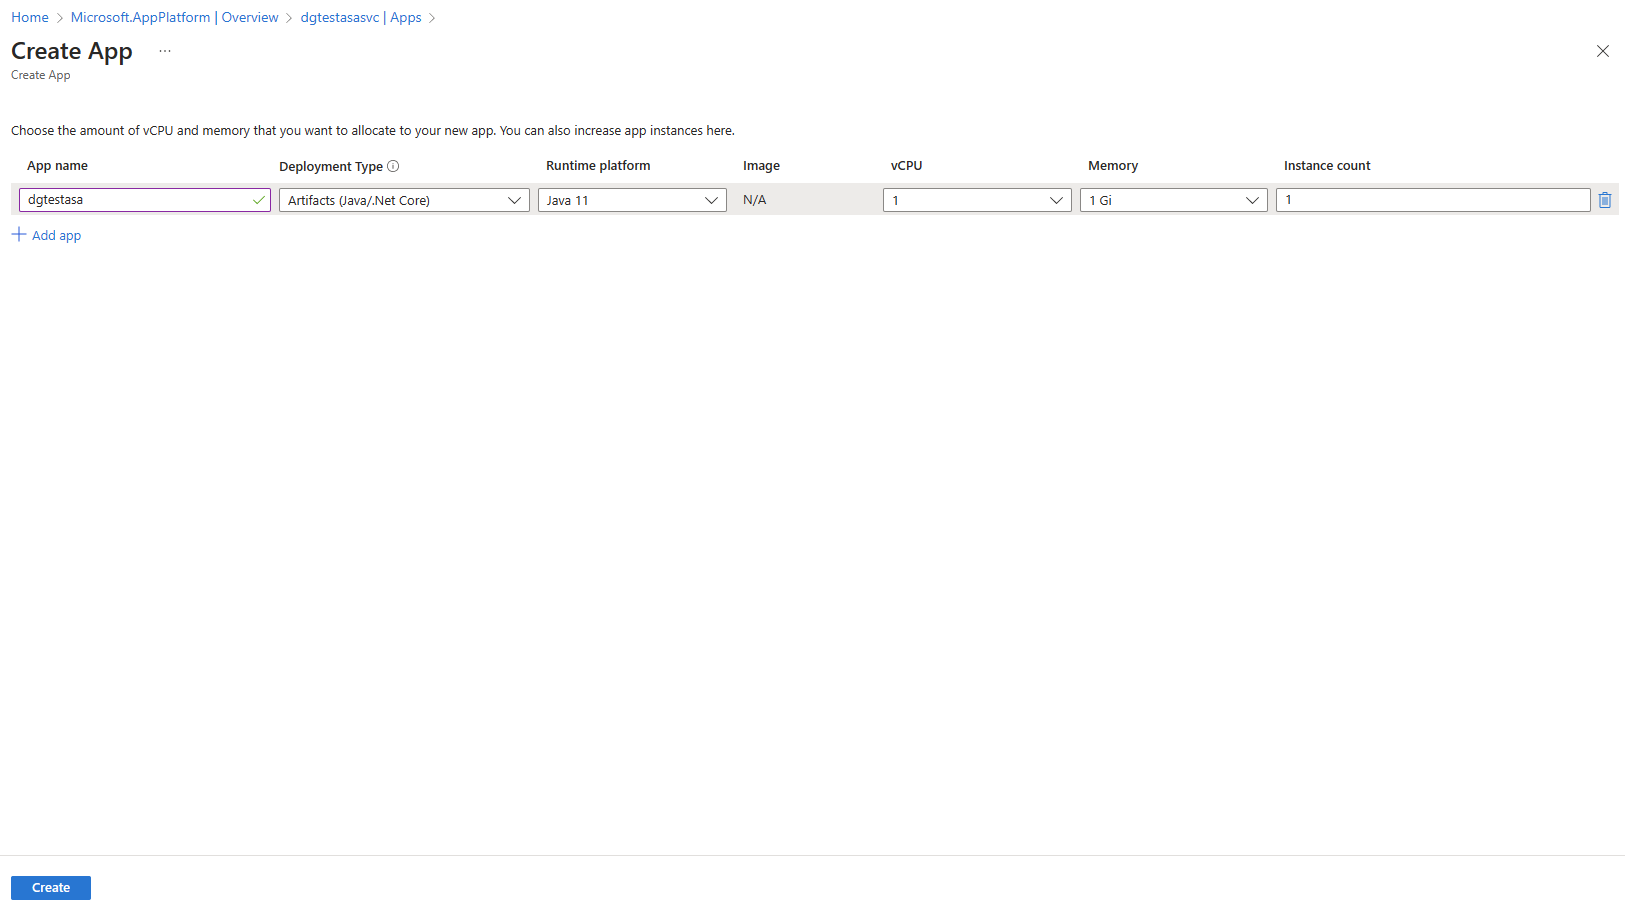
Fig. 5
A new empty row displays.
At the "App name" field, enter a name for your Azure Spring App. The name must be unique within this Azure Spring App Service.
At the "Deployment Type" dropdown, select "Artifacts" if you plan to deploy a JAR file; or select "Custom Container" if you plan to deploy from a container image.
At the "Runtime platform" dropdown, select the version of Java on which your app runs.
At the "vCPU" dropdown, select the fraction of virtual CPU to allocate to this app: 1 or 0.5.
At the "Memory" dropdown, select the amount of memory to allocate to this app.
At the "Instance count" field, enter the number of instances of the app you want to deploy.
Click the [Create] button to begin creating a new Azure Spring App with sample application code deployed.
After the App is created, it should be listed in the "Apps" blade, as shown in Fig. 6.

Fig. 6
Click the [Refresh] button if you do not see the App listed.
Click the App name to view details about the Azure Spring App. The App's "Overview" blade displays, as shown in Fig. 7.
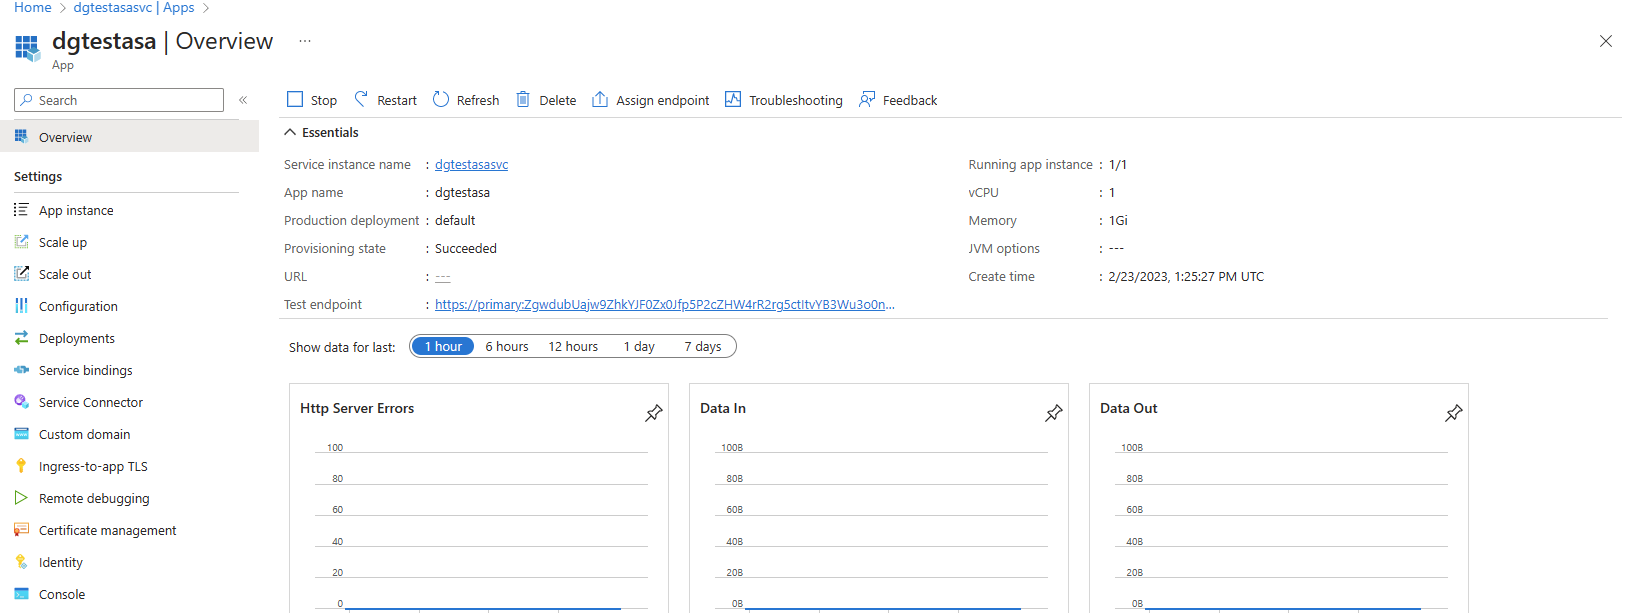
Fig. 7
Click the [Assign Endpoint] button (Fig. 8) to create a direct endpoint URL for this app.

Fig. 8
You can view the sample application deployed by clicking either the "URL" link or the "Test endpoint" link (Fig. 9) to display the sample web page shown in Fig. 10.

Fig. 9
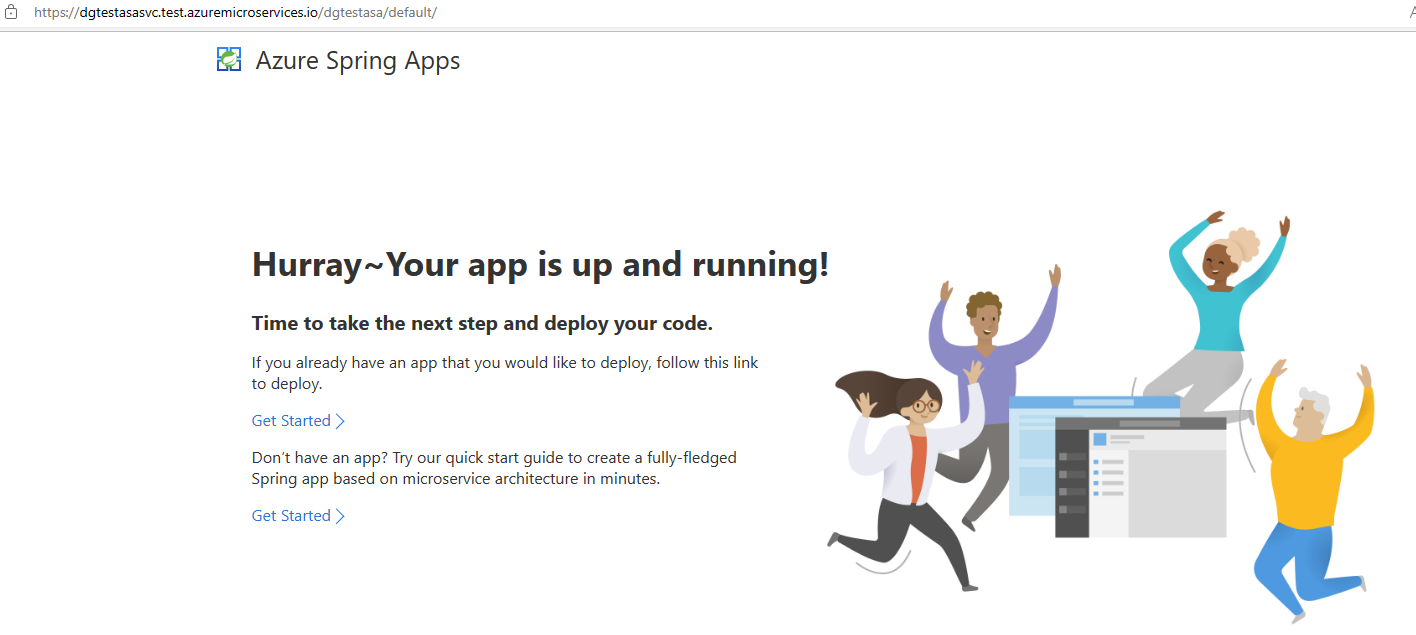
Fig. 10
Conclusion
In this article, I showed you how to add an Azure Spring App to an Azure Spring App Service. In the next article, I will show you how to deploy your own Spring App to this Azure Spring App.