In a previous article, I showed you how to use Azure Media Services (AMS) to analyze a video. Among other things, this analysis performs audio transcription to perform text to speech on your video. This outputs 2 files with the spoken text in the audio track of your video.
You may want to only do audio transcription. If you are not interested in the other analysis output, it does not make sense to spend the time or compute on analyzing a video for the other features. AMS allows you to perform only Audio Transcription and eschew the other analysis.
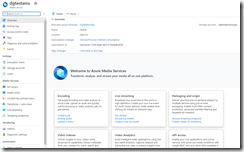
Navigate to the Azure Portal and to your Azure Media Services account, as shown in Fig. 1.
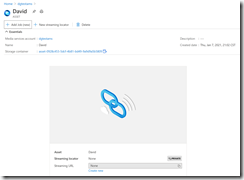
Then, select "Assets" from the left menu to open the "Assets" blade, as shown in Fig. 2.
Select the Input Asset you uploaded to display the Asset details page, as shown in Fig. 3.
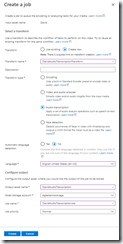
Click the [Add job] button (Fig. 4) to display the "Create a job" dialog, as shown in Fig. 5.
At the "Transform" field, select the "Create new" radio button.
At the "Transform name" textbox, enter a name to help you identify this Transform.
At the "Description" field, you may optionally enter some text to describe what this transform will do.
At the "Transform type" field, select the "Audio transcription" radio button.
At the "Analysis type" field, select the "Video and audio" radio button.
The "Automatic language detection" section allows you to either specify the audio language or allow AMS to figure this out. If you know the language, select the "No" radio button and select the language from the dropdown list. If you are unsure of the language, select the "Yes" radio button to allow AMS to infer it.
The "Configure Output" section allows you to specify where the generated output assets will be stored.
At the "Output asset name" field, enter a descriptive name for the output asset. AMS will suggest a name, but I prefer the name of the Input Asset, followed by "_AudioTranscription" or something more descriptive.
At the "Asset storage account" dropdown, select the Azure Storage Account in which to save a container and the blob files associated with the output asset.
At the job name, enter a descriptive name for this job. A descriptive name is helpful if you have many jobs running and want to identify this one.
At the "Job priority" dropdown, select the priority in which this job should run. The options are "High", "Low", and "Normal". I generally leave this as "Normal" unless I have a reason to change it. A High priority job will run before a Normal priority job, which will run before a Low priority job.
Click the [Create] button to create the job and queue it to be run.
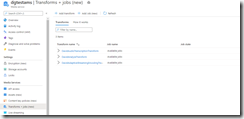
You can check the status of the job by selecting "Transforms + jobs" from the left menu to open the "Transforms + jobs" blade (Fig. 6) and expanding the job you just created (Fig. 7).
The state column tells you whether the job is queued, running, or finished.
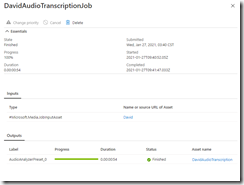
Click the name of the job to display details about the job, as shown in Fig. 8.
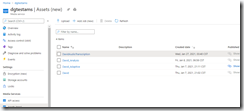
After the job finishes, when you return to the "Assets" blade, you will see the new output Asset listed, as shown in Fig. 9.
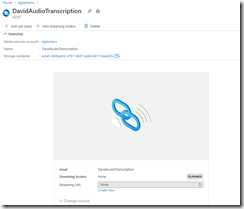
Click the name of the asset you just created to display the Asset Details blade, as shown in Fig. 10.
Click the link to the left of "Storage container" to view the files in Blob storage, as shown in Fig. 11.
The speech-to-text output can be found in the files transcript.ttml and transcript.vtt. These two files contain the same information - words spoken in the video and times they were spoken - but they are in different standard formats.
Listing 1 shows a sample TTML file for a short video, while Listing 2 shows a VTT file for the same video.
Listing 1:
xml:lang="en-US" xmlns="http://www.w3.org/ns/ttml" xmlns:tts="http://www.w3.org/ns/ttml#styling" xmlns:ttm="http://www.w3.org/ns/ttml#metadata">
xml:id="Style1" tts:fontFamily="proportionalSansSerif" tts:fontSize="0.8c" tts:textAlign="center" tts:color="white" />
style="Style1" xml:id="CaptionArea" tts:origin="0c 12.6c" tts:extent="32c 2.4c" tts:backgroundColor="rgba(0,0,0,160)" tts:displayAlign="center" tts:padding="0.3c 0.5c" />
region="CaptionArea">
begin="00:00:00.000" end="00:00:07.080">This video is about Azure Media Services and Azure Media
begin="00:00:07.206" end="00:00:08.850">Services are.
begin="00:00:08.850" end="00:00:11.029">Awesome.
