Azure Logic Apps allow you to create scalable workflows hosted in the cloud. Although each Logic App is self-contained, it is often helpful to share artifacts such as maps, schemas, and certificates among multiple Logic Apps.
An Azure Integration Account provides a container for storing these artifacts.
Creating an Integration Account
To create an Integration Account, navigate to the Azure Portal [https://portal.azure.com], sign in and click the [Create a resource] button (Fig. 1).
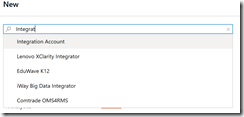
Search for and select "Integration Account", as shown in Fig. 2.
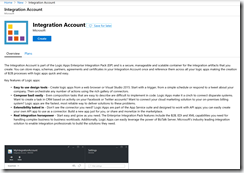
The "Integration Account" information page displays, as shown in Fig. 3.
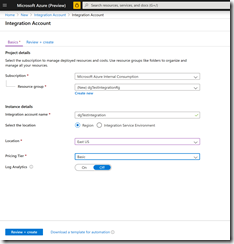
Click the [Create] button to display the "Create Integration Account" blade with the "Basics" tab selected, as shown in Fig. 4.
At the "Resource group" field, select or create a resource group in which to store this Integration Account.
At the "Integration account name" field, enter a unique name for this Integration Account.
At the "Location" dropdown, select the region in which to store this account. This should be the same region in which your Logic Apps are located.
At the "Pricing Tier" dropdown, select which pricing tier you wish to use. The options are (in increasing order of cost) "Free", "Basic", and "Standard". Only one Free Account is allowed per Azure Subscription. You can change this setting after creating an Integration Account.
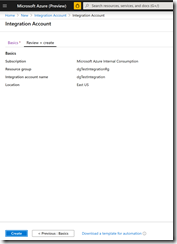
Click the [Review + create] button when you have completed this tab. The "Review + create" tab displays, as shown in Fig. 5.
Review your choices. Switch back to the "Basics" tab if you need to make any corrections. Click the [Create] button to create the Integration Account.
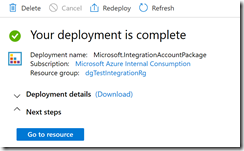
After Azure creates the Integration Account, the "Your deployment is complete" message displays, as shown inf Fig. 6.
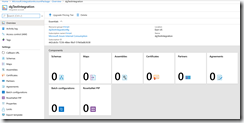
Click the [Go to resource] button to open the Integration Account, as shown in Fig. 7.
Here you can manage reusable Schemas, Maps, and other Components.
Associating a Logic App with an Integration Account
An Integration Account can be associated with one or more Logic Apps, making components in the Integration Account available to each of these Logic Apps.
See this article to learn how to create a Logic App.
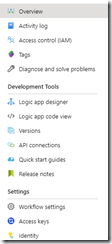
To associate a Logic App with an Integration Account, open the Logic App. The left menu of a Logic App is shown in Fig. 8.
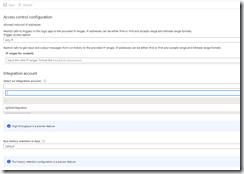
Click the [Workflow settings] button (Fig. 9) under the "Settings" section of the left menu to open "Access control configuration" blade, as shown in Fig. 10.
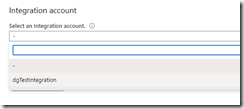
At the "Integration account" dropdown, select the Integration Account you wish to associate with this logic app, as shown in Fig. 11.
Click the [Save] button (Fig. 12) at the top of the blade to save this configuration.
You are now ready to use the artifacts in the Integration Account with this Logic App.

