Overview
An Azure Application Gateway allows you to distribute web traffic among multiple backend resources. This can help to increase the scalability and the availability of a resource. An Application Gateway serves similar goals to an Azure Load Balancer, however there are some significant differences.
- An Azure Application Gateway is specifically designed for HTTP and HTTPS traffic. An Azure Load Balancer can route traffic with other protocols
- An App Gateway provides more features - most of which are specific to HTTP and HTTPS
- An App Gateway operates at a higher network level than a Load Balancer
An App Gateway exposes a public URL or IP Address endpoint and connects to one or more backend resources, such as an App Service or a Virtual Machine.
In this article, I will show you how to create an Azure Application Gateway that connects to a backed consisting of two nearly-identical web applications deployed as Azure App Services.
Creating the Backend App Services
For this demo, I created two nearly identical Application Services - dgtestAgWebApp1 and dgtestAgWebApp2. They share the same App Service Plan, the same operating system (Windows) and the same technology stack (ASP.NET). I deployed a single default HTML page to each App Service. This page differs only slightly, so we can identify which App Services is rendering the site for a given request to the App Gateway.
Fig. 1 and Fig. 2 show the two default pages for dgtestAgWebApp1 and dgtestAgWebApp2, respectively.
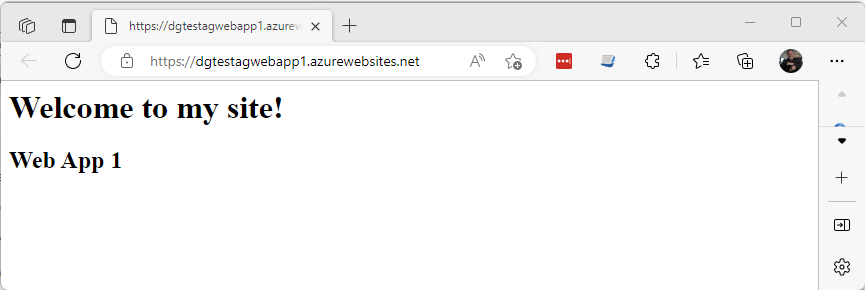
Fig. 1
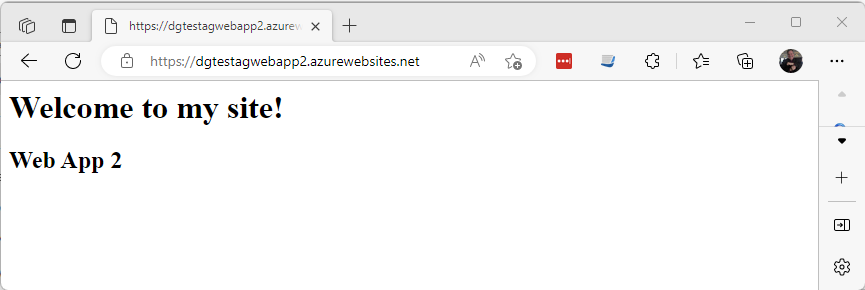
Fig. 2
To learn how to create a Web App as an App Service, see this article.
To simplify this demo, I will not create or upload any digital certificates to the app services or the Application Gateway. Because of this, we need to make a small change to each App Service: On the "TLS/SSL settings" blade, set "HTTPS only" to "Off". This allows a client to call the app service via either HTTP or HTTPS.
Creating an Azure Application Gateway
To create a new Azure Application Gateway, log into the Azure Portal, select the [Create a resource] button (Fig. 3), and search for Application Gateway, as shown in Fig. 4.

Fig. 3

Fig. 4
Click the [Create] button to open the "Basics" tab of the "Create application gateway" dialog, as shown in Fig. 5.
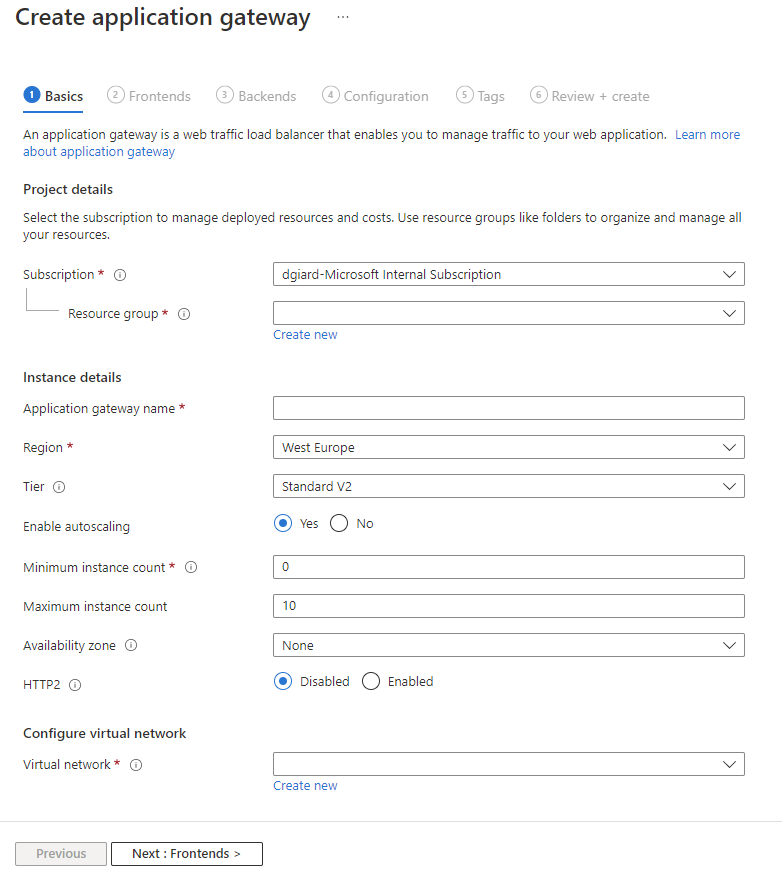
Fig. 5
At the "Resource Group" field, select or create a Resource Group into which to save this Gateway. I prefer to keep the Gateway, the backend resources, and all other related resources in the same Resource Group.
At the "Application gateway name" field, enter a unique name for this Gateway.
At the "Region" field, enter the region in which to deploy this Gateway. To reduce latency, you may consider the location of your backend services and/or the location of your users when selecting a region.
At the "Enable autoscaling" field, select "Yes" and enter the minimum and maximum allowable instances of the gateway.
Expand the "Availability zone" field (Fig. 6) and select the zones into which you wish to deploy the Gateway. Deploying to multiple zones provides redundancy, which can increase the Gateway's availability.
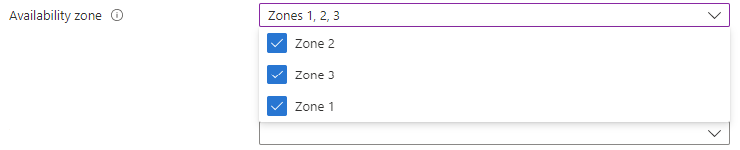
Fig. 6
If you wish to allow clients to connect to the Gateway via HTTP/2, select the "Enabled" radio button at the "HTTP2" field. This affects only the front-end connection. Regardless whether you enable HTTP2, the Gateway connects to the backed resources via HTTP/1.1.
At the "Virtual network" field, click the "Create new" link to open the "Create virtual network" dialog, as shown in Fig. 7.
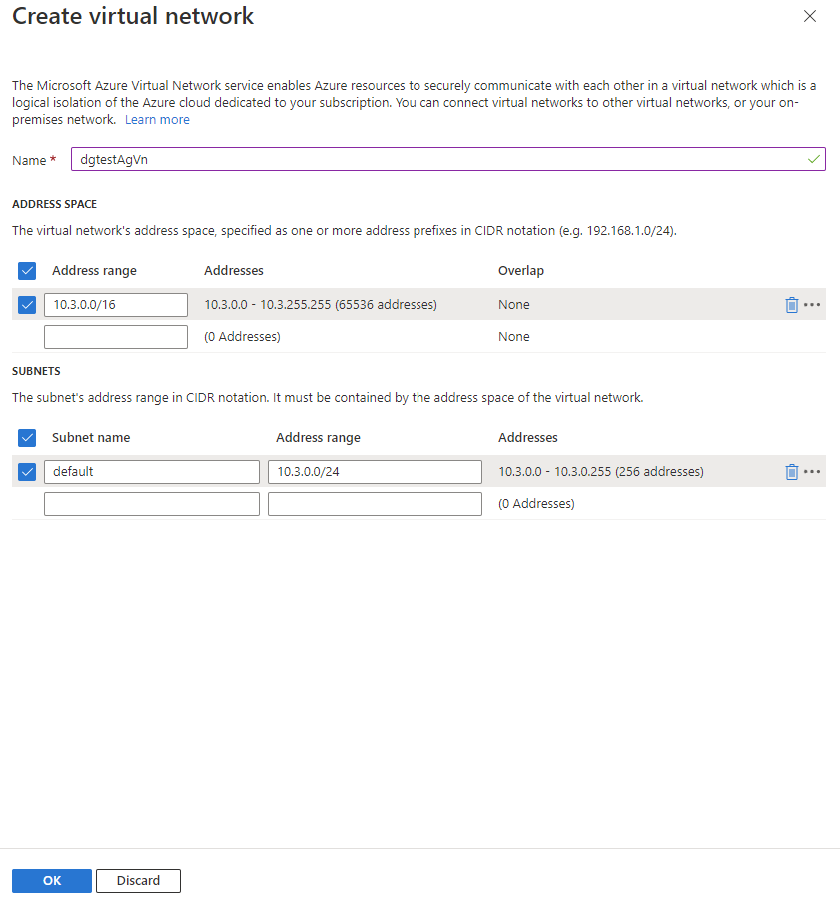
Fig. 7
Enter a unique name for the Virtual Network and provide an address and subnet range. Click the [OK] button to save your changes and close the "Create virtual network" dialog.
Click the [Next: Frontends] button to advance to the "Frontends" tab, as shown in Fig. 8.
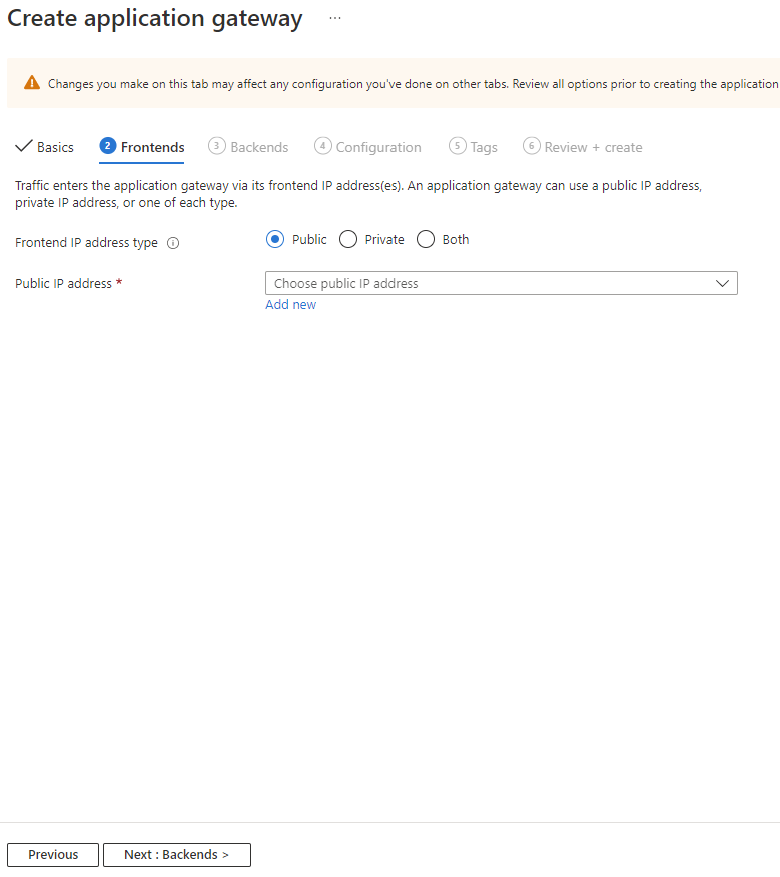
Fig. 8
At the "Frontend IP address type" field, select "Public".
At the "Public IP address field, click the "Add new" link to open the "Add a public IP" dialog, as shown in Fig. 9.
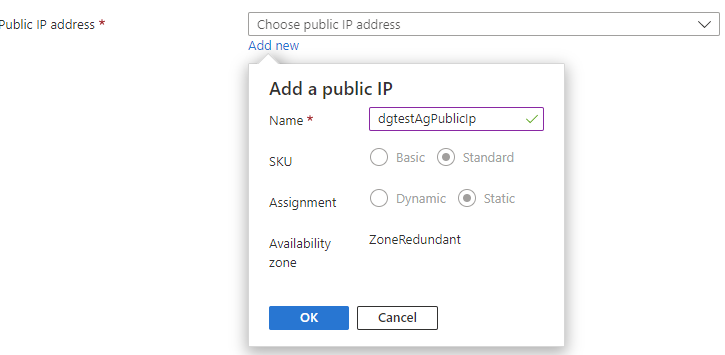
Fig. 9
At the "Name" field, enter a name for the Public IP.
Click the [Next: Backends] button to advance to the "Backends" tab, as shown in Fig. 10.
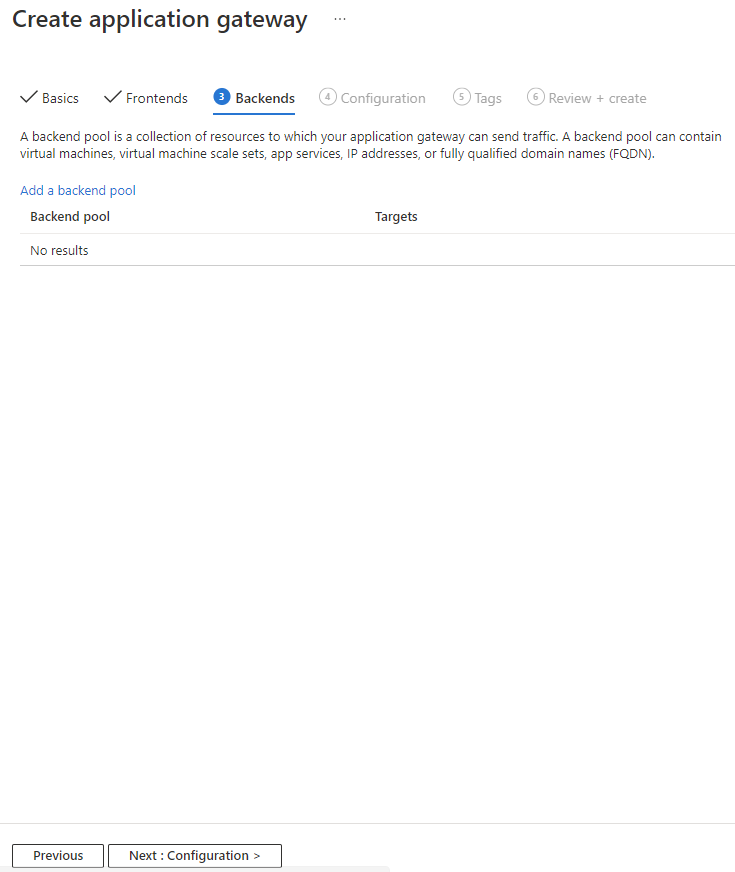
Fig. 10
Click the "Add a backend pool" link to open the "Add a backend pool" dialog, as shown in Fig. 11.
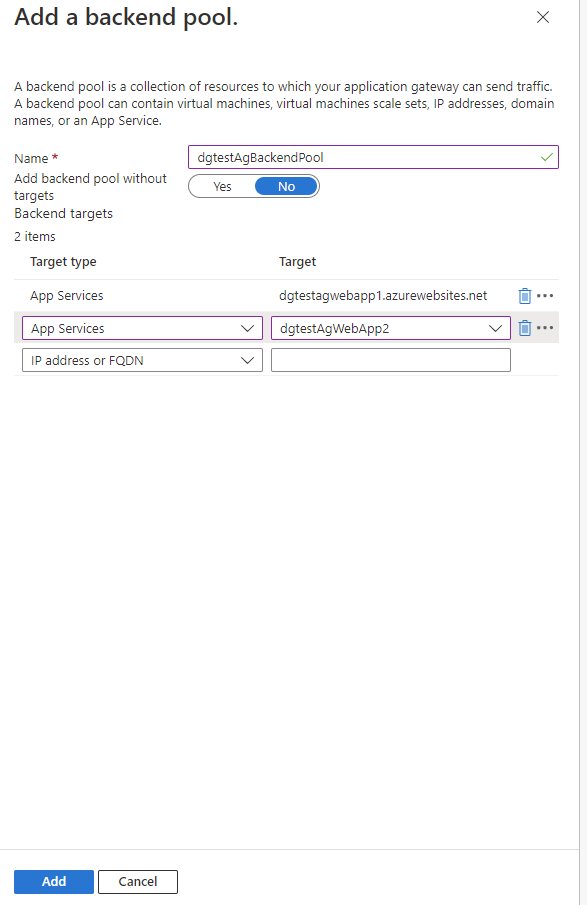
Fig. 11
The Backend Pool configures the pool of backend resource that the Application Gateway will serve when a client connects to the front end.
At the "Name" field, enter a name for the Backend Pool.
At the "Add backend pool without targets" field, select "No".
In the "Items" section, select "App Services" in the "Target type" column and select the first web app service ("dgtestAgWebApp1") in the "Target" column. In the second row, select "App Services" in the "Target type" column and select the second web app service ("dgtestAgWebApp2") in the "Target" column.
Click the [Add] button to add this backend pool to the Application Gateway.
Click the [Next: Configuration] button to advance to the "Configuration" tab, as shown in Fig. 12.
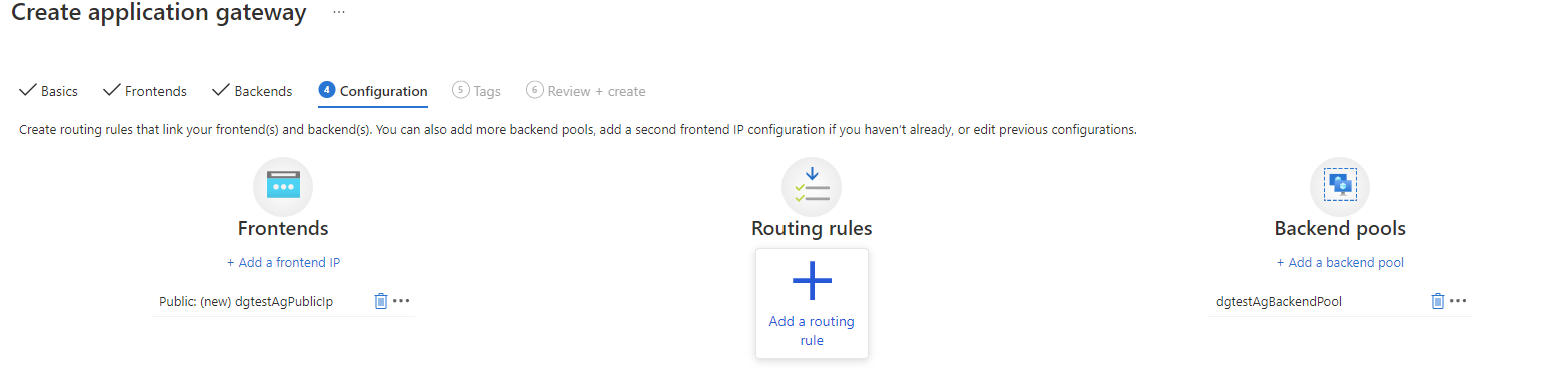
Fig. 12
This tab should show the Frontend IP and the Backend Pool you created and assigned to this Gateway. You will need to add a Routing Rule. Click the [Add a routing rule] button to open the "Listener" tab of the "Add a routing rule" dialog, as shown in Fig. 13.

Fig. 13
At the "Rule name" field, enter a name for the rule.
At the "Priority" field, enter "100". Because this is the first and only rule, this number is not yet relevant. However, when you add multiple rules, rules with a Priority of a lower number will take precedence.
At the "Listener name" field, enter a name for the Listener.
At the "Frontend IP field, select "Public" to allow clients to connect to the Gateway frontend over the Internet.
At the "Protocol" field, select "HTTP".
At the "Port" field, enter "80".
At the "Listener type" field, select "Basic".
At the Error page url" field, select "No"
Select the "Backend targets" tab of the "Add a routing rule" dialog, as shown in Fig. 14.
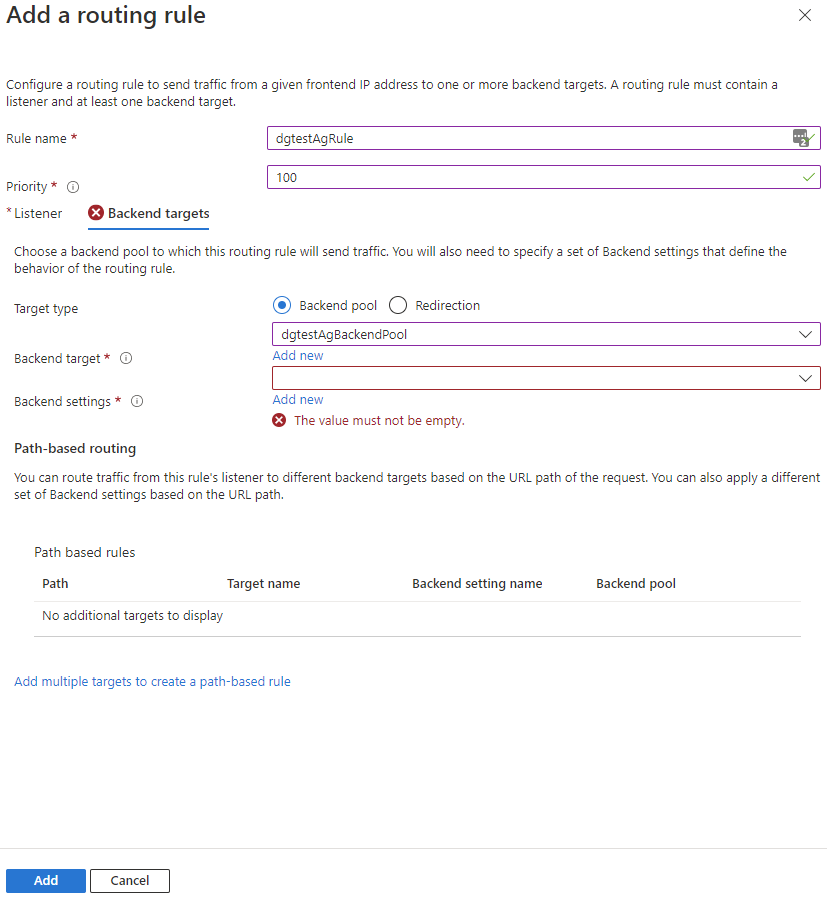
Fig. 14
AT the "Target type" field, select the "Backend pool" radio button.
At the "Backend target" field, select the Backend Pool you created in an earlier step above.
At the "Backend settings" field, click the "Add new" link to open the "Add Backend setting", as shown in Fig. 15.
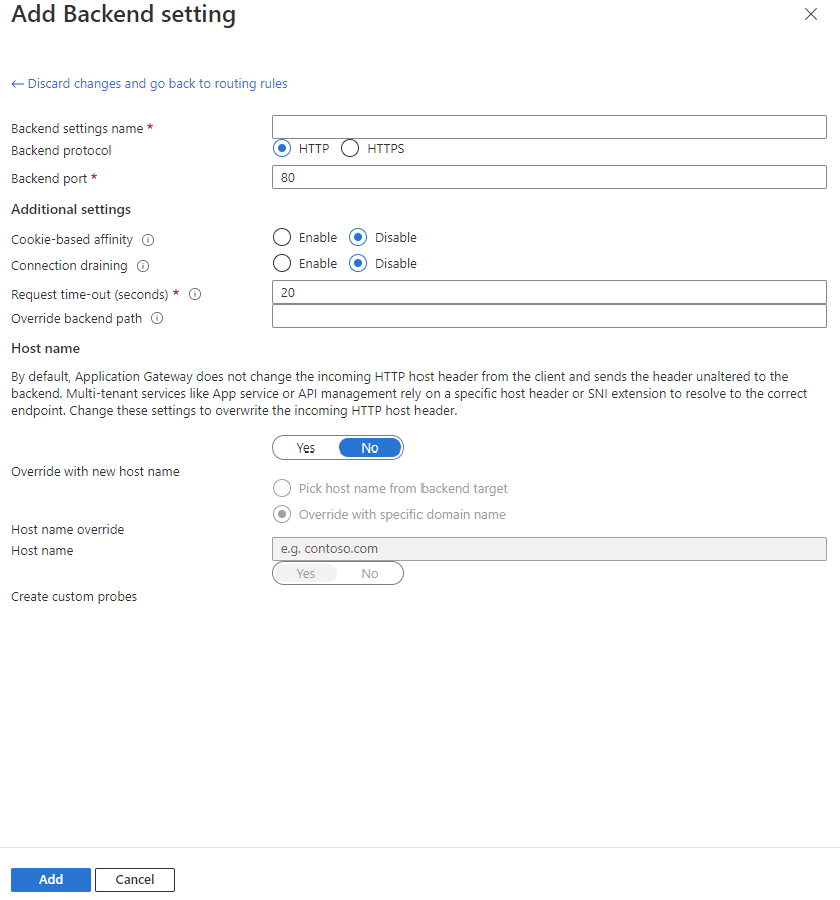
Fig. 15
At the "Backend settings name" field, enter a name for this backend setting.
At the "Backend protocol" field, select "HTTP".
At the "Backend port" field, enter "80".
At the "Override with new host name" field, select "Yes".
At the "Host name override" field, select "Pick host name from backend target".
Leave the defaults for all the other fields.
Click the [Add] button to add this backend setting to the Routing Rule and close the dialog.
Click the [Add] button to add this routing rule to the Application Gateway and close the dialog.
Click the [Next: Tags] button to advance to the "Tags" tab, as shown in Fig. 16.
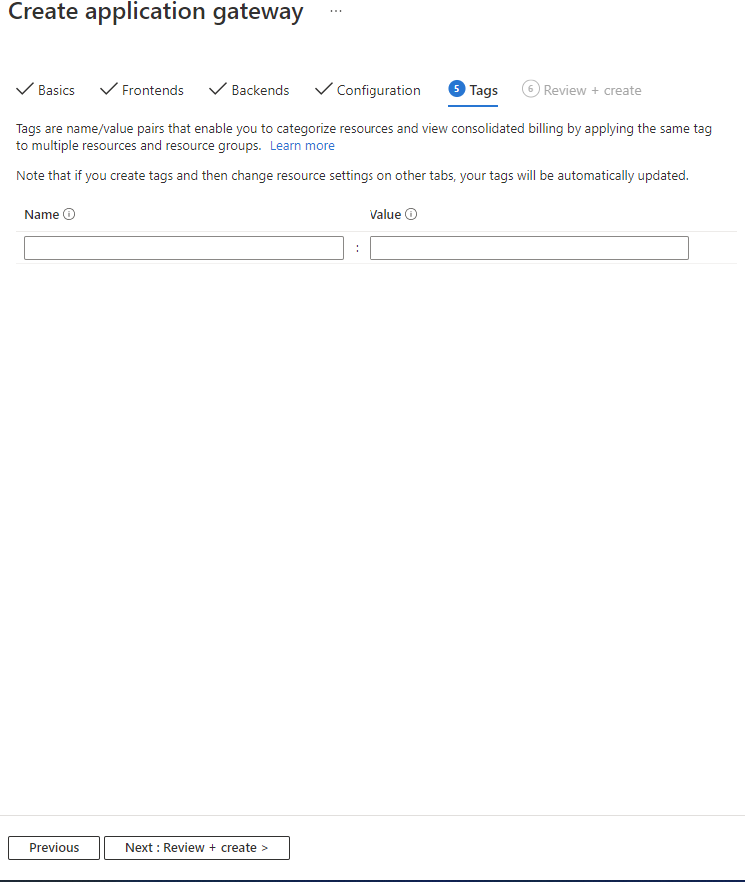
Fig. 16
Enter any name/value pairs you wish to associate with this Gateway. These do not affect performance, but they can be useful in reporting.
Click the [Review + create] button to advance to the "Review + create" tab, as shown in Fig. 17.
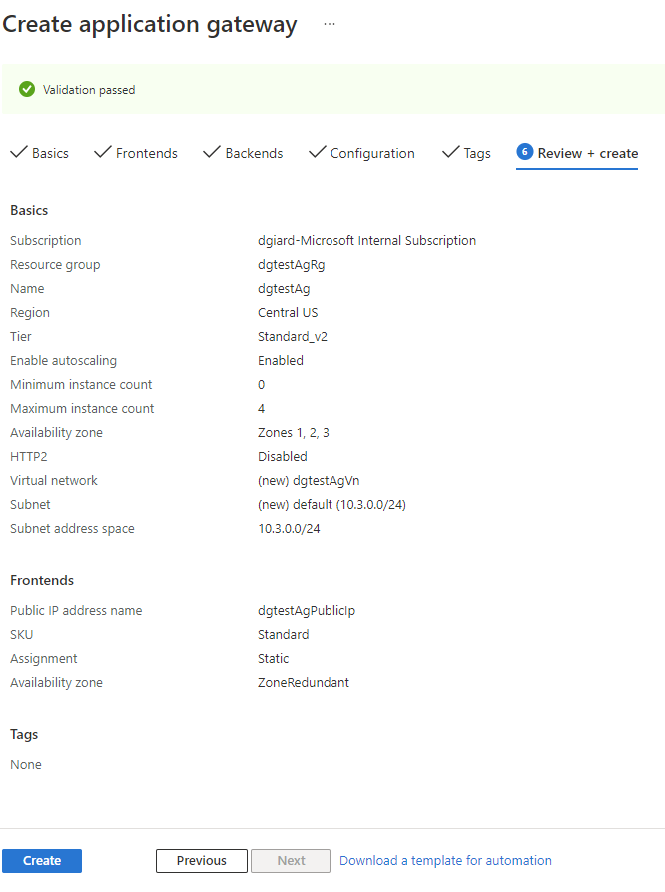
Fig. 17
If you made any errors (skipping a required field or selecting incompatible options, for example), they will display here, and you may correct them. When no errors are reported, click the [Create] button to create a new Azure Application Gateway. This may take a few minutes.
Try It
The public IP address of the Azure Application Gateway can be found on the "Overview" tab, as shown in Fig. 18.

Fig. 18
Open a browser and paste this IP address in the address bar. You should see one of the two App Services. Refresh a few times and the browser should sometimes display App 1 and sometimes display App 2.
Conclusion
In this article, you learned how to create and configure an Azure Application Gateway to manage HTTP traffic to an Azure App Service.
Note
I am grateful to Pete Rodriguez, who helped me troubleshoot this demo and provided guidance on this technology.