Overview
An Azure App Service is a managed service that can host a web application, such as a website or a web service. By deploying a web application to an App Service, you are freed from the infrastructure or "plumbing" of maintaining a web service. Azure can take care of things like autoscaling, failover, and logging, so that you are able to focus on the business logic of your application.
Creating a Web Application
To create a new Web Application, hosted as an Azure App Service, log into the Azure Portal, click the [Create a Resource] button (Fig. 1) and search for "Web App", as shown in Fig.2.

Fig. 1
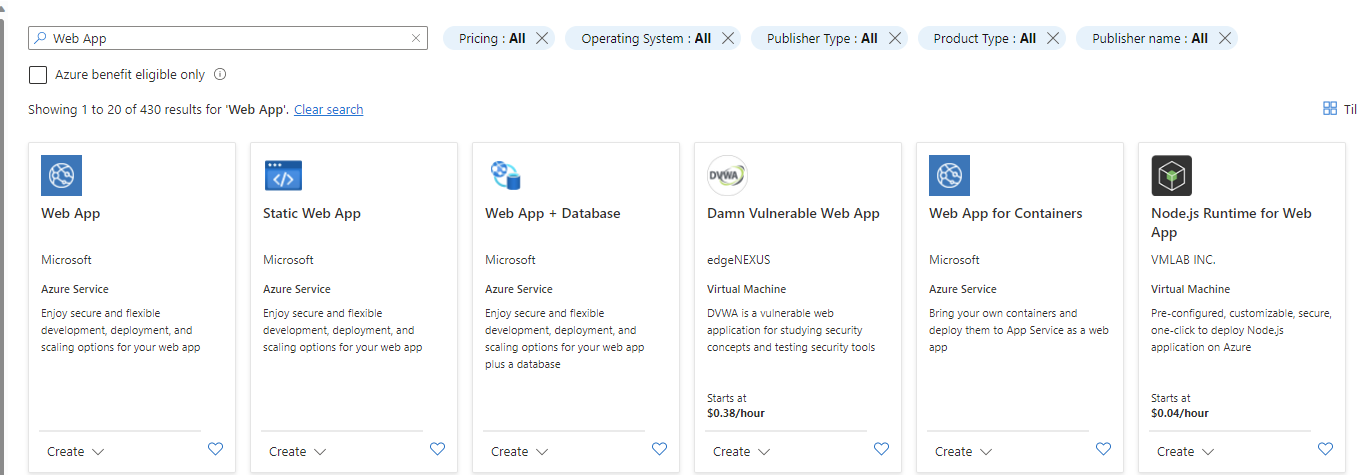
Fig. 2
In the "Web App" card, expand the "Create" menu and select "Web App", as shown in Fig. 3.
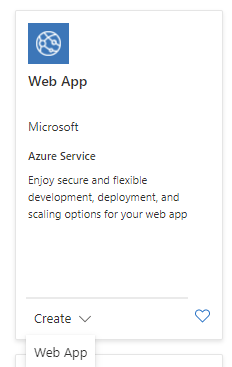
Fig. 3
The "Create Web App" dialog displays, as shown in Fig. 4.
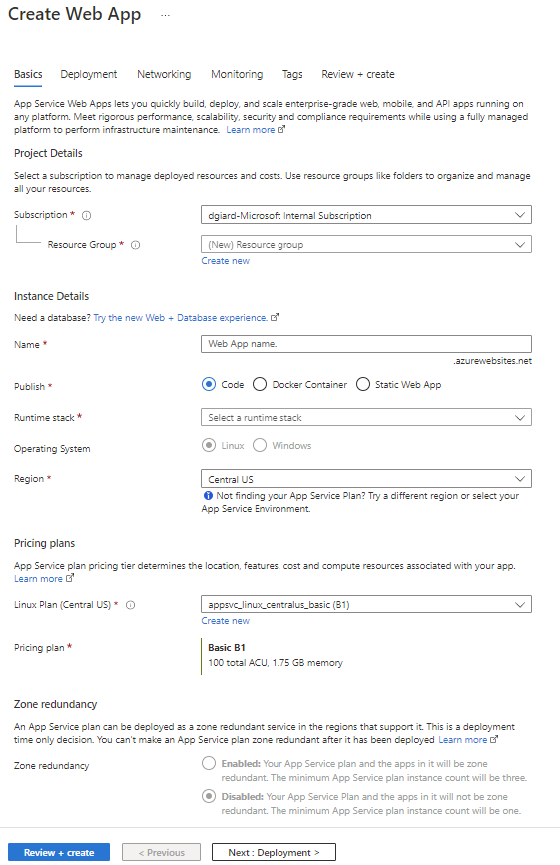
Fig. 4
At the "Resource group" field, select or create a resource group into which you wish to organize the Web App.
At the "Name" field, enter a unique name for this web app. You will be able to access the web app via the url http://_appname_/azurewebsites.net or https://_appname_/azurewebsites.net, where appname is the name you assign in this field. Of course, you may also configure a DNS record to point a more friendly domain name to the app.
At the "Publish" radio button, select whether you are going to deploy code directly to an App Service, to a Docker Container, or to take advantage of the speed of a Static Web App. I selected "Code" for the flexibility of a dynamic site.
If you select "Code", at the "Runtime stack" dropdown, select the language/framework and version of the code you plan to deploy. As of this writing, supported options are .NET, .NET Core, ASP.NET Java, Go, and Node.
At the Operating System, field, select the operating system (Linux or Windows) on which your application will run.
At the "Windows Plan", enter a unique name for the Application Service Plan under which your application will run. The Application Service Plan defines the size of the machine(s) onto which the application is deployed. More powerful machines tend to be more expensive. Click the "Change size" link to select the machine appropriate for your application's needs.
At the "Zone redundancy" field, select whether you want to enable zone redundancy, which will provide more fault tolerance for your application.
You may wish to modify the options for Deployment, Networking, Monitoring, and Tagging. There are tags for each of these, but these changes are all optional and you may modify them later if you like.
Click the [Review + create] button to advance to the "Review + create" tab, as shown in Fig. 5.
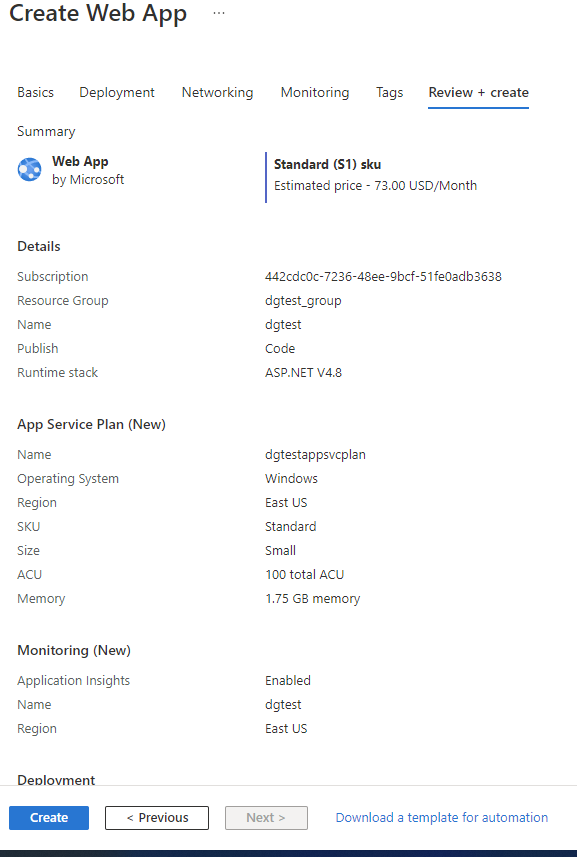
Fig. 5
If you made any errors (skipping a required field or selecting incompatible options, for example), they will display here and you may correct them. When no errors are reported, click the [Create] button to create a new Web App.
After a few seconds, Azure finishes creating and deploying the Web Application and displays the message shown in Fig. 6.
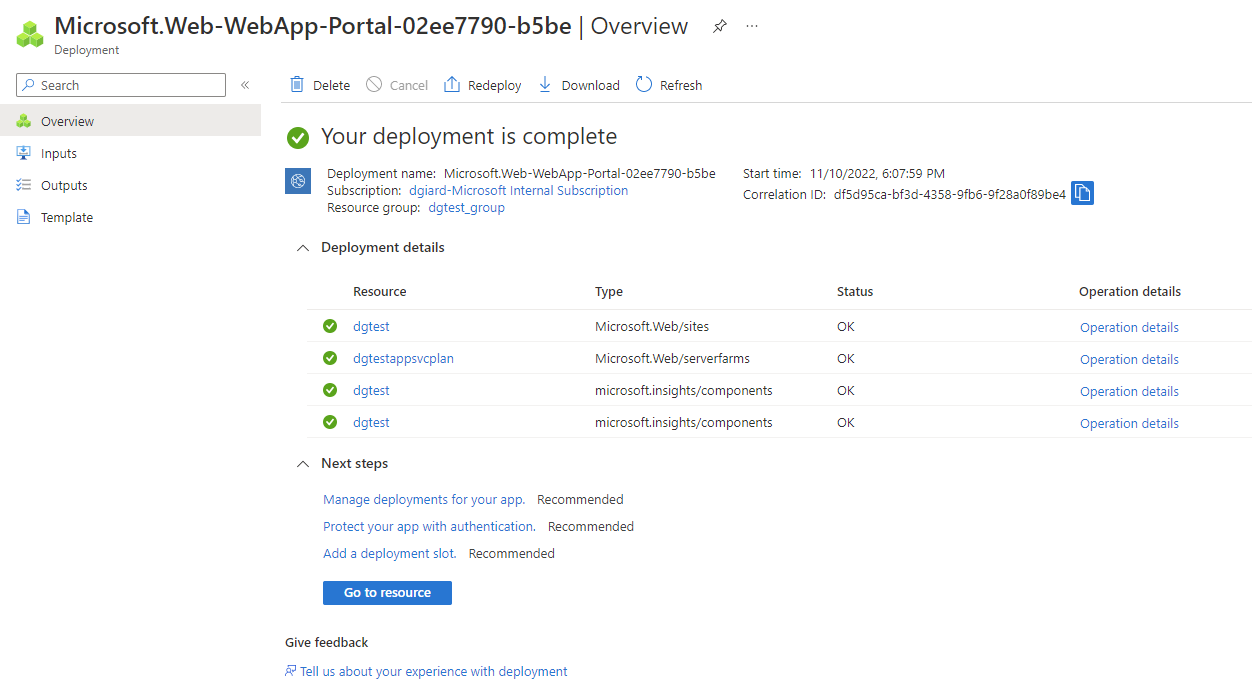
Fig. 6
Click the [Go to resource] button to navigate to the "Overview" blade of your newly=deployed web application, as shown in Fig. 7.
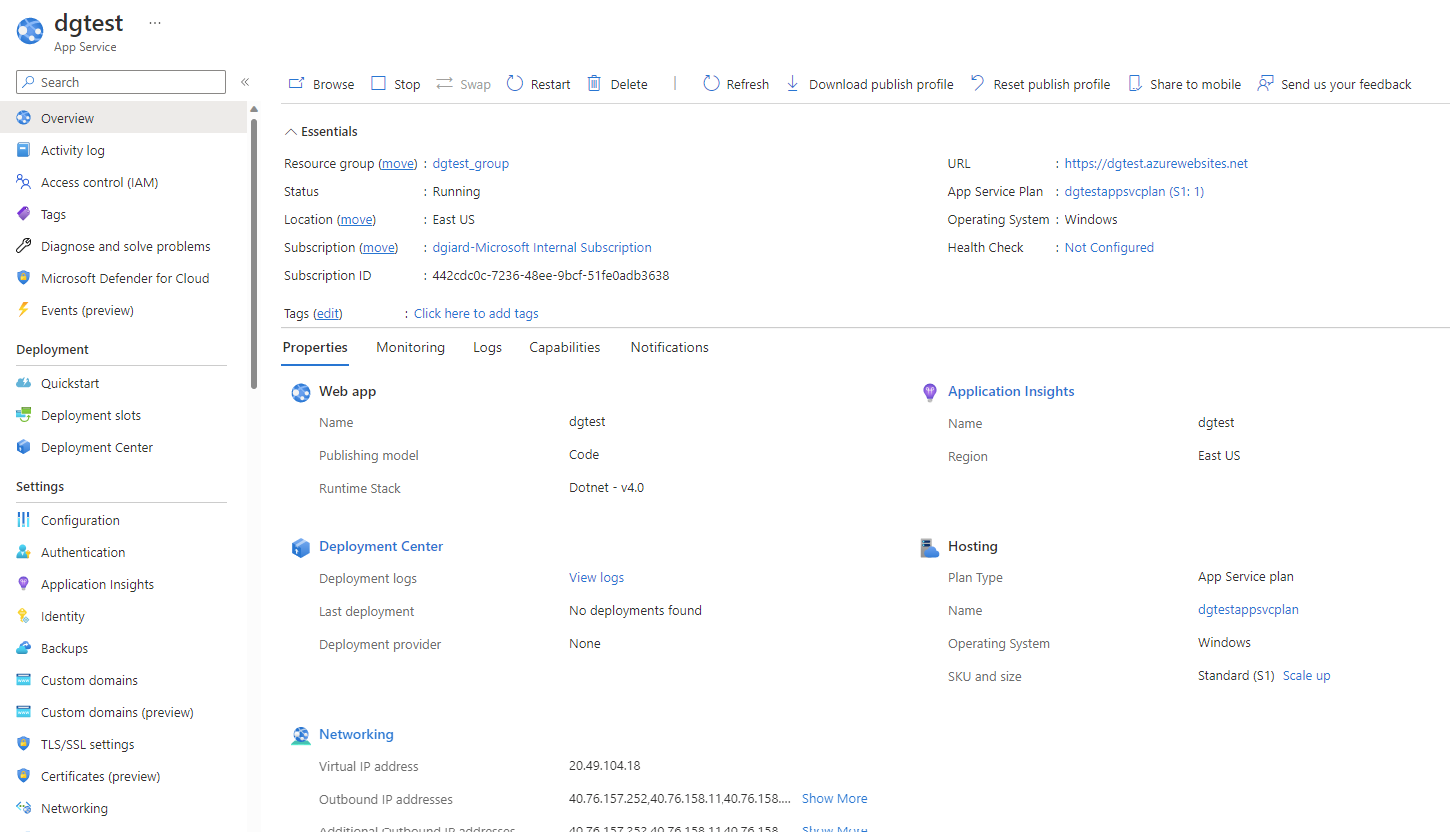
Fig. 7
After you deploy code to the application, you can see it by navigating to the URL listed in the "Essentials" section of this blade. Initially, a placeholder page displays, as shown in Fig. 8.
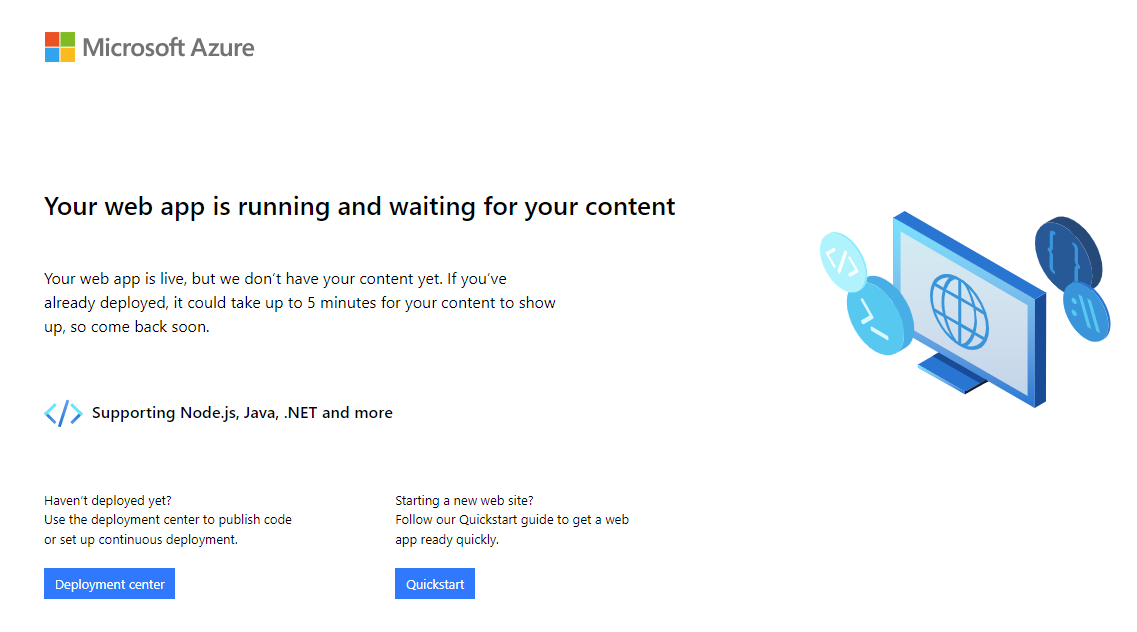
Fig. 8
Conclusion
In this article, you learned how to create a new Web Application as an Azure App Service.