Overview
Azure Application Insights is a part of Azure Monitoring that collects logs of event, error, and other information for later analysis, reporting, and actions.
You can configure an Application Insights when creating another service, such as an Azure Web App or you can create the Application Insights service on its own and point your applications to this service.
To begin, navigate to the Azure Portal and log in.
Do I have any Application Insights services?
To see if your subscription already has any Application Insights services, type in the search box at the top of the portal and select "Application Insights," as shown in Fig. 1.

Fig. 1
A list of Application Insights services displays, as shown in Fig. 2.
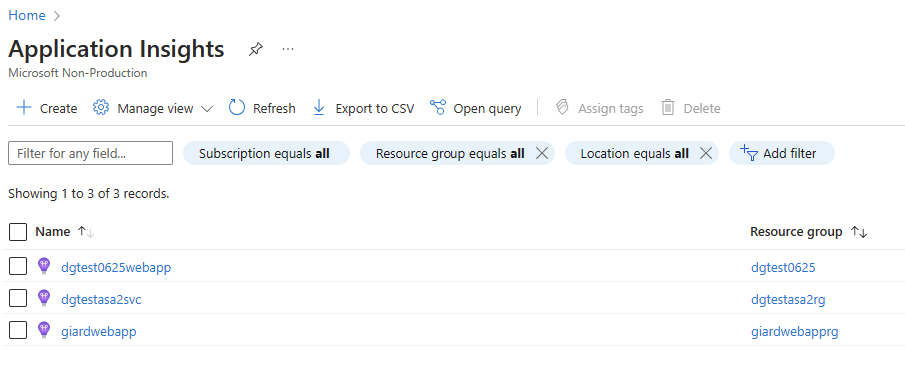
Fig. 2
If you do not already have a service, or you wish to create a new one, navigate back to Azure Portal Home Page and click the [Create a Resource] button (Fig. 3) and search for Application Insights, as shown in Fig. 4.

Fig. 3

Fig. 4
A list of cards with services that match your search criteria displays. On the "Application Insights" card (Fig. 5), expand the menu at the bottom and select the [Create] button, as shown in Fig. 6.
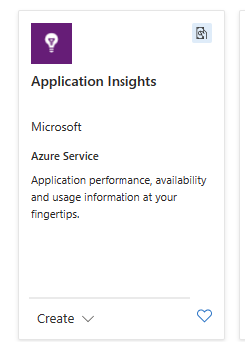
Fig. 5

Fig. 6
The "Create Application Insights" blade displays with the "Basics" tab selected, as shown in Fig. 7.
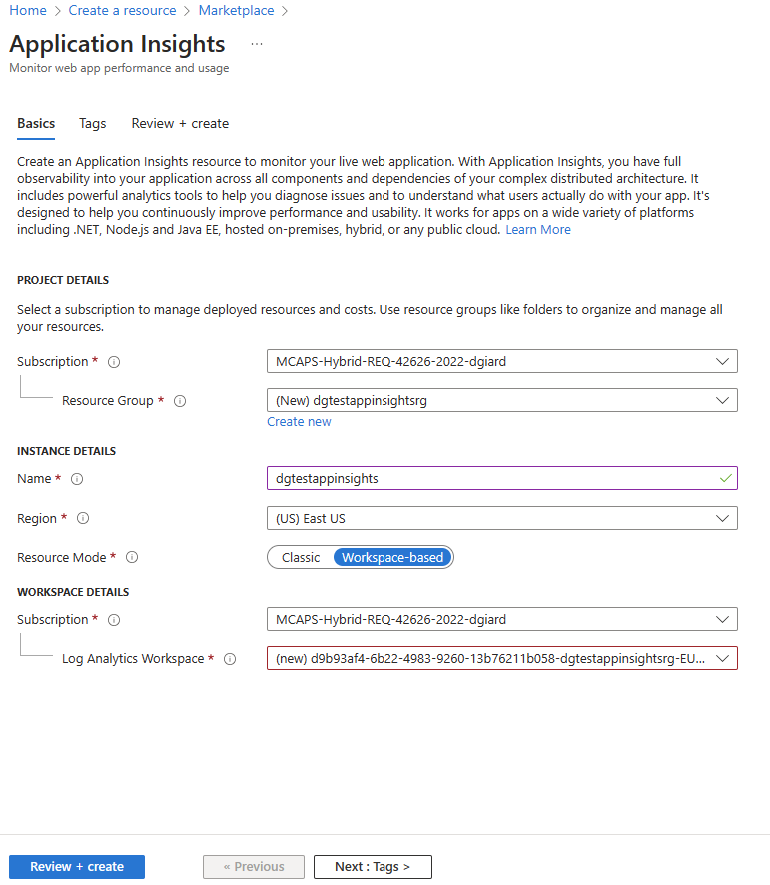
Fig. 7
At the "Subscription" field, select the subscription into which you want to create this service. Many of you will have only one subscription.
At the "Resource Group" field, select a Resource Group into which you want to organize this service or click the "Create new" link to create a new Resource Group.
At the "Name" field, enter a unique name for this Application Insights service.
At the "Region" dropdown, select a region in which to store the service. Consider which applications and services will read to and write from this service and where they are located. You want to minimize latency.
Under the "Workspace" section, you can select a subscription and Log Analytics Workspace associated with this service. You can select an existing workspace or create a new one for this service. A Log Analytics Workspace specifies the storage location and configuration settings of the data captured by Application Insights.
If desired, you can add name/value pairs on the "Tabs" blade, as shown in Fig. 8.
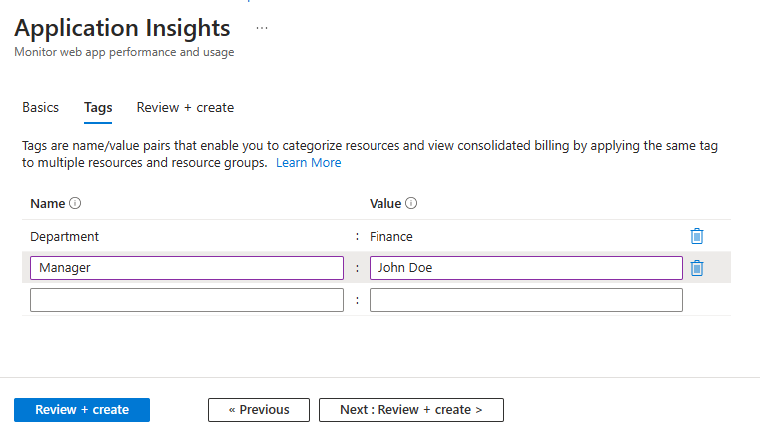
Fig. 8
These are used as metadata and can be useful for filtering, sorting, and grouping reports across multiple Azure resources, but they are not required.
When you are finished configuring the Application Insights service, select the "Review + create" tab, as shown in Fig. 9.
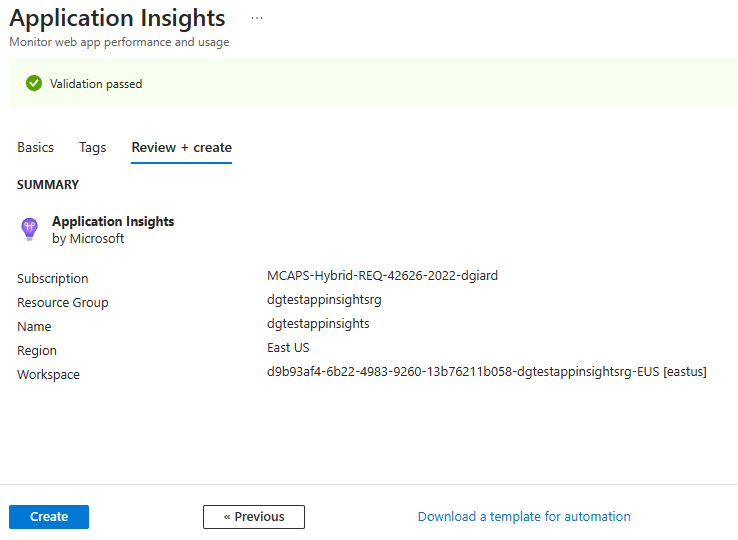
Fig. 9
If you have made any errors or omitted required information, this tab will tell you. Correct those errors and return to this tab. Click the [Create] button to create the Azure Application Insights service.
After a few minutes, you can navigate to the services and view or modify its properties, as shown in Fig. 10.
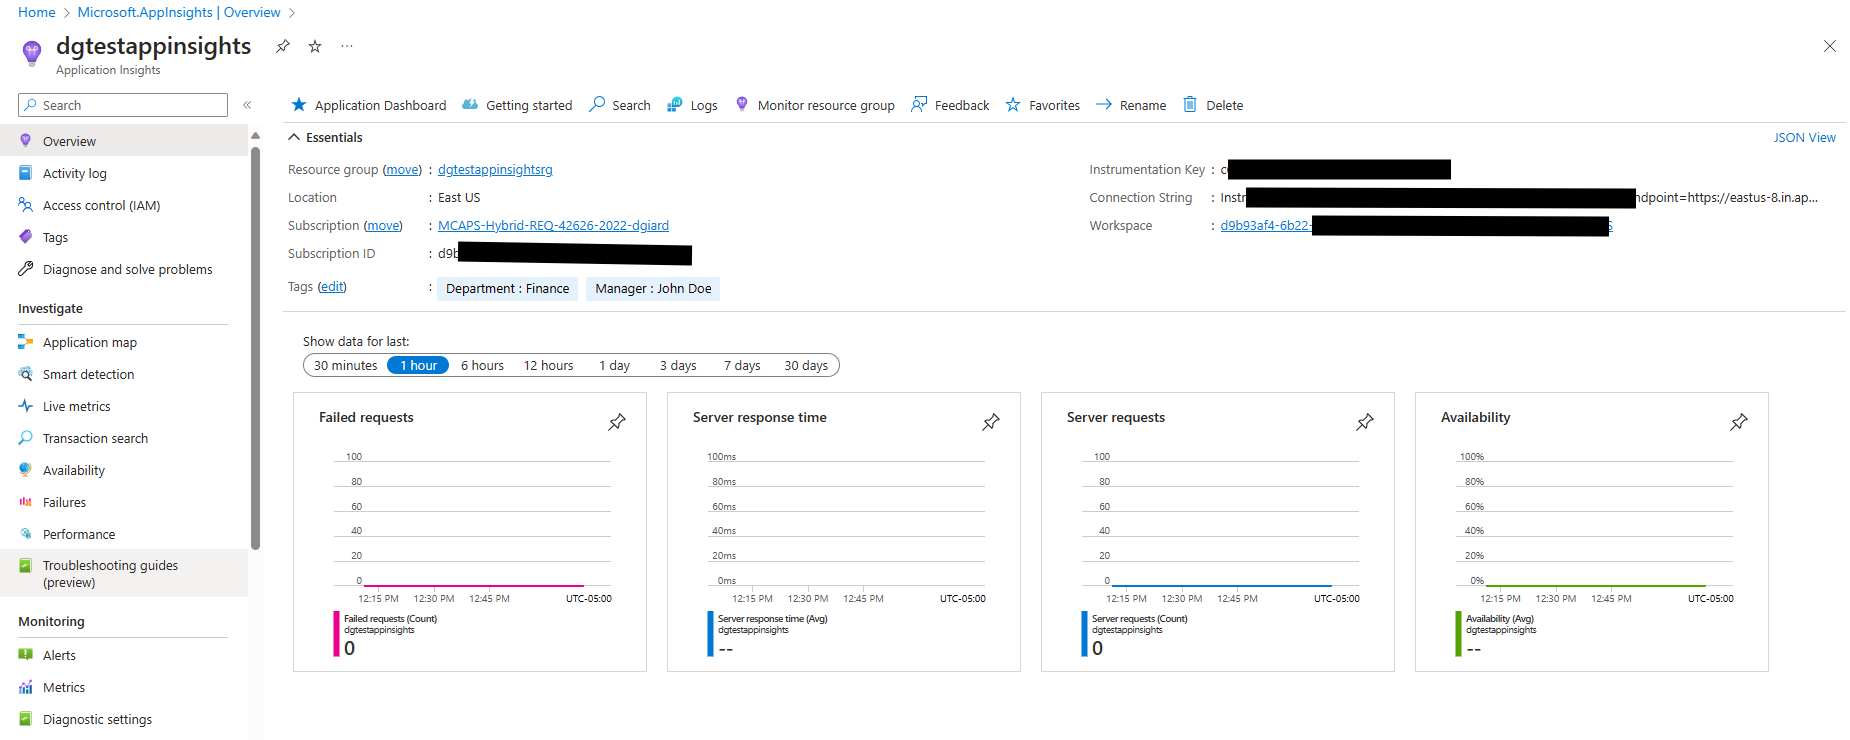
Fig. 10
The Instrumentation Key and Connection String are important pieces of information that other applications will use to connect to this service. Copy them and keep them safe.
Conclusion
In this article, I showed you how to create an Azure Application Insights service that is not associated with any Azure resource.