Application Insights is a scalable Azure data store and service that is ideal for storing monitoring information of all kinds.
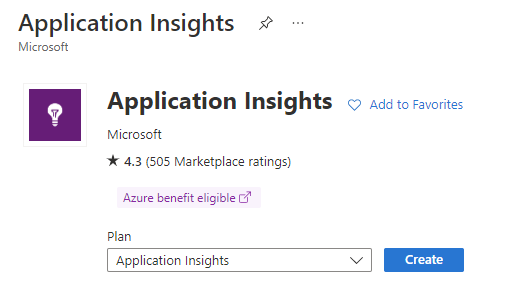
To install an Application Insights service, navigate to the Azure Portal then, click the [Create a resource] button (Fig. 1), and search for Application Insights (Fig. 2) to display the "Application Insights" start page, as shown in Fig. 3.

Fig. 1

Fig. 2

Fig. 3
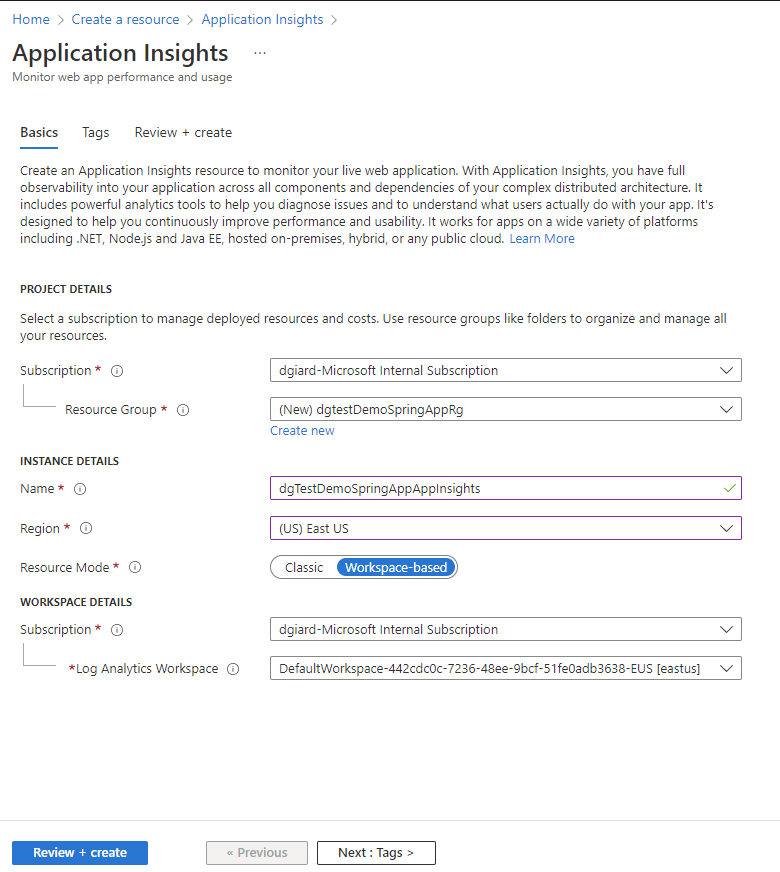
Click the [Create] button to open the "Application Insights" creation dialog, as shown in Fig. 4.

Fig. 4
At the "Subscription" dropdown, select the Azure subscription in which to create the Application Insights service. Most of you will have only one subscription.
At the "Resource Group" dialog, select a resource group in which to store the Application Insights service or click "Create new" to create a new one.
At the "Name" field, enter a unique name for your Application Insights service.
At the "Region" field, select a region into which to deploy this service. Consider the locations of the services that will write to this data store in order to reduce latency.
At the "Resource Mode" field, select "Workspace-based".
At the WORKSPACE DETAILS fields, select the defaults.
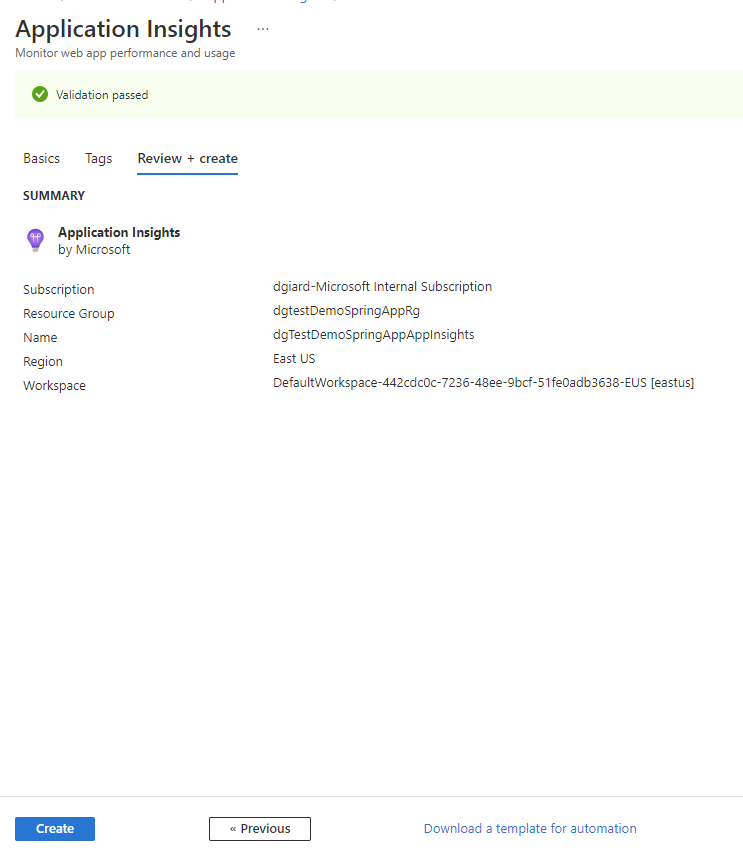
Click the [Review + create] button to display the "Review + create" tab, as shown in Fig. 5.

Fig. 5
This tab will display any validation errors. Correct them and click the [Create] button to create the Application Insights service.
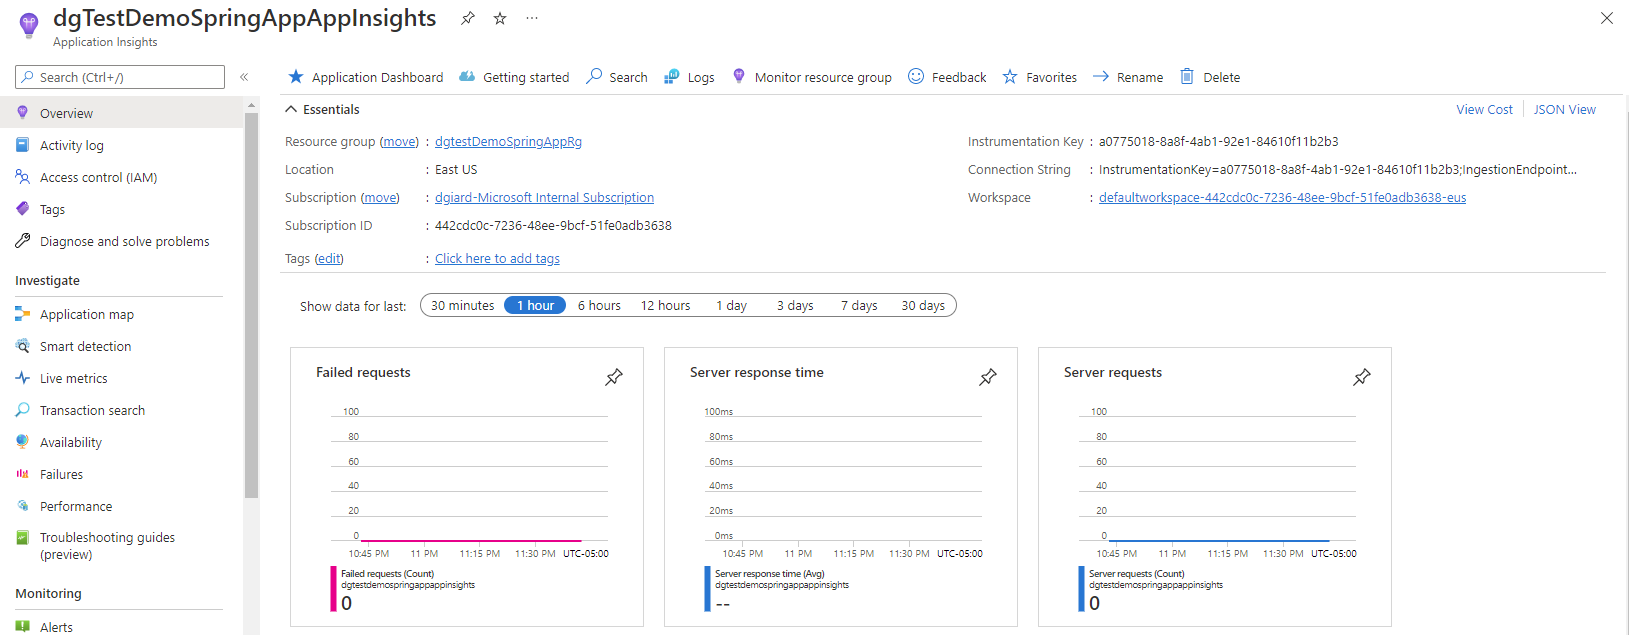
After Azure creates the service, navigate to its "Overview" blade, as shown in Fig. 6.
 Fig. 6
The "Overview" blade contains the "Instrumentation Key" (Fig. 7). This is an important piece of information that is often used to connect your application to Application Insights.

Fig. 7
In this article, you learned how to create an Azure Application Insights service.