In the last article, I showed how to create an Azure Function App. A Function App is not useful by itself: it is just a container for functions, which perform the real work.
Once you have created an Azure Function App, you will want to add one or more Functions to it.
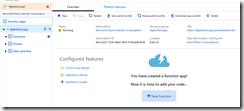
Navigate to the Azure Portal, log in, and open your Function app, as shown in Fig. 1.
Click either the [+] icon next to the "Functions" section on the left (Fig. 2) or the [New function] button at the bottom (Fig. 3)
NOTE: If this Function App already contains at least one function, the [New function] button does not display.
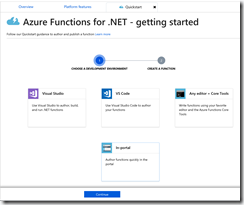
The "CHOOSE A DEVELOPMENT ENVIRONMENT" page of the "Azure Functions for .NET - getting started" dialog displays, as shown in Fig. 4
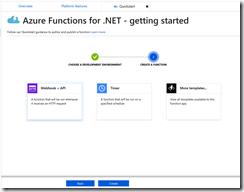
Select the [In-portal] tile and click the [Continue] button to advance to the "CREATE A FUNCTION" page, as shown in Fig. 5
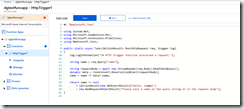
Two triggers are listed: "Webhook+API", which will cause your function to execute after a web service URL is hit; and "Timer", which allows you to schedule your function to run at regular intervals. You can see more triggers by clicking the "More templates…" tile; but, for this demo, select the [Webhook+API] tile and click the [Create] button. After a few seconds, a function is created with an HTTP trigger and some sample code, as shown in Fig. 6.
This sample function accepts a "name" parameter (either in the querystring or in the Body of a POST request) and returns an HTTP 200 (OK) response with the string "Hello, ", followed by the value of the name parameter. If no "name" parameter is supplied, it returns a 400 (Bad Request) response with an error message.
You can now modify and save this code as you like.
In the next article, I will show you how to test this function within the portal.
