Azure Key Vault is a service that provides a secure way to store and manage secrets, encryption keys, and certificates.
You can access it through the portal, via PowerShell or Azure CLI, and using a variety of SDKs.
Before using this service, you must first create an Azure Key Vault in your subscription. This article describes how to do this.
Navigate to the Azure Portal and sign in.
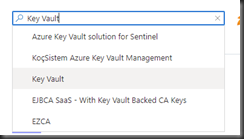
Click the [Create a resource] button (Fig. 1); then, search for and select "Key Vault", as shown in Fig. 2.
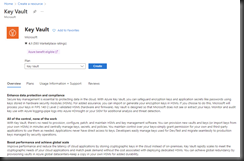
A description of the Azure Key Vault displays, as shown in Fig. 3.
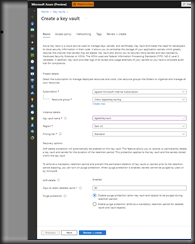
Click the [Create] button to begin the creation process. The "Create a Key Vault" blade displays with the "Basics" tab selected, as shown in Fig. 4
At the "Subscription" dropdown, select the subscription in which you want to store this Key Vault. Most users will have only one subscription.
At the "Resource group" field either select an existing resource group or create a new one for this Key Vault.
At the "Key vault name" field, enter a unique name for this Key Vault.
At the Region, select an Azure region into which to deploy this Key Vault. It should be physically close to the services and applications that will access it.
At the "Pricing Tier" prompt, select either "Standard" or "Premium". The main difference is that the Premium tier supports keys protected by a Hardware Security Model (HSM).
When a Key Vault is deleted, Azure retains it for a period before permanently "purging" it in case you wish to restore the Key Vault. This is known as a "soft delete". In the "Recover options" section, you can set the number of days between the deletion and the permanent purge. You can also use the radio buttons to allow or disallow authorized users to manually purge a key vault before the retention period ends.
To create a Key Vault, it is only necessary to complete the information on the "Basics" tab. So, you can click the [Review + Create] button to advance to the "Review + Create" tab. However, you may wish to further customize the key vault, so I will review the other tabs. You can switch between tabs by either clicking the [Next] and [Previous] buttons at the bottom or by selecting the name of the tab at the top.
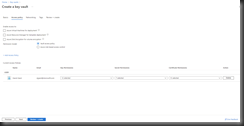
Fig. 5 shows the "Access Policy" tab.
Here you can give ARM templates and VM deployments, as well Disk Encryption access to the information in this Key Vault. You can also give specific permissions to specific users.
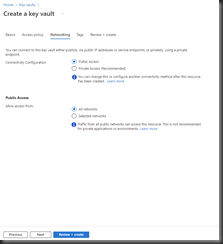
Fig. 6 shows the "Networking" tab.
On this tab, you can restrict access to a given set of private networks.
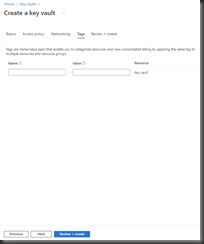
Fig. 7 shows the "Tags" tab.
Tags are name/value pairs that provide metadata for an Azure resource. They don’t affect the resource, but they can be useful when grouping them together on reports – for determining which resources belong to which departments, for example.
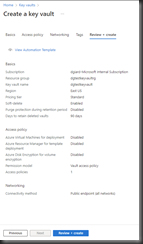
Fig. 8 shows the "Review + Create" tab.
Correct any errors reported. When all settings are validated, click the [Review + Create] button (Fig. 9) to begin creating the Key Vault.
It takes a few seconds to create and deploy a Key Vault. Upon completion, the confirmation message shown in Fig. 10 displays.
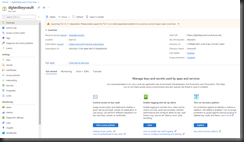
Click the [Go to resource] button (Fig. 11) to display the Key Vault's "Overview" blade, as shown inf Fig. 12.
You are now ready to store secrets, keys, and certificates in your Key Vault, which I will cover in a future article.

