Overview
When you create an Azure subscription, Azure will charge an hourly fee for any services in that subscription. Someone pays that fee - sometimes it is Microsoft and sometimes it is you.
Microsoft offers subscriptions that are free to you. For example, a student may create a subscription with $100 credit to spend; and anyone may sign up for a 30-day trial, which provides $200 credit. It is worth checking if your employer provides you an MSDN subscription, which includes an Azure account and some credits to spend.
This article is not about any of those. In this article, I will explain how to create an Azure subscription in which you pay for all the services you use. Although this will charge your credit card, this has the advantage that there is no limit to the amount of services you can consume. A Pay-As-You-Go account makes sense if you have a business and are using AZure as part of that business. Most recently, I went through this process when I registered as a Microsoft partner.
Instructions
To create a new Subscription, log into the Azure Portal. If you do not yet have an account associated with Microsoft, you may create one.
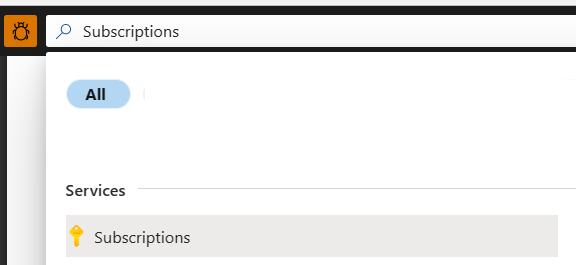
In the portal, search for "Subscriptions," as shown in Fig. 1.

Fig. 1
Select "Subscriptions" to open the "Subscriptions" blade, as shown in Fig. 2.

Fig. 2
Click the [Add] button to begin adding a new subscription. The portal will prompt for a type of subscription, as shown in Fig. 3.

Fig. 3
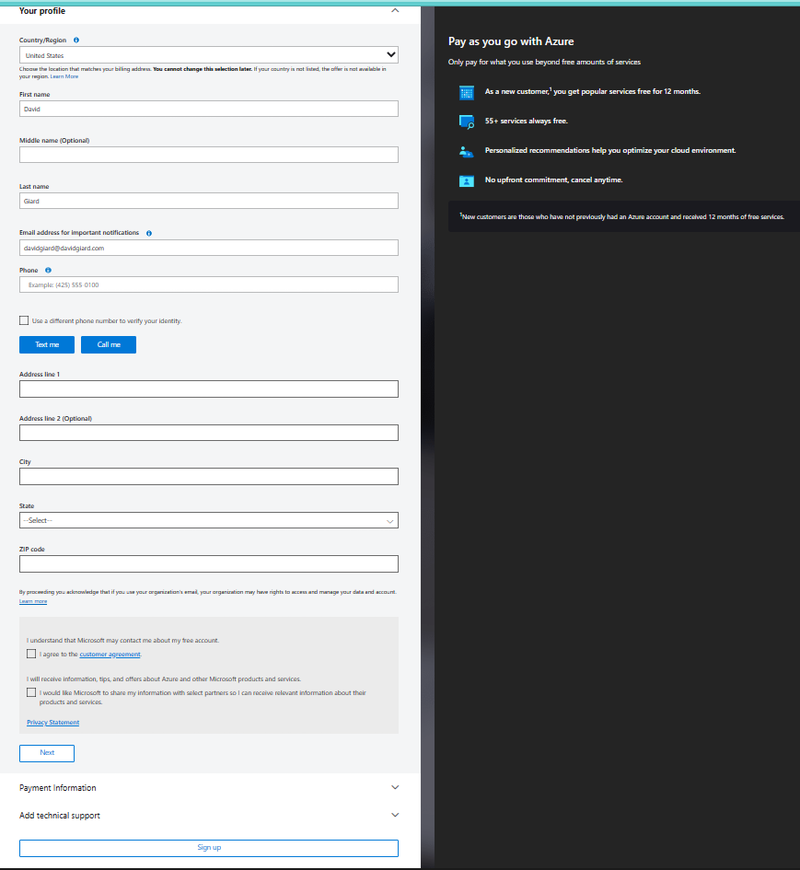
Click the [Select offer] button under "Pay-As-You-Go". The "Your profile" dialog displays, as shown in Fig. 4.

Fig. 4
Enter your name, email address, phone number, and mailing address.
Check the "customer agreement" checkbox. You may optionally check the checkbox allowing Microsoft to share your information with other partners.
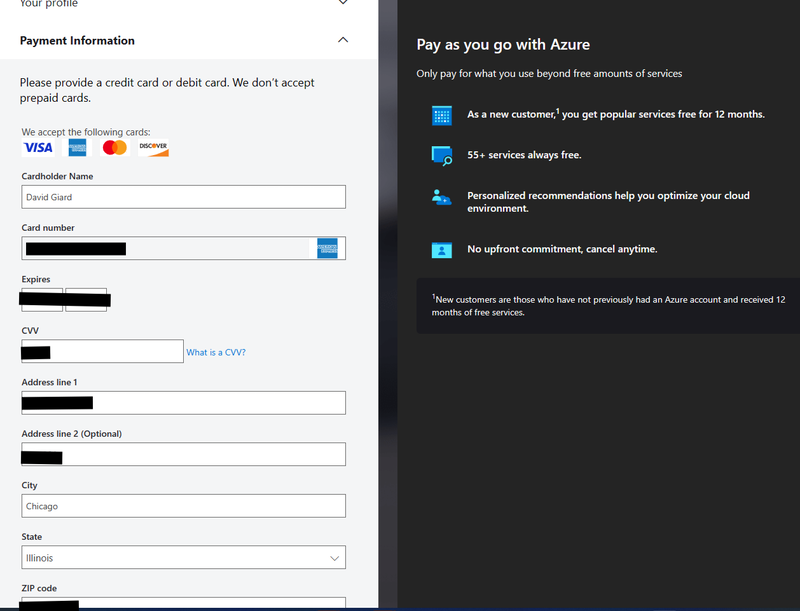
Click the [Next] button to display the "Payment information" dialog, as shown in Fig. 5.

Fig. 5
Enter information for a valid credit card and click the [Continue] button.
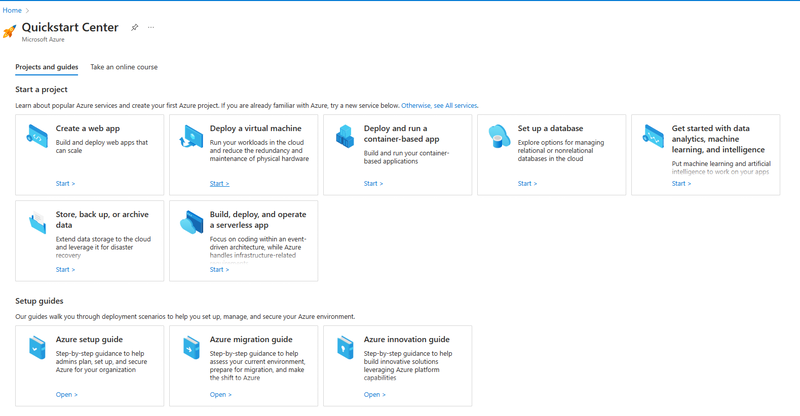
The Quickstart Center page displays, as shown in Fig. 6.

Fig. 6
You can begin using Azure from here or you can return to https://portal.azure.com and create resources.
Conclusion
In this article, I showed you how to create a new Azure Subscription using the Pay-As-You-Go model.