Overview
Azure can host a web application as an App Service that serves up a web site or web service in a highly scalable, highly reliable way.
Creating a Web App
To create a new Azure Web App, navigate to the Azure portal and click the [Create a resource] button (Fig. 1).
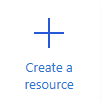
Fig. 1
If the [Create Web App] button (Fig. 2) displays, click the "Create" link below. it.

Fig. 2
If you do not see the [Create Web App] button, use the search box (Fig. 3) to search for a web app.
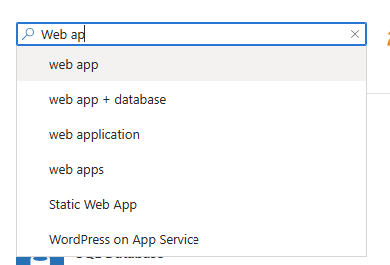
Fig. 3
From the search results, find the "Web App" panel (Fig. 4); then expand the dropdown at the bottom and click the [Web App] button, as shown in Fig. 5.
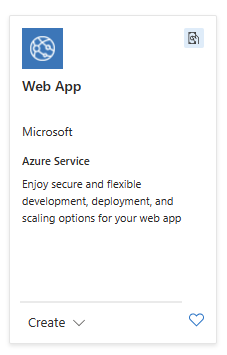
Fig. 4

Fig. 5
Basic Tab
Either of the above methods will display the "Create Web App" dialog with the "Basic" tab selected, as shown in Fig. 6.
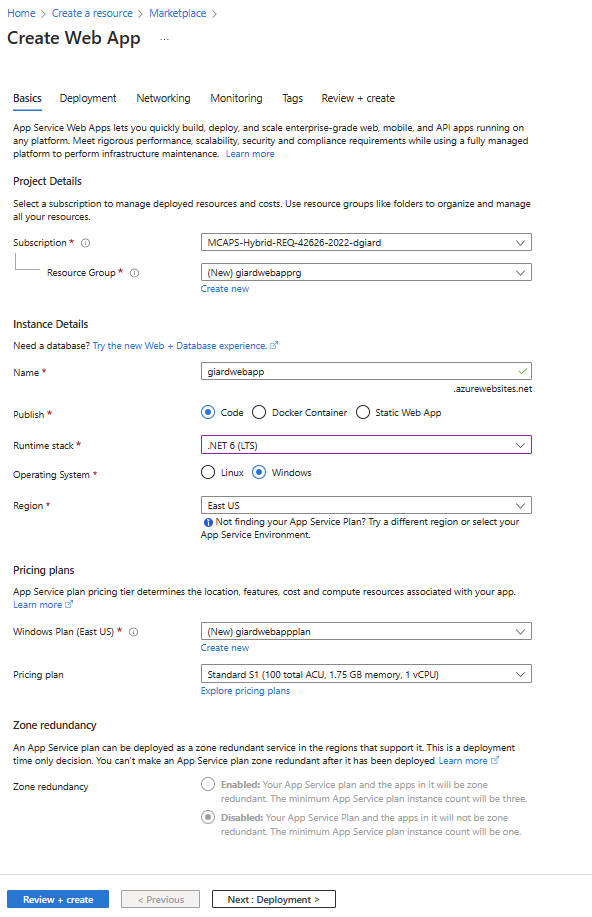
Fig. 6
At the "Subscription" dropdown, select the subscription into which you want to create the web app. Most of you will have only one subscription.
At the "Resource group" field, select an existing resource group that will contain your new web app or click "Create new" to create a new resource group.
At the "Name" field, enter a unique name for your web app. By default the default URL will be the text you enter here, followedby ".azurewebstites.net".
At the "Publish" field, select whether you want to create a dynamic web application ("Code"), a web app stored in a Docker container, or a static web site.
At the "Runtime stack" field, select from the available languages and platforms supported by Azure App Services, as shown in Fig. 7.
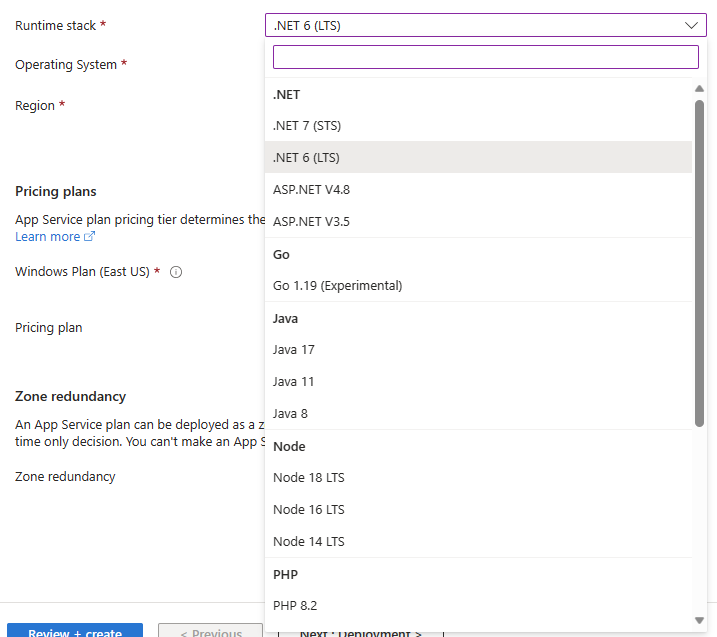
Fig. 7
At the "Operating System" field, select the operating system ("Linux" or "Windows") on which you want your application to run.
At the "Region" field, select the region in which to deploy this Web App. When selecting a region, consider the location of your users and of any resources on which the app depends. You want to minimize latency by keeping things close to one another, if possible.
At the "Windows Plan" field, select an existing Application Plan or click "Create new" to create a new plan. The plan determines the size of machines on which the app will run.
If you create a new Windows Plan, the "Pricing plan" field prompts you to select the machine size, as shown in Fig. 8.
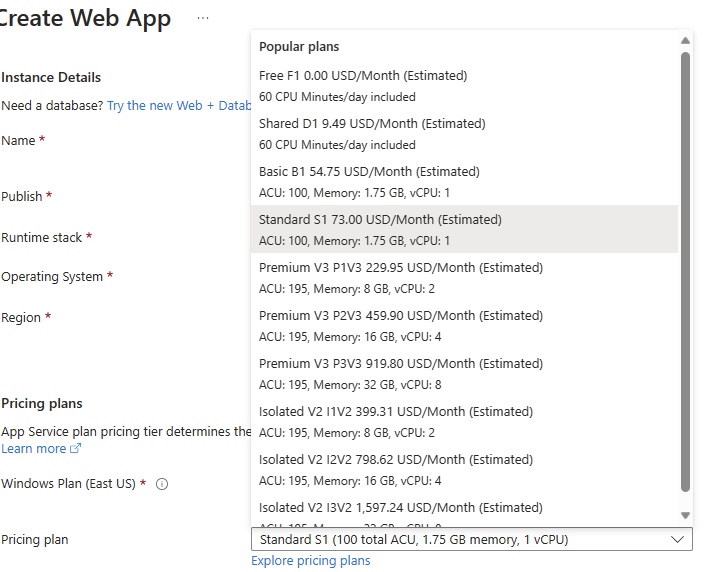
Fig. 8
At the "Zone Redundancy" field, select whether you want Azure to create multiple copies of your web app to support failover.
Other Tabs
The fields on the "Basic" tab are the only ones required. However you can select any of the four other tabs (Deployment, Networking, Monitoring, and Tags) and configure settings contained therein.
The "Deployment" tab (Fig. 9) allows you to configure a GitHub source code repository from which you can deploy code to this web app.
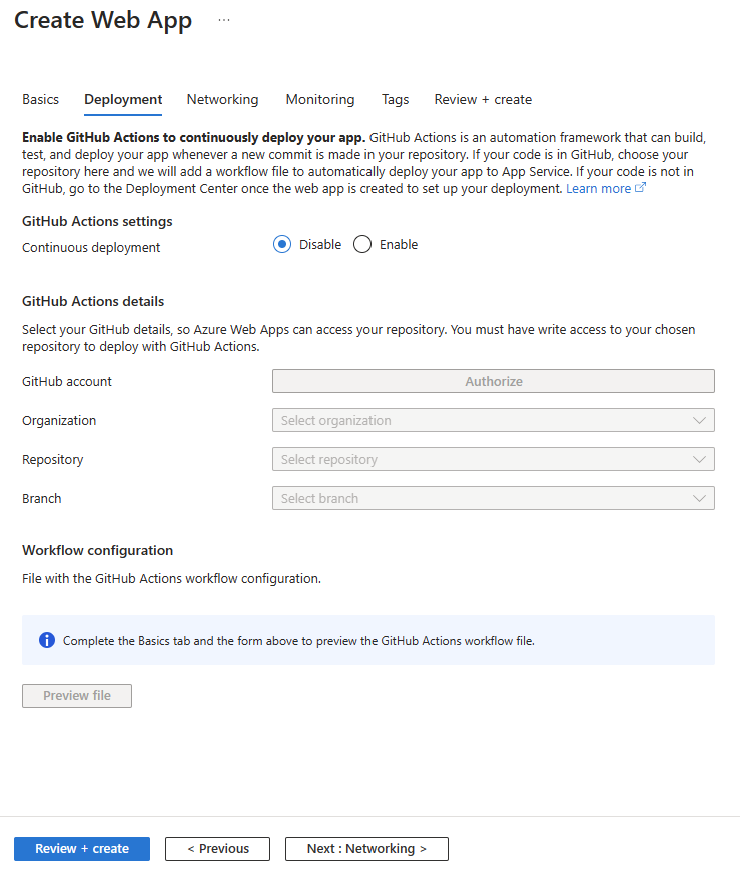
Fig. 9
On the "Networking" tab (Fig. 10), you can enable or disable access to the web app from the public Internet and be part of a virtual network.
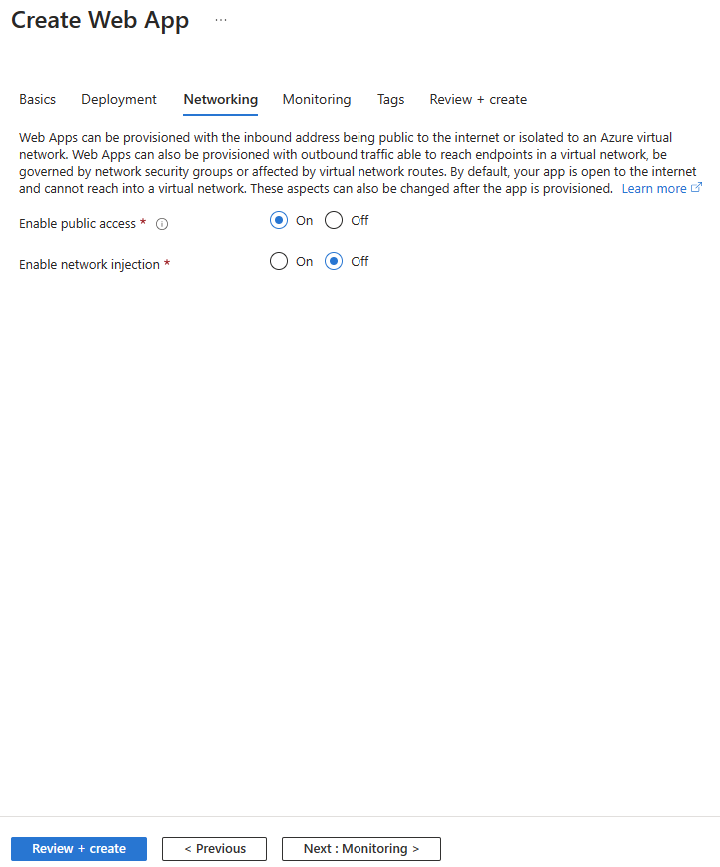
Fig. 10
The "Monitoring" tab (Fig. 11) allows you to enable and configure Application Insights so that events can be logged and analyzed later.
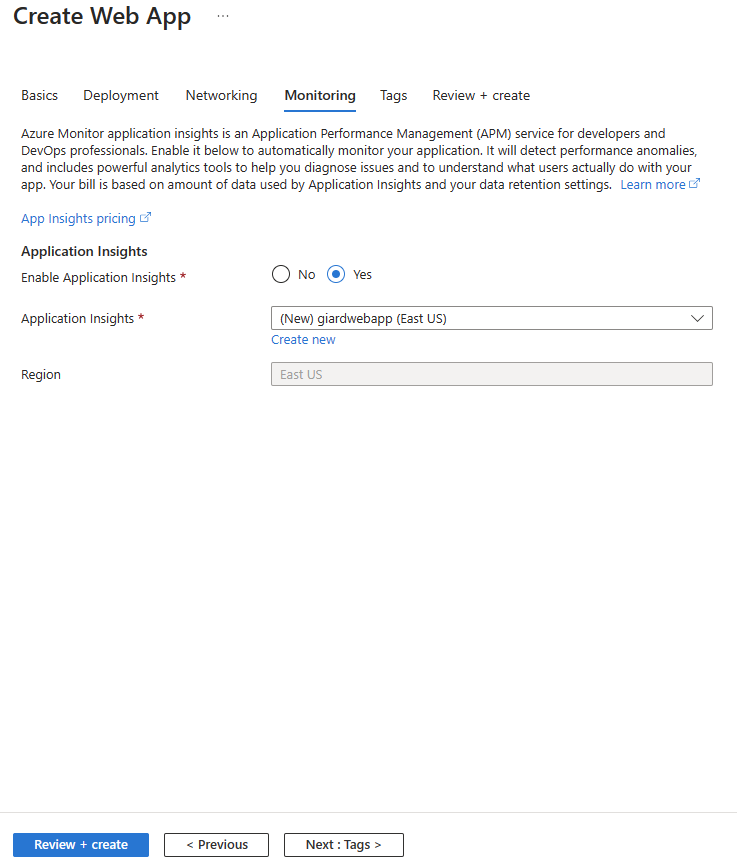
Fig. 11
On the "Tags" tab (Fig. 12), you can add name value pairs to the Web App. This is useful when grouping, filtering, and sorting on reports about Azure assets.
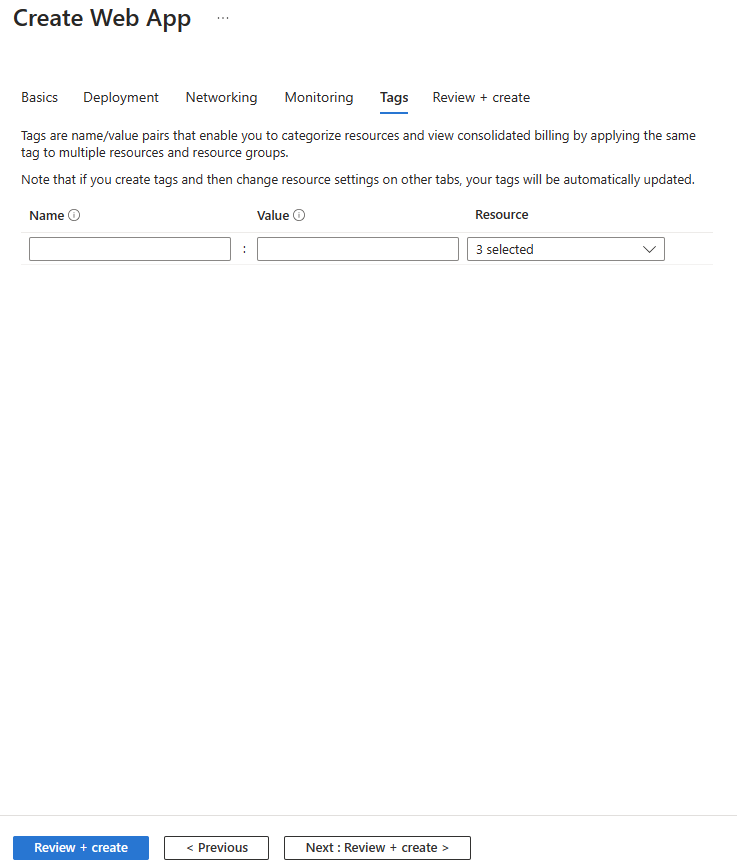
Fig. 12
After you have configured everything to your liking, navigate to the "Review + create" tab (Fig. 13).
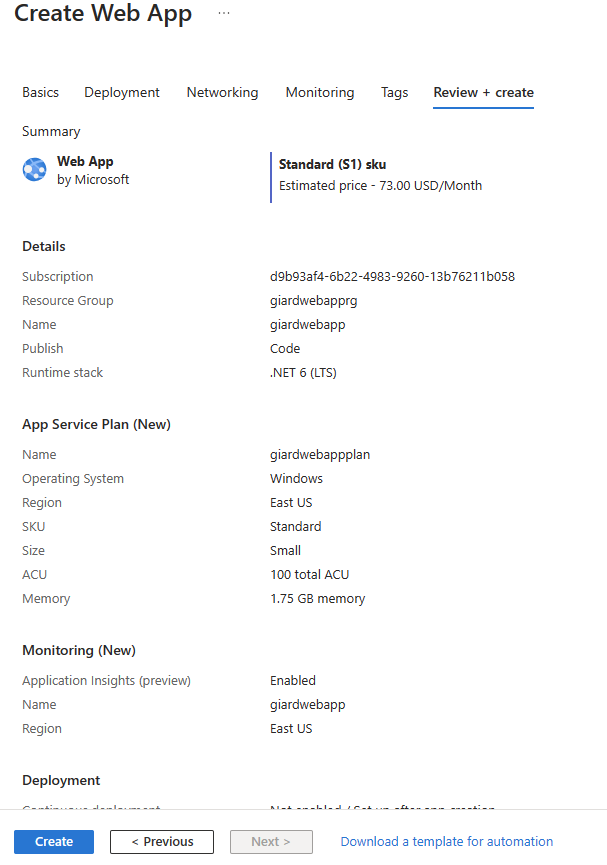
Fig. 13
If anything is missing or incorrect, an error will display and you will have the opportunity to correct it. Click the [Create] button to create the Web App.
The Deployed Web App
After a short time, the Web App is created and provisioned. Fig. 14 shows the "Overview" tab of a web app.
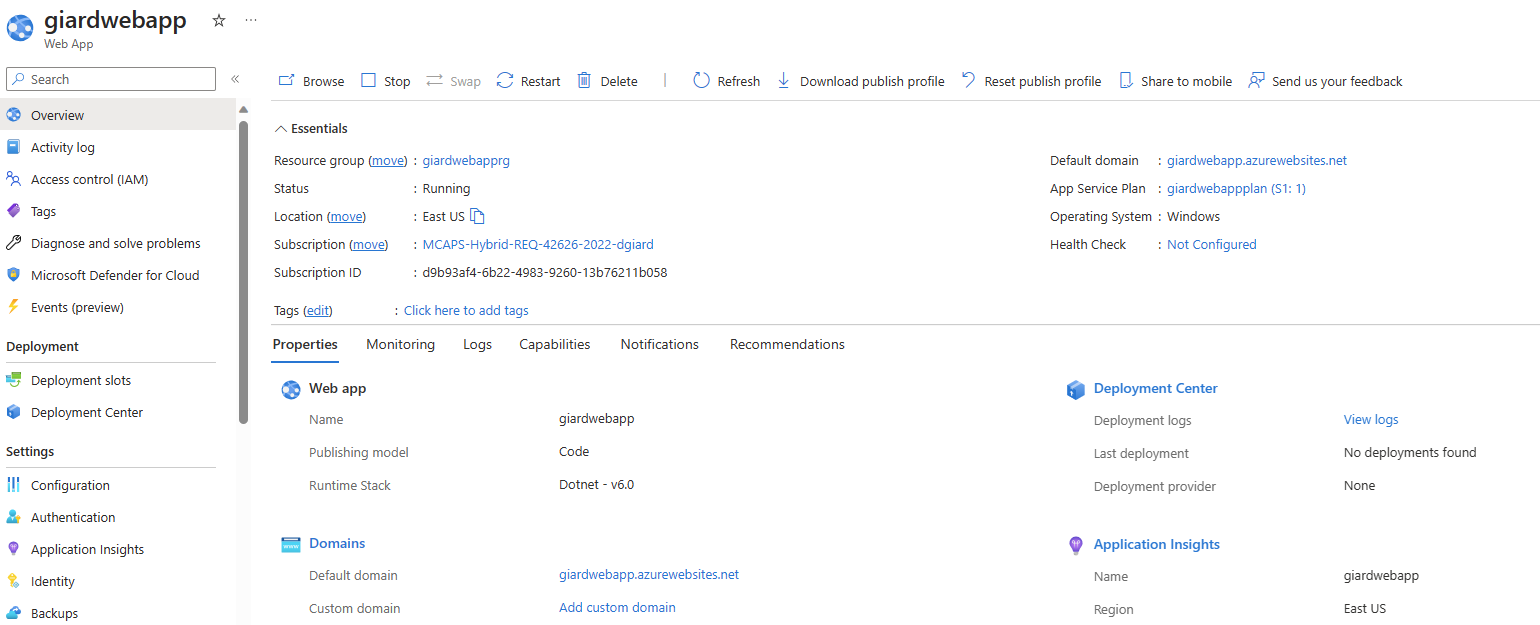
Fig. 14
Click the "Default domain" link (Fig. 15) to display the default home page created by Azure, as shown in Fig. 16.

Fig. 15
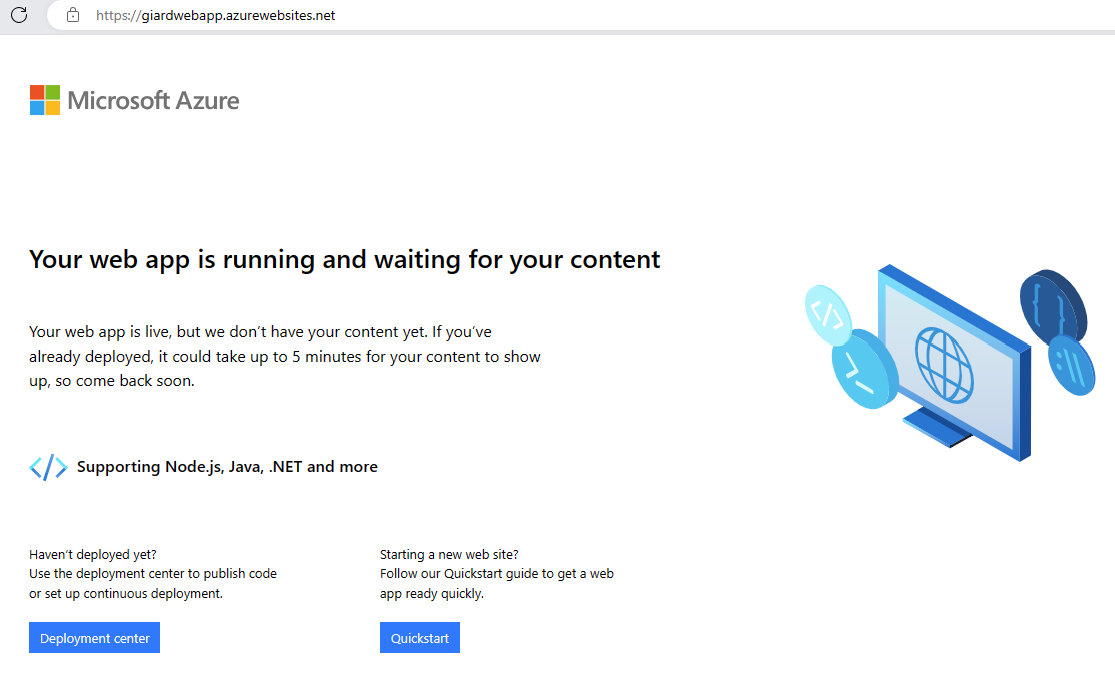
Fig. 16
Conclusion
In this article, I showed you how to create an Azure Web Application.