Microsoft Visual Studio Team System 2008 Database Edition (aka “Data Dude”) provides tools for managing and deploying SQL Server databases. In order to use Data Dude to manage an existing SQL Server database, the first step is to create a database project.
There are a couple key points you will need to know before using Data Dude.
1. The current version of Data Dude only works on SQL Server 2000 and SQL Server 2005. Visual Studio 2008 Service Pack 1 should provide support for SQL Server 2008. I will describe an example using SQL Server 2005.
2. The validation engine in Data Dude requires that you install either SQL Server or SQL Express on the same machine on which Data Dude is installed.
3. You must grant “Create database” rights in this database engine to the currently logged-in user.
Now, let’s discuss how to create a database project to manage an existing SQL Server 2005 database.
1. Open Visual Studio.
2. Select File | New Project… The New Project dialog displays
3. Under Project Type, select Database Projects\Microsoft SQL Server
4. Under Templates, select SQL Server 2005 Wizard.
5. Enter a meaningful name and location for this project.
Typically, my databases have names like “AdventureWorks_Dev” and “AdventureWorks_QA” which describe both the data and the environment to which the data belongs. Because a single database project is used for all environments, I name my database project to describe the data and follow it with “DB” to make it obvious it is a database project. In the above example, I would name my database project “AdventureWorksDb”. In this exercise, I’ll create a project named “TestDB”.
Figure 1
6. The New Database Project Wizard displays with the Welcome screen active.
7. At the Welcome screen, click the Next button to advance to the Project Properties screen. 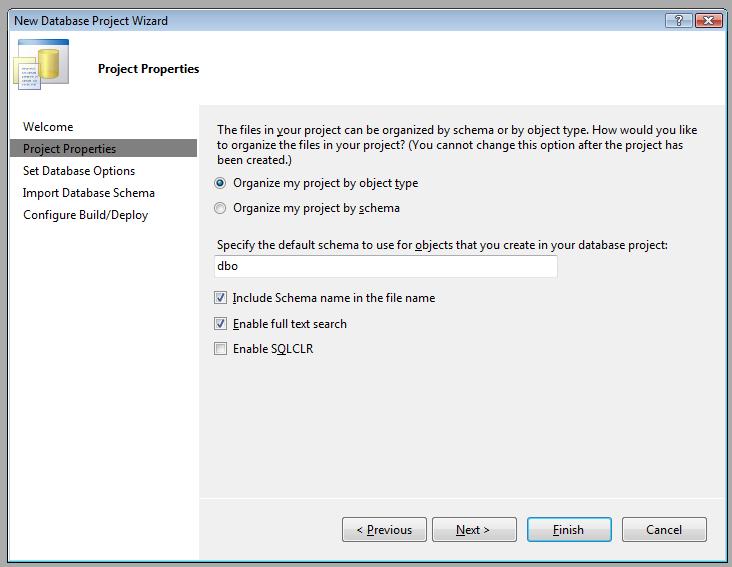
Figure 2
8. I almost never change the options on the Project Properties screen. If my database contains any stored procedures or functions written in C# or VB.Net, I will check the Enable SQLCLR checkbox.
9. Click the Next button to advance to the Set Database Options screen. 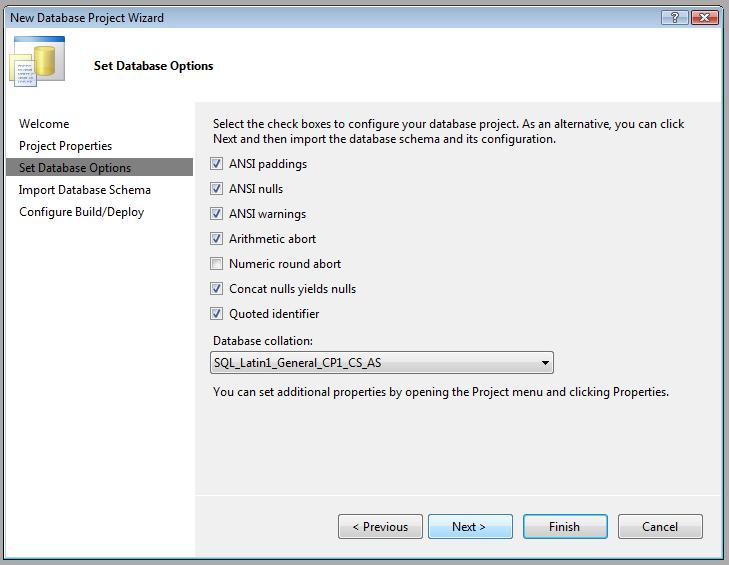
Figure 3
10. The options on the Set Database Options screen correspond to the settings you will find in SQL Server Management Studio when you right-click a database and select Properties. The defaults in the database project wizard are also the defaults in SQL Server. Since I seldom override these defaults in SQL Server, there is usually no reason to change them on this screen.
11. Click the Next button to advance to the Import Database Schema screen. 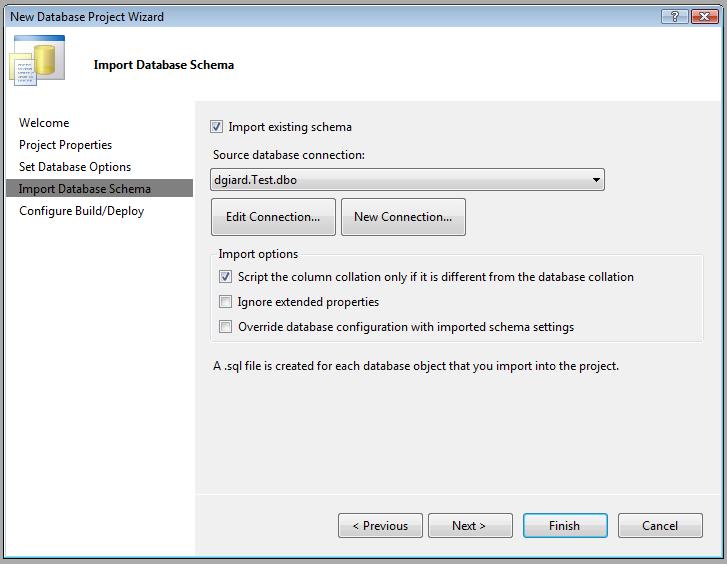
Figure 4
12. On the Import Database Schema screen, check the Import Existing Schema checkbox. This enables the Source database connection dropdown. If you already have created a connection to your database, select it from the dropdown. If you have not yet created a connection, click the New Connection button to create one now. The process for creating a database connection in Visual Studio hasn’t changed for several versions of the product so I won’t repeat it here. However it is worth noting that, although Data Dude requires that you have a local installation of SQL Server, the database you connect to here can be located on any server to which you have access. I always usually connect to the Development database because this is the first database I create for an application.
13. Click the Next button to advance to the Configure Build and Deploy screen. 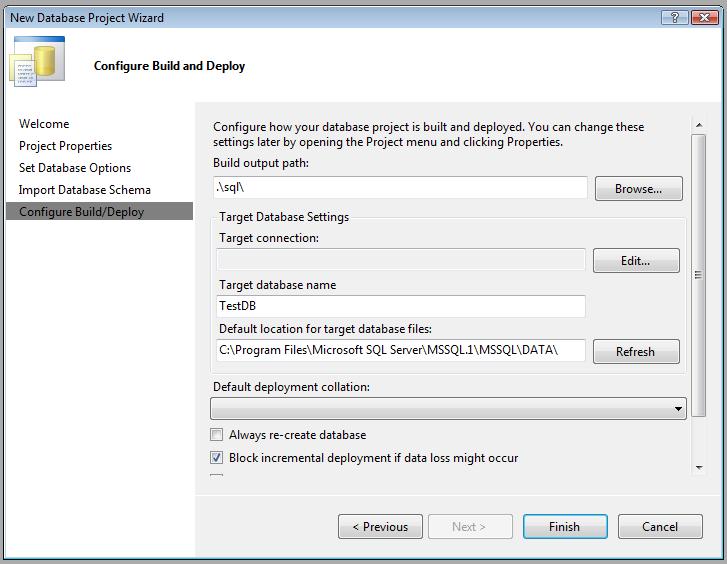
Figure 5
14. The Configure Build and Deploy screen contains settings that will take effect when you “deploy” your database project. Deploying a database project writes changes to the schema of a target database (specified in the Target database name field of this screen) and is accomplished by selecting the menu options Build | Deploy with the database project open and selected. Deploying is most useful when each developer has his own copy of the development database and needs a quick way to synchronize his schema with a master copy.
15. Click the Finish button to create the database project initialized with schema objects found in the source database and with the settings you chose in the wizard screens.
16. After Visual Studio finishes creating the database project, view the objects in the Solution Explorer (Select View | Solution Explorer). You should see a "Schema Objects" folder in the project containing a subfolder for each type of database object. Open the "tables" subfolder to view you will see files containing scripts for each table in your database. Double-click one of these script files to see the SQL code generated for you.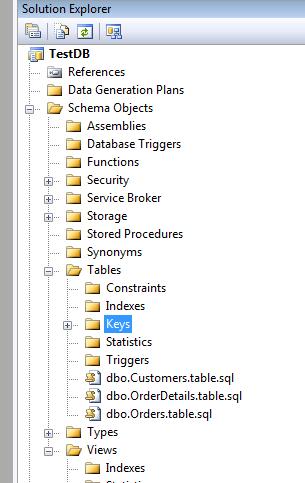
Figure 6
17. If you use a source control repository, such as TFS, you will want to check this project into the repository to make it easier to share with others.
As you can see, when you use the wizard to create your project, most of the work is done for you. You are able to change the default settings, but in most cases this is not necessary. Often, the only change I make on the wizard screens is when I select a database connection.
In the next article, we will discuss how to use the Schema Compare tool to bring data changes into or out of your database project.