Writing Unit Tests is an essential step in developing robust, maintainable code. Unit Tests increase quality and mitigate the risk of future code changes. However, relatively few developers take the time to write unit tests for their stored procedures. The primary reason for this is that few tools exist to test stored procedures.
Microsoft Visual Studio Team System 2008 Database Edition (aka “Data Dude”) provides tools to help developers write unit tests against SQL Server stored procedures. The tool integrates with MSTest, wich is a testing framework many developers are already using for their other unit tests.
In order to write unit tests for your stored procedures, those stored procedures must be in a database project. For information on how to create a database project from a SQL Server database see: /2008/08/11/DataDudeTutorial1CreatingADatabaseProject.aspx
This document describes how to create a database unit test.
1. Launch Visual Studio and open your Database Project.
2. Open the Schema View. Select View | Schema View.
3. Right-click a stored procedure and select Create Unit Test from the context menu. The Create Unit Tests dialog displays.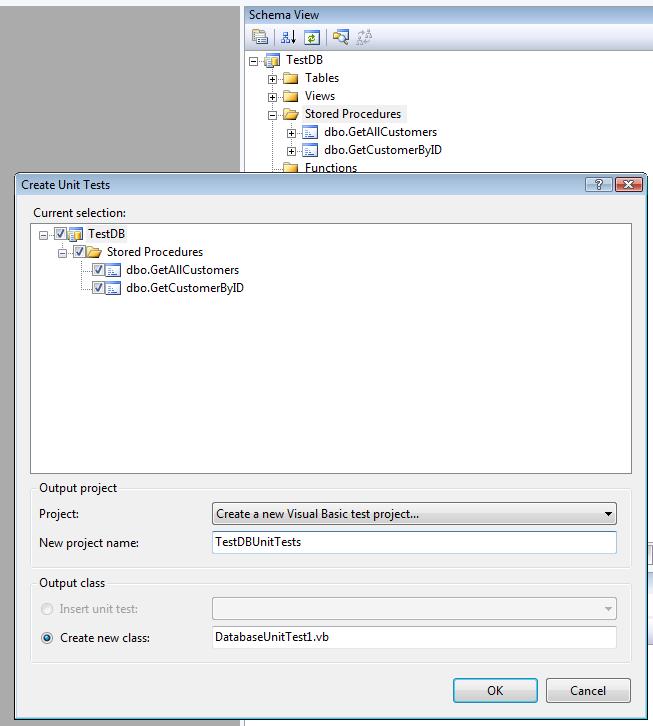
Figure 1
4. Check the checkboxes next to all the stored procedures for which you wish to create unit tests. Select the .Net language (Visual Basic .Net or C#) in which you want the automatic code to be generated. You won’t be modifying this code so it isn’t that important, but I tend to keep all my code in the same language, so you may as well choose your favorite language here. Enter a meaningful name for the Unit Test Project and class. I like to name my Unit Test projects the same as my database project, followed by “Tests” or “UnitTests”. If this is a new Database Unit Test Project, the Database Unit Test Configuration dialog displays.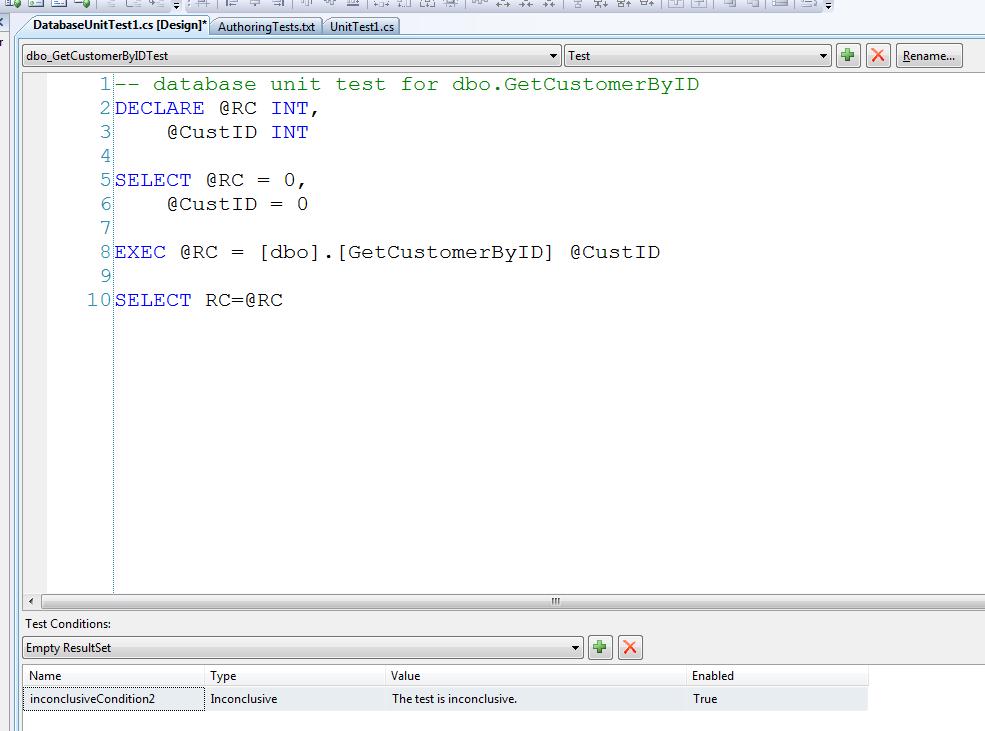
Figure 2
5. The Database Unit Test Configuration dialog allows you to specify what you want to occur when you run these unit tests. The dialog is organized into the following sections.
a. Database connections
i. Execute unit tests using the following data connection
This is the database against which tests will run. Typically I set this to my Development or QA database.
ii. Use a secondary data connection to validate unit tests
You may specify a different database to validate the syntax of your unit tests and test that all the objects you refer to exist. I can only think this might be good if you are writing tests while disconnected from your testing database, but I never set this option.
b. Deployment
i. Automatically deploy the database project before unit tests are run
To save manual steps, you may wish to check this box and deploy the database project to the database each time you run your unit tests. This slows down the testing step so I do not select this option. I prefer to deploy my changes once; then run my unit tests – sometimes several times.
c. Database state
i. Generate Test data before Unit tests are run
It is often useful to populate your database with some test data prior to your test run. Use this button to do this.
6. After creating your unit tests, you need to modify each one and specify what you are testing. Open the Solution Explorer (View | Solution Explorer).
7. Double-click the unit test class to open it in the unit test designer.
Figure 2
8. The Unit Test Designer contains some controls and two panes as described below.
a. A class can contain multiple tests. The first control is a dropdown that allows you to select which test you are designing.
b. To the right of the Test Name dropdown is another dropdown that allows you to specify what part of the test you are writing. You can choose between the test itself, the “Pre-test” (which runs before the test is executed) and the “Post-test” (which runs after the test has completed – successfully or unsuccessfully).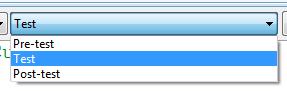
Figure 3
c. Further to the right are three buttons that allow you to add a new test or to delete or rename the currently active test.
d. Below the controls is the test editor. This is where you will write your test. You will write your test in T-SQL and Data Dude provides some stub code to get you started. Write SQL statements that call your stored procedure and return one or more results.
e. Below the test editor is the Test Conditions pane. It is here that you enter your assertions. 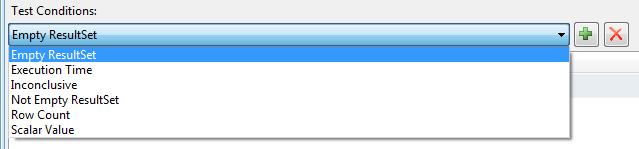
Figure 4
i. You can test for a given result set having 0 rows, 1 or more rows, or an exact number of rows.
ii. You can also test if a specific column and row in a given result set evaluates to a given value.
iii. Click the “+” button to add new assertions. Highlight an existing assertion row and edit the row or click the “x” button to remove the assertion.
iv. Use the properties window to modify properties of the assertion. Many assertions are based on a given resultset. When I first started writing unit tests, I found it difficult to determine which resultset was which. Basically, any line in your SQL script that begins with the word “SELECT” creates a resultset. Each resultset is numbered, beginning with 1, in the order it is created in your script. I sometimes find it useful to copy the SQL code and paste it into SQL Management Studio query window and run it. Each resultset then appears in a separate grid in the Results pane. Looking at these grids allows me to more easily see a sample result set and in what order they are created.
f. You run your database unit tests the same ways you run any MS Test unit test. One way to run the tests is to open the Test List Editor (Test | Windows | Test List Window), check the tests you want to run, and click the Run Checked Test toolbar button. Tests in which all assertions prove true are passed; all others are failed.
Using Data Dude, you can extend your unit tests to cover your database objects and, therefore, improve the overall quality and maintainability of your code.