As I discussed in a previous article, Microsoft Cognitive Services includes a set of APIs that allow your applications to take advantage of Machine Learning in order to analyze, image, sound, video, and language.
Your application uses Cognitive Services by calling one or more RESTful web services. These services require you to pass a key in the header of each HTTP call. You can generate this key from the Azure portal.
If you don't have an Azure account, you can get a free one at https://azure.microsoft.com/free/.
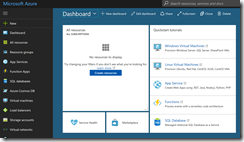
Once you have an Azure Account, navigate to the Azure Portal.
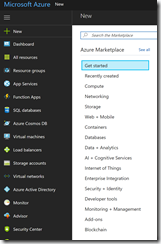
Here you can create a Cognitive Services API key. Click the button in the top left of the portal (Figure 2)
It’s worth noting that the “New” button caption sometimes changes to “Create a Resource” (Figure 2a)
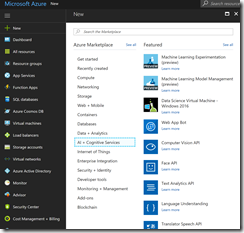
From the flyout menu, select AI+Cognitive Services. A list of Cognitive Services displays. Select the service you want to call. For this demo,I will select Computer Vision API, as shown in Figure 3.
The Face API blade displays as shown in Figure 4.
At the Name textbox, enter a name for this service account.
At the Subscription dropdown, select the Azure subscription to associate with this service.
At the Location dropdown, select the region in which you want to host this service. You should select a region close to those who will be consuming the service. Make note of the region you selected.
At the Pricing Tier dropdown, select the pricing tier you want to use. Currently, the choices are F0 (which is free, but limited to 20 calls per minute); and S1 (which is not free, but allows more calls.) Click the View full pricing details link to see how much S1 will cost.
At the Resource Group field, select or create an Azure Resource Group. Resource Groups allow you to logically group different Azure resources, so you can manage them together.
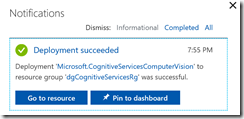
Click the [Create] button to create the account. The creation typically takes less than a minute and a message displays when the service is created, as shown in Figure 5.
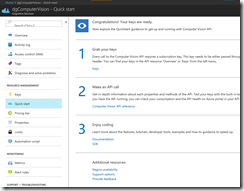
Click the [Go to resource] button to open a blade to configure the newly-created service. Alternatively, you can select "All Resources" on the left menu and search for your service by name. Either way, the service blade displays, as as shown in Figure 6.
The important pieces of information in this blade are the Endpoint (on the Overview tab, Figure 7) and the Access Keys (on the Keys tab, as shown in Figure 8). Within this blade, you also have the opportunity to view log files and other tools to help troubleshoot your service. And you can set authorization and other restrictions to your service.
The process is almost identical when you create a key for any other Cognitive Service. The only difference is that you will select a different service set in the AI+Cognitive Services flyout.
