Microsoft Power Automate (formerly Microsoft Flow) and Azure Logic Apps solve similar problems. You can use either one to create a workflow hosted in the cloud. However, Logic Apps tend to be more powerful. If you create a Power Automate flow, you may eventually run into its limitations and wish to recreate the same workflow in Logic Apps.
Fortunately, this can be done in just a few steps.
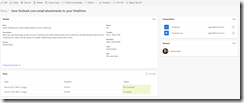
Navigate to https://flow.microsoft.com, sign in and select the flow you wish to migrate under "My Flows". The details of the flow displays, as shown in Fig. 1.
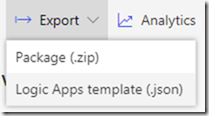
From the top toolbar, select Export | Logic Apps template (.json), as shown in Fig. 2.
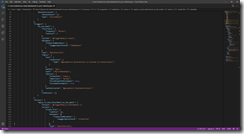
A JSON file will be created and automatically downloaded. Fig 3 shows a section of this file.
Navigate to the Azure Portal (https://portal.azure.com) and login. Click the [Create a Resource] button (Fig. 4) and search for "Template deployment (deploy using custom templates), as shown in Fig. 5.
Select "Template deployment" to display the info page for this service shown in Fig. 6.
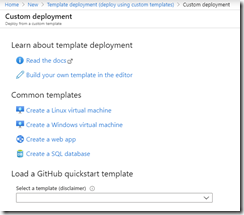
Click the [Create] button to display the "Custom deployment" start page, as shown in Fig. 7.
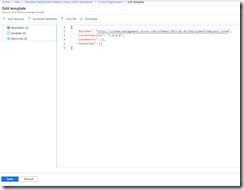
Click "Build your own template in the editor" to display the template editor, as shown in Fig. 8.
Click the [Load file] button (Fig. 9); then navigate to and select the JSON file you exported above.
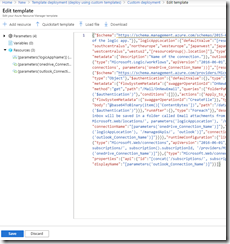
The exported JSON displays, as shown in Fig. 10.
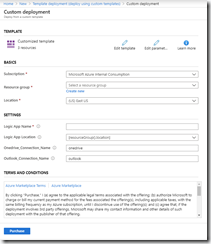
Click the [Save] button to open the "Custom deployment" dialog with settings from the JSON file, as shown in Fig. 11.
Fill in the desired Resource Group and Logic App name, check the "I agree" checkbox, and click the [Purchase] button to create the Logic App.
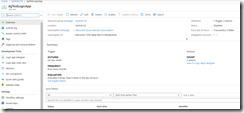
After a few seconds, your logic app will be available. At this time, you can open it and change any settings you wish, as shown in Fig. 12.
It may be necessary to authenticate against any API connectors, so check these before testing your Logic App.
In this article, you learned how to export a Power Automate flow and import it into an Azure Logic App.
