In a previous article, I showed you how to create a new Azure Function with an HTTP trigger.
After you create an Azure Function, it is useful to be able to test it right in the Azure Portal.
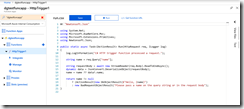
To test an Azure function, log into the Azure Portal, open the Function App, and select your Function, as shown in Fig. 1
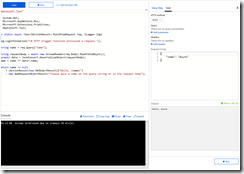
Click the [Run] button (Fig. 2) above the Function to open a Log output window and a Testing dialog, as shown in in Fig. 3.
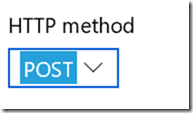
In the Test dialog on the right, you can change the HTTP verb by selecting either "POST" or "GET" in the "HTTP method" dropdown, as shown in Fig. 4.
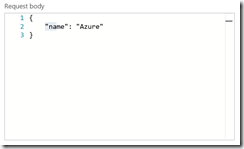
If you select the "POST" HTTP method, the "Request body" section (Fig. 5) is enabled and you can modify the data you want to send in the HTTP Body of your request.
You can add querystring parameters to your request by clicking the "+ Add parameter" link under "Query" (Fig. 6) and entering a name and value of the parameter, as shown in Fig. 7.
Repeat this for as many querystring parameters as you need.
Similarly, you can add name/value pairs to the HTTP header of your request by clicking the "+ Add header" link and entering the name and value of each header, as shown in Fig. 8.
When everything is configured the way you want, click the [Run] button at the bottom (Fig.9) to call the web service and trigger your function.
The "Output" section (Fig. 10) will display the HTTP response, as well as any text returned in the body of the response. Any response between 200 and 299 is good; any response of 400 and above indicates an error.
If you function outputs log information, you will see this in the Log output window, as shown in Fig. 11.
In this article, I showed how to test a function from within the Azure portal. You should create more sophisticated automated test as part of your build/deploy process, but this serves as a good, simple way to make sure your function is behaving as expected after you create it.


