Uploading, Encoding, and Sharing a Video with Azure Media Services
August 21, 2018 7:58 Comments [0]Azure Media Services allows you to manage video content in a highly-scalable, highly secure way.
Videos and associated files are saved as "Assets" and stored in Azure Blob Storage. You can live stream videos or upload video files from your local system.
In this article, I will walk through the steps to upload, encode, and share a video.
The steps are:
- Create a new Azure Media Service
- Upload a video
- Encode the video
- Play the encoded video in the Azure portal
- Share the video in another player
Create a new Azure Media Service
The first step is to create a new Azure Media Service. You will need an Azure account to do this.
Navigate to the Azure portal and log in.
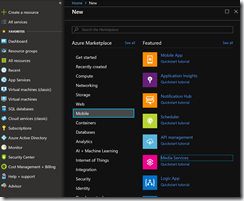
Click the [Create a Resource] button (Fig. 1) at the top left of the portal.
From the menu, select Mobile | Media Services, as shown in Fig. 2.
The "Create Media Service" blade displays, as shown in Fig. 3.
At the "Account Name" field, enter a unique name for your Azure Media Service Account.
At the "Resource Group" field, select the "Create new" radio button and enter a unique name for the resource group in which to store this Media Service.
At the "Location" dropdown, select an Azure region that is close to you.
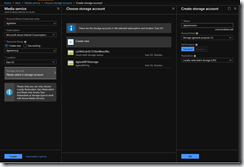
Click the arrow next to the "Storage Account" prompt to expand the "Choose storage account" blade; then, click "Create new" in this blade to display the "Create storage account" blade, as shown in Fig. 4.
Enter a unique name for the storage account in which to store your media assets and click the [OK] button.
Click the [Create] button in the "Create Media Service" blade to begin creating the service. This may take a a minute or so.
Upload a video
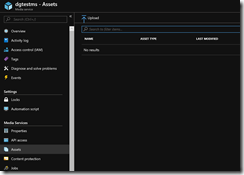
After the Media Service is created, open the service and select "Assets" to open the "Assets" blade, as shown in Fig. 5.
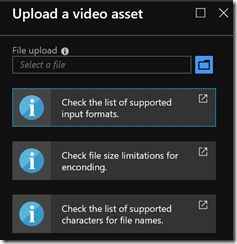
Click the [Upload] button (Fig. 6) to display the "Upload a video asset" blade, as shown in Fig. 7.
Click the Folder icon (Fig. 8) and select a video from your local computer.
A progress bar indicates when the video has been uploaded. After your video is uploaded, close the "Upload a video asset" blade and return to the "Assets" blade. The video should now appear in the Asset list, as shown in Fig. 9.
Encode the video
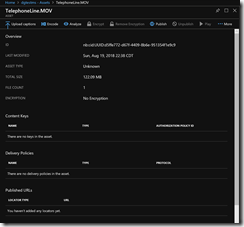
In the "Assets" blade list, click on the uploaded video asset to display a property blade for the video asset, as shown in Fig. 10.
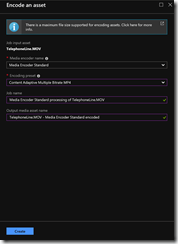
Click the [Encode] button (Fig. 11) to open the "Encode an asset" blade, as shown in Fig. 12.
In the "Encoding preset" dropdown, you may select the desired output format, but the default ("Content Adaptive Multiple Bitrate MP4") works well for this demo.
Click the [Create] button to begin encoding.
You can close the property asset blade now.
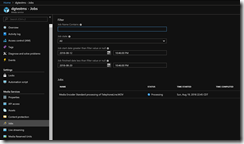
By staring encoding, you created a new Job for this media service. View this job by selecting "Jobs" in the Media Service blade, which displays the "Jobs" blade, as shown in Fig. 13.
Note the status of the job you created, which will first be "Queued"; then "Processing"; then "Finished".
When the job is Finished (Fig. 14), close the "Jobs" blade and return to the "Assets" blade, where you should see a new Asset, representing the encoded video.
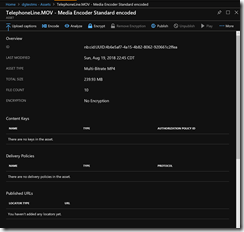
Click the encoded asset to open its property page, as shown in Fig. 15.
Click the [Publish] button to display the corresponding "Publish the asset" blade, as shown in Fig. 16.
Check the checkbox next to "To begin streaming, start running 'default' streaming endpoint".
Click the [Add] button to publish the encoded video asset.
Play the encoded video in the Azure portal
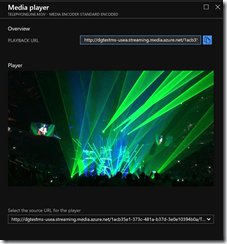
When the endpoint has started, the [Play] button in the encoded Asset property page is enabled (Fig. 17). Click the [Play] button to open the Media Player blade within the portal, as shown in Fig. 18.
Copy the PLAYBACK URL to use in the next step. It will look something like this:
http://dgtestms-usea.streaming.media.azure.net/1acb35e1-373c-481a-b37d-3e0e10394b0a/TelephoneLine.ism/manifest
Share the video in another player
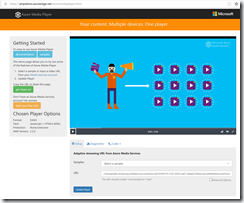
It is unlikely your users will have access to your Azure Portal, so you should send them a link with a player they can use. You can use the free Azure Media Player to share your video.
Navigate to https://ampdemo.azureedge.net/azuremediaplayer.html
The page in Fig. 19 displays.
In the URL field, paste your PLAYBACK URL (without the "http://") that you copied from the Azure Portal. It should look something like this:
dgtestms-usea.streaming.media.azure.net/1acb35e1-373c-481a-b37d-3e0e10394b0a/TelephoneLine.ism/manifest
Click the [Update Player] button. Your video should start playing.
To share this video and its players with others, click the [get share url] button and the displayed code. It should look something like this:
https://aka.ms/azuremediaplayer?url=%2F%2Fdgtestms-usea.streaming.media.azure.net%2F1acb35e1-373c-481a-b37d-3e0e10394b0a%2FTelephoneLine.ism%2Fmanifest
You can email this link to others or create a link on your web page.
Click on the dropdown next to the "Code" tab to see other ways to share this video and player.
In this article, I showed you how to upload, encode, and share a video using Azure Media Services.

