In an earlier article, I showed how to create an Azure Media Service; then, upload, encode, and share a video with that service.
In this article, I will show how to live-stream video content using Azure Media Services.
You will need to install some streaming software on your computer to do this. I chose Wirecast by Telestream. You can download a free trial at https://www.telestream.net/wirecast/overview.htm. You may use any software you like.
The 3 steps to live streaming with Azure Media Services are:
- Configure an Azure Media Service
- Stream your content with streaming software
- Share the stream
STEP 1: CONFIGURE AZURE MEDIA SERVICE
First, create an Azure Media Service, as described in Step 1 of this article.
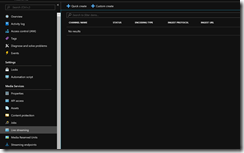
Open your Azure Media Service and select "Live Streaming" from the menu to open the "Live Streaming" blade, as shown in Fig. 1.
In the "Live Streaming" blade, click the [Quick create] button (Fig. 2) to open the "Quick Create Channel" blade, as shown in Fig. 3.
At the "Name" field, enter a name for this channel.
Verify that the "Automatically start the channel after creation" checkbox is checked.
Click the [Create] button to create the channel.
After a few minutes, the channel will display with a status of "Running" in the list on the "Live Streaming" blade, as shown in Fig. 4.
NOTE: The Quick Create option creates a channel with RTMP protocol, Pass Through encoding, and no IP restrictions on viewing the stream. This works fine in many cases; but, if you would like different settings, you can click the [Custom create] button instead.
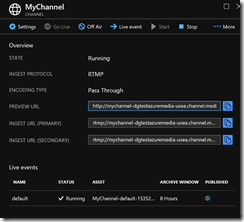
Click the channel in the list to open a blade for that channel's details, as shown in Fig. 5.
Note the INGEST URL (Primary) field. You will need this in your streaming software. The icon to the right allows you to copy this value to your clipboard.
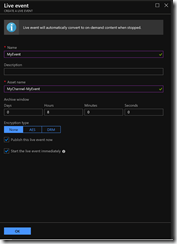
Click the [Live event] button (Fig. 6) at the top of the Channel blade to open the "Live Event" blade, as shown in Fig. 7
At the "Name" field, enter a name for your Live Event. It must be unique for this channel.
Click the [OK] button to create and start the live event.
PART 2: STREAMING SOFTWARE
You will need to configure your streaming software to stream to Azure Media Service. The instructions below are for Wirecast, but you may use any streaming software you like.
Launch Wirecast.
From the menu, select Output | Output Settings.
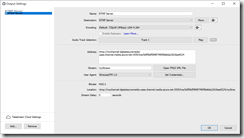
If prompted, set the Destination to "RTMP Server" and click [OK], as shown in Fig. 6
The "Output Settings" window displays, as shown in Fig. 7.
In the "Address" field, paste the INGEST URL (Primary) value from the Azure Media Service channel blade from Step 1.
The Layers are at the bottom of the Wirecast UI. Select the [+] icon to the left of the first layer, as shown inf Fig. 8.
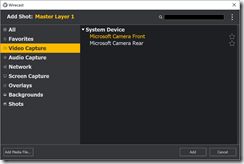
In the "Add Shot" dialog, expand video capture and select your front facing camera and click the [Add] button, as shown in Fig. 9.
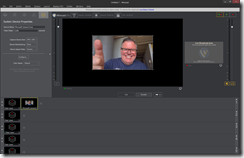
You will see the image from the camera in the Preview window, as shown in Fig. 10
NOTE: Alternatively, you may wish to share a screen capture or a different camera or one of the other options.
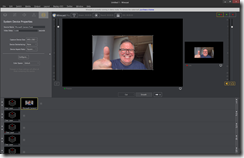
The image captured from your camera will display in the "Preview" window. Make this the live image by clicking the "Go" button (Fig. 11) below the Preview window.
The image will now also appear in the Live window to the right of the Preview window, as shown in Fig. 14
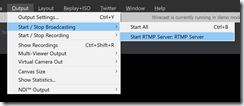
From the menu, select Output | Start/Stop Broadcasting | Start RTMP Server, as shown in Fig. 15.
An error displays if the channel is not running or if you improperly copied the Ingest URL.
PART 3: SHARE YOUR LIVE STREAM
Return to the Azure portal and open the "Live Event" blade, as described above.
Click the [Watch] button (Fig. 16)
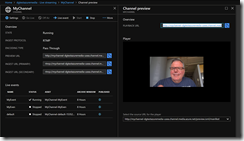
If successful, you should see your live stream in a preview window, as shown in Fig. 17.
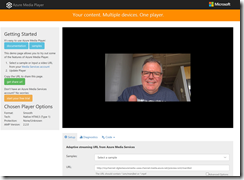
You can share the video by copying the "PLAYBACK URL" into any player. I did so using the Azure Media Player The results are shown in Fig. 18.
In this article, I showed you how to use Azure Media Services to live stream a video.
