Overview
Azure Active Directory (AAD) provides groups as a way to manage multiple users together. After you create a Group, you can add Users to that Group. This article walks you through the process of adding Users to an AAD Group.
Adding a User to a Group
To add Users, first log onto the Azure Portal as an Administrator; then search for Azure Active Directory, as shown in Fig. 1.

Fig. 1
The "Overview" blade of Azure Active Directory displays, as shown in Fig. 2.
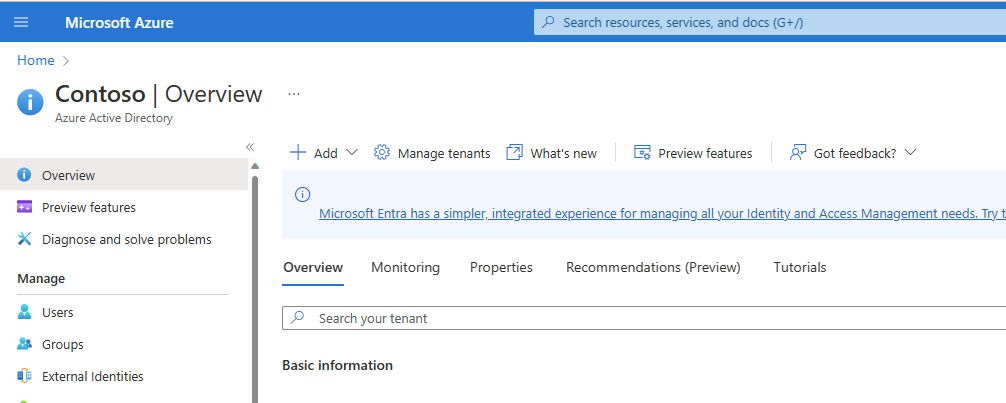
Fig. 2
In the left menu, click the [Groups] button (Fig. 3) to open the "All Groups" blade, as shown in Fig. 4.

Fig. 3
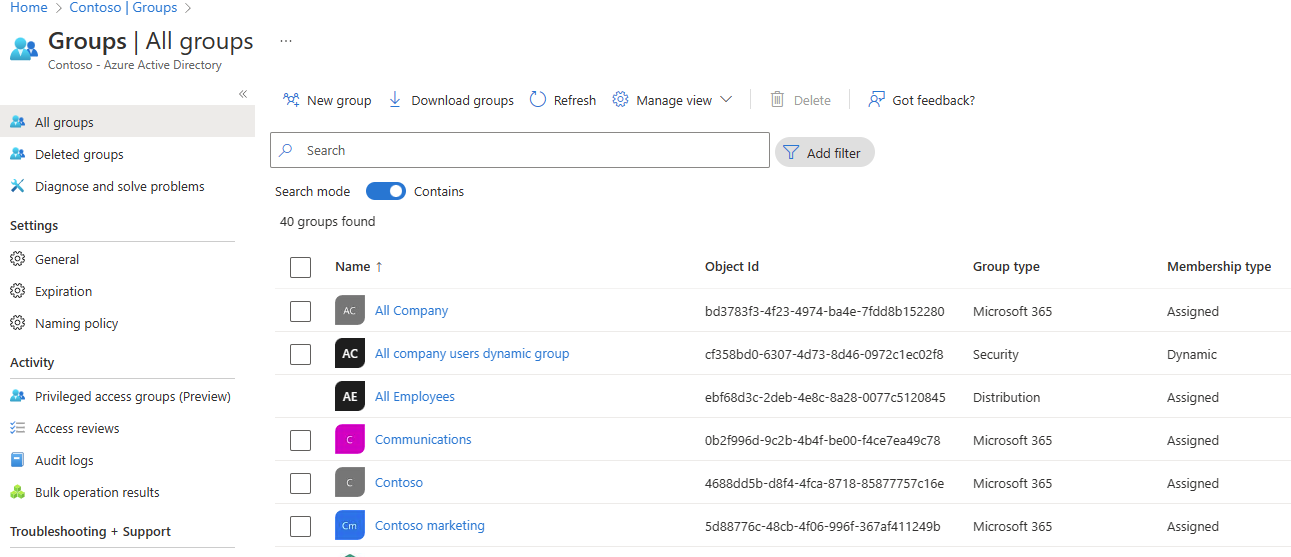
Fig. 4
Find your Group by entering text in the search text box at the top of the blade, as shown in Fig. 5.
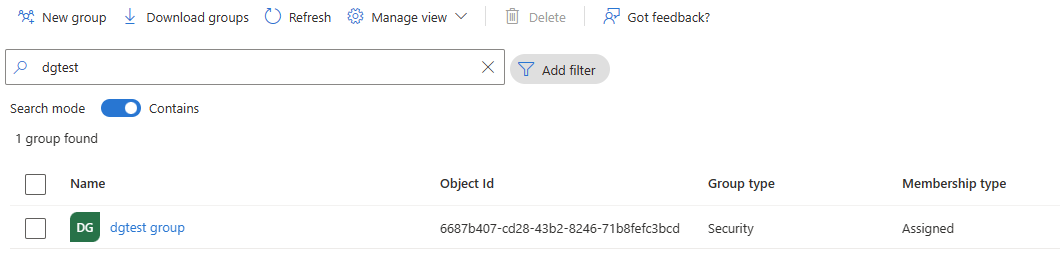
Fig. 5
Click the name of the group to display the group's "Overview" blade, as shown in Fig. 6.
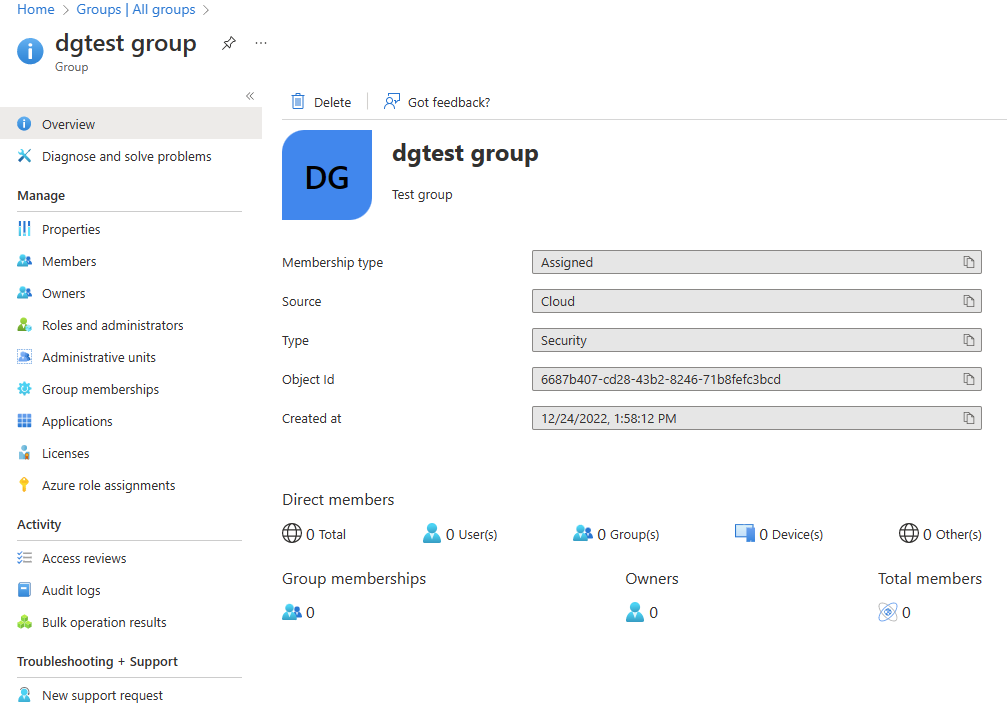
Fig. 6
Click the [Members] button (Fig. 7) in the left menu to display the "Members" blade, as shown in Fig. 8.

Fig. 7

Fig. 8
To add members, click the [Add members] button (Fig. 9) to display the "Add members" dialog, as shown in Fig. 10.

Fig. 9
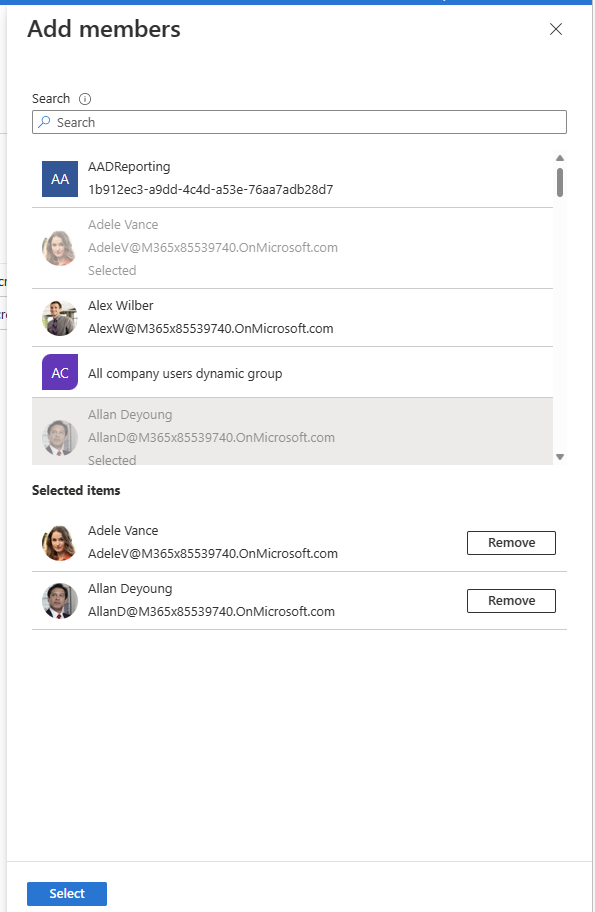
Fig. 10
Search for and Select the Users you wish to add to this Group. They will display under the "Selected items" section. You can click the [Remove] button next to a User to remove them from this list. Click the [Select] button to commit these changes. A list of all members of the Group will display, as shown in Fig. 11.

Fig. 11
NOTE: Click the [Refresh] button if you do not see the Users you just added to the Group.
Now, any permissions you apply to the Group will apply to all Users who are members of this Group.
Conclusion
In this article, you learned how to add Users to an Azure Active Directory Group.