Overview
Dealing with and managing individual Users in Azure Active Directory (AAD) can be a challenge - particularly when your organization has many Users. The same can be said for managing many Devices in AAD. To help, AAD allows you to create Groups and add Users and Devices into these Groups. You can then manage many Users or Devices simultaneously by managing the Group or Groups to which they belong. You can add Users or other Groups or Devices to an AAD Group.
Types of Groups
AAD provides two kinds of Groups: Security Groups and Microsoft 365 Groups.
A Security Group allows you to set security permissions on the entire Group. You can allow or deny an entire Group to perform a specific action (e.g., read, create, or update) on a specific asset or set of assets.
A Microsoft 365 (M365) Group is used for communication, allowing you to send email messages to an entire Group of Users at once. This replaces what was once called a Distribution Group.
Membership Types
AAD allows a Group to be either Assigned or Dynamic. You will explicitly add Users and Groups to an Assigned Group. For a Dynamic Group, you will enter a set of criteria. Only Users or Devices matching that criteria are added to the Group.
Creating a Group
To manage AAD Groups, log onto the Azure Portal as an Administrator; then search for Azure Active Directory, as shown in Fig. 1.
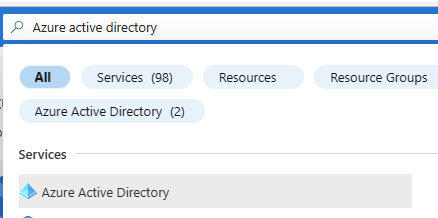
Fig. 1
The "Overview" blade of Azure Active Directory displays, as shown in Fig. 2.
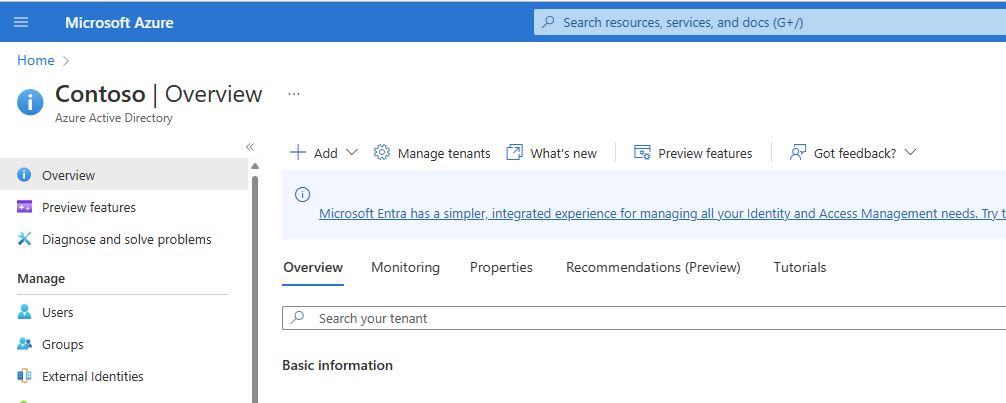
Fig. 2
In the left menu, click the [Groups] button (Fig. 3) to open the "All Groups" blade, as shown in Fig. 4.

Fig. 3
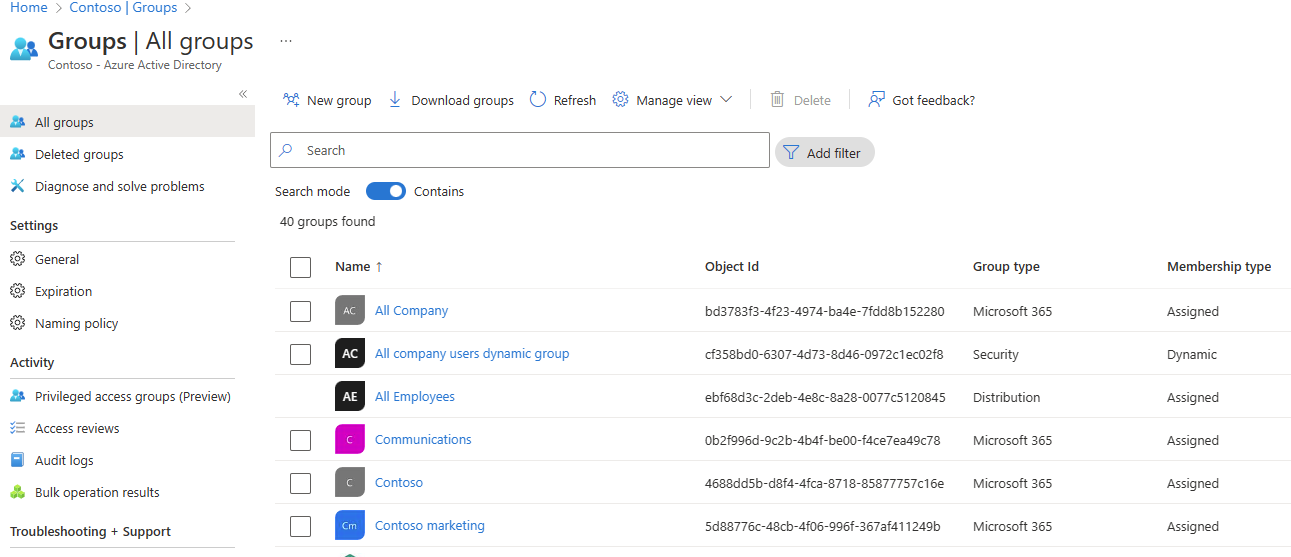
Fig. 4
Click the [New Group] button (Fig. 5) to display the "New Group" dialog, as shown in Fig. 6.
Fig. 5
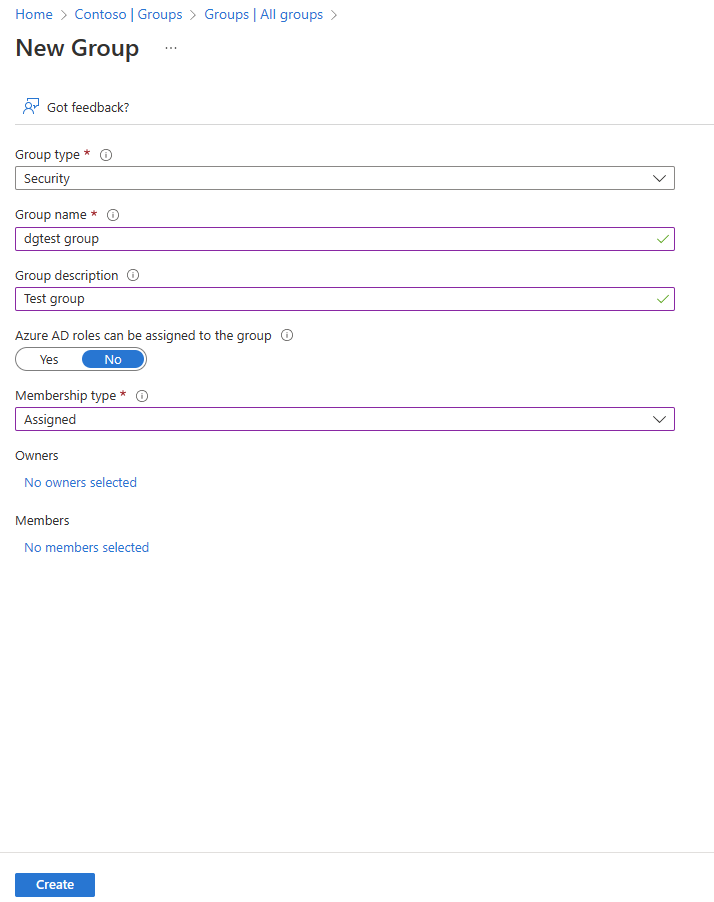
Fig. 6
At the "Group type" dropdown, select the Group type ("Security" or "Microsoft 365"). By default, the "Security" Group type is displayed. If you select "Microsoft 365" at the "Group type" dropdown, the dialog prompts change, as shown in Fig. 7.
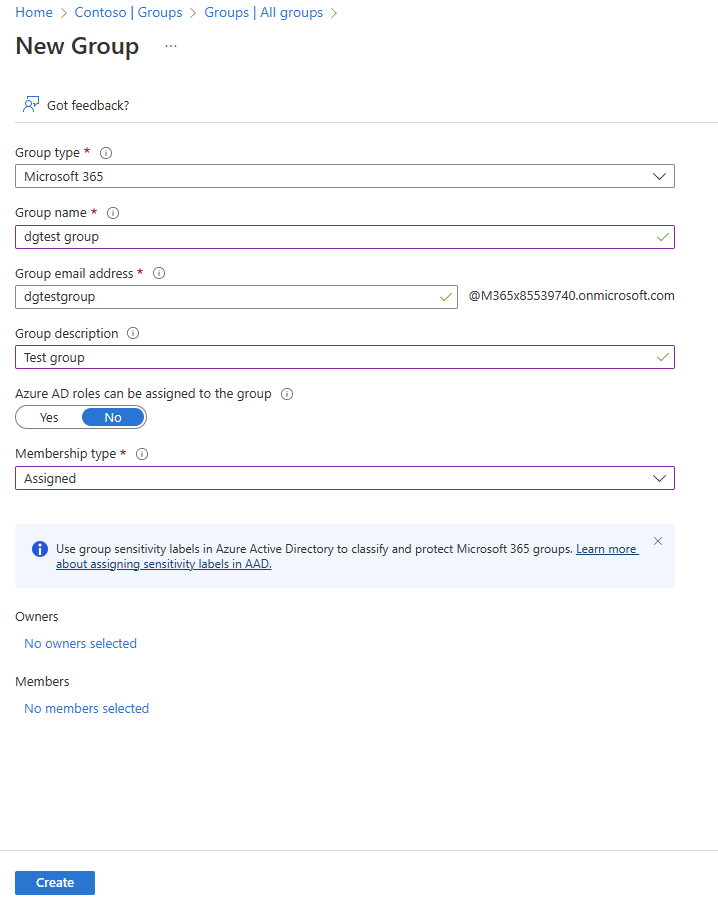
Fig. 7
As you can see, the Microsoft 365 Group includes one more prompt - for the Group email address.
At the "Group name" field, enter a name that is unique for this Azure Active Directory.
For a Microsoft 365 Group, enter an email address at the "Group email address" field. Every User in the Group will receive any message addressed to this email address. This prompt does not display for Security Groups.
At the "Group description" field, enter a brief description of the Group.
At the "Azure AD roles can be assigned to this Group" prompt, select "Yes" if you would the ability to add Azure Active Directory roles to this Group, in addition to Users and Groups. This setting cannot be changed after the Group is created. If you select "Yes", an extra "Roles" prompt will appear and the "Membership type" prompt will select "Assigned" and will be disabled, so you cannot change its value.
At the "Membership type" dropdown, select "Assigned" or "Dynamic User" or "Dynamic advice". Your selection will determine some proceeding prompts. Assigned membership type tells AAD that you will explicitly select the Users, Groups, and (potentially) roles that belong to this Group. Dynamic User and dynamic Device membership types allow you to define queries. Any User or Device that matches that query is automatically assigned to this Group.
Regardless which Membership Type you selected, you can assign Owners to the Group. A Group Owner is allowed to manage a Group - for example adding and removing Users from the Group. At the "Owners" link, select the Group's Owners, using the dialog shown in Fig. 8.
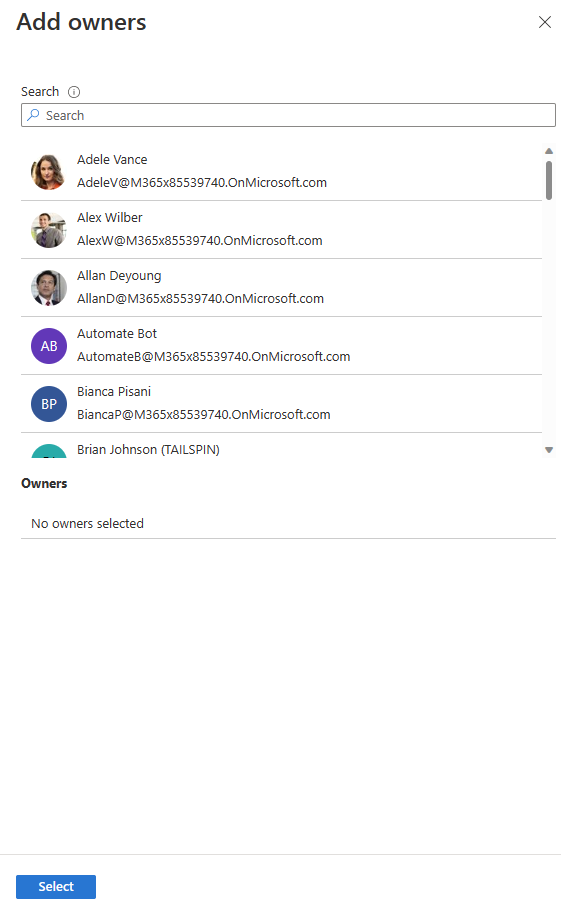
Fig. 8
If you selected the "Assigned" Membership Type (Fig. 9), click the "Members" link to display the "Add members" dialog (Fig. 10) and select the Users and Groups that will be members of this Group.
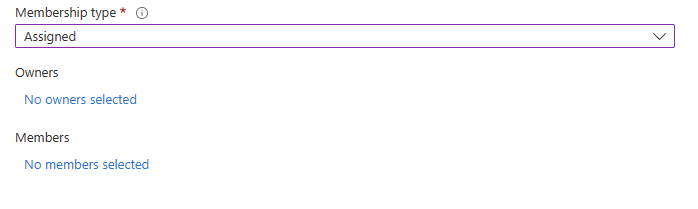
Fig. 9
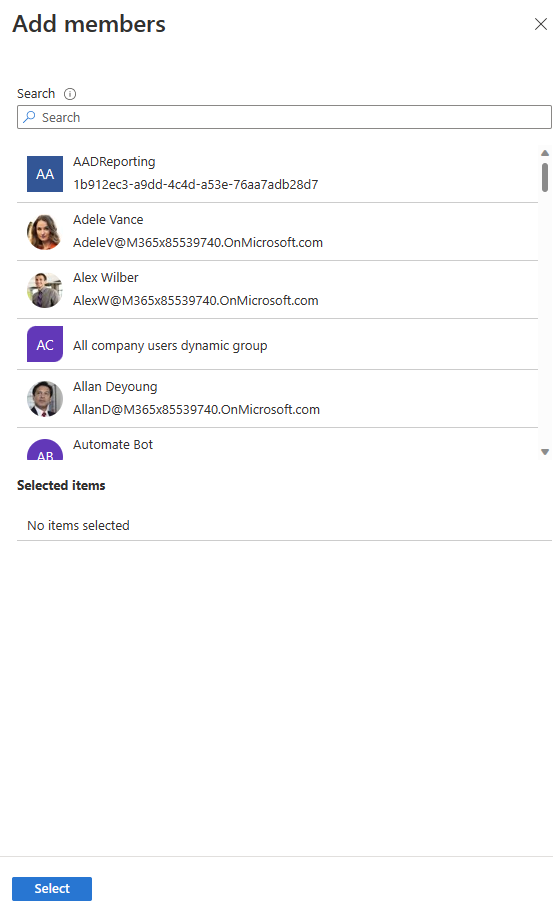
Fig. 10
If you selected the "Dynamic User" Membership Type (Fig. 11), click the "Add dynamic query" link to display the "Dynamic membership rules" dialog (Fig. 12) to build a query. Any User for which this query returns true will be a part of this Group.

Fig. 11
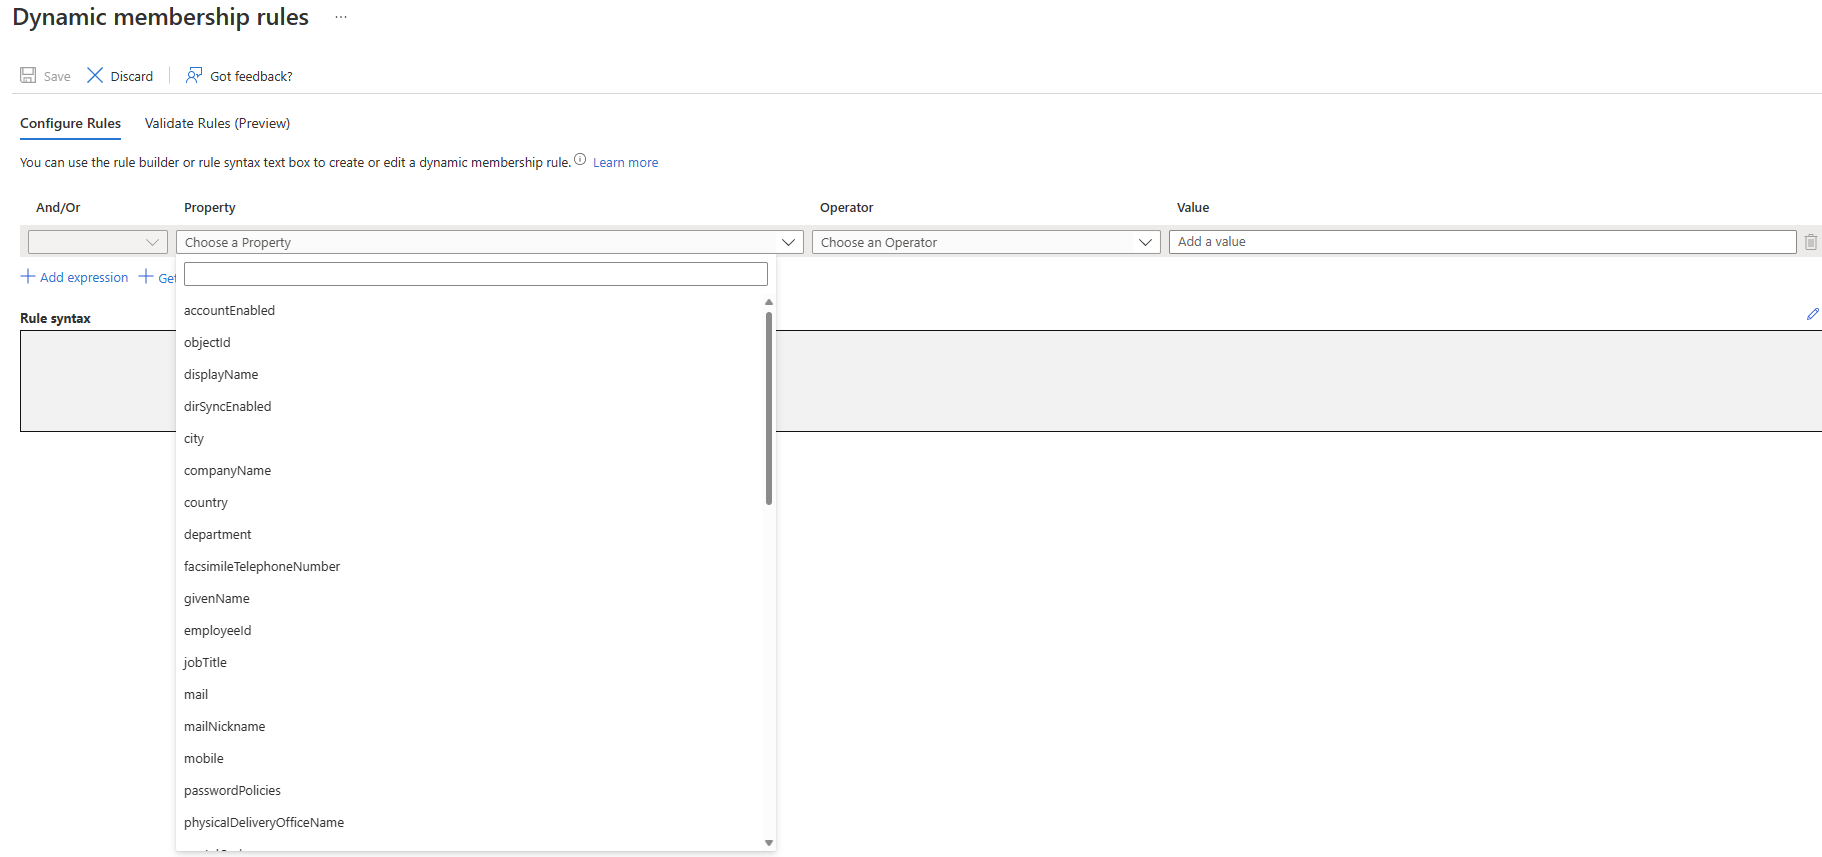
Fig. 12
If you selected the "Dynamic Device" Membership Type (Fig. 13), click the "Add dynamic query" link to display the "Dynamic membership rules" dialog (Fig. 14) to build a query. Any Device for which this query returns true will be a part of this Group.
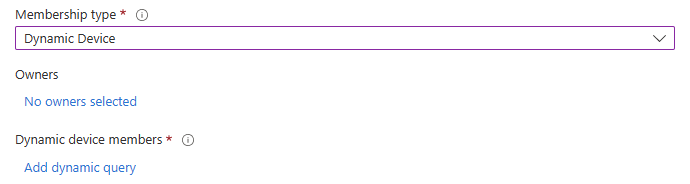
Fig. 13
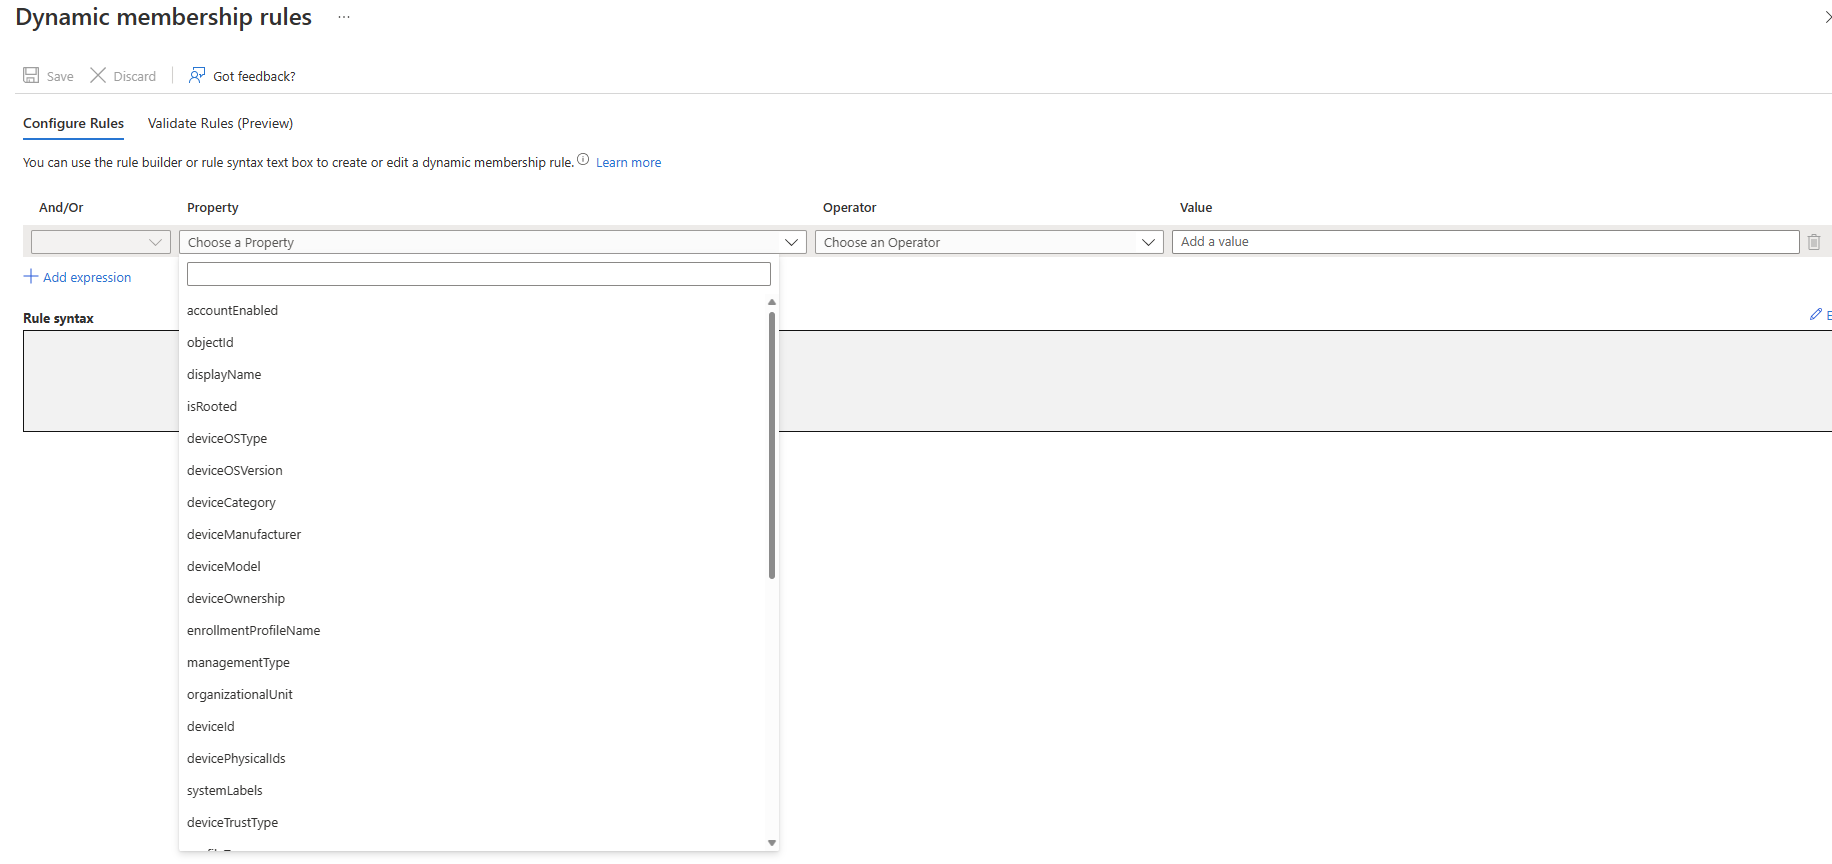
Fig. 14
Click the [Create] button to create the Group.
Conclusion
In this article, you learned how to create an Azure Active Directory Group - a useful way to manage many Users or Devices at once.