Azure Data Explorer (ADX) is a scalable service that allows you to manage large data sets in near-real-time.
ADX Data is stored in tables, which are stored in a database, which is associated with an ADX Cluster. This article describes how to create a new ADX table and populate it with data. See the previous articles in this series to learn how to create a cluster and/or a database.
This article assumes that you have an Azure subscription, an ADX cluster, and an ADX database. See the previous articles in this series to learn how to create an ADX cluster and/or database.
Navigate to the Azure portal and log in; then, navigate to your ADX cluster, as shown in Fig. 1.
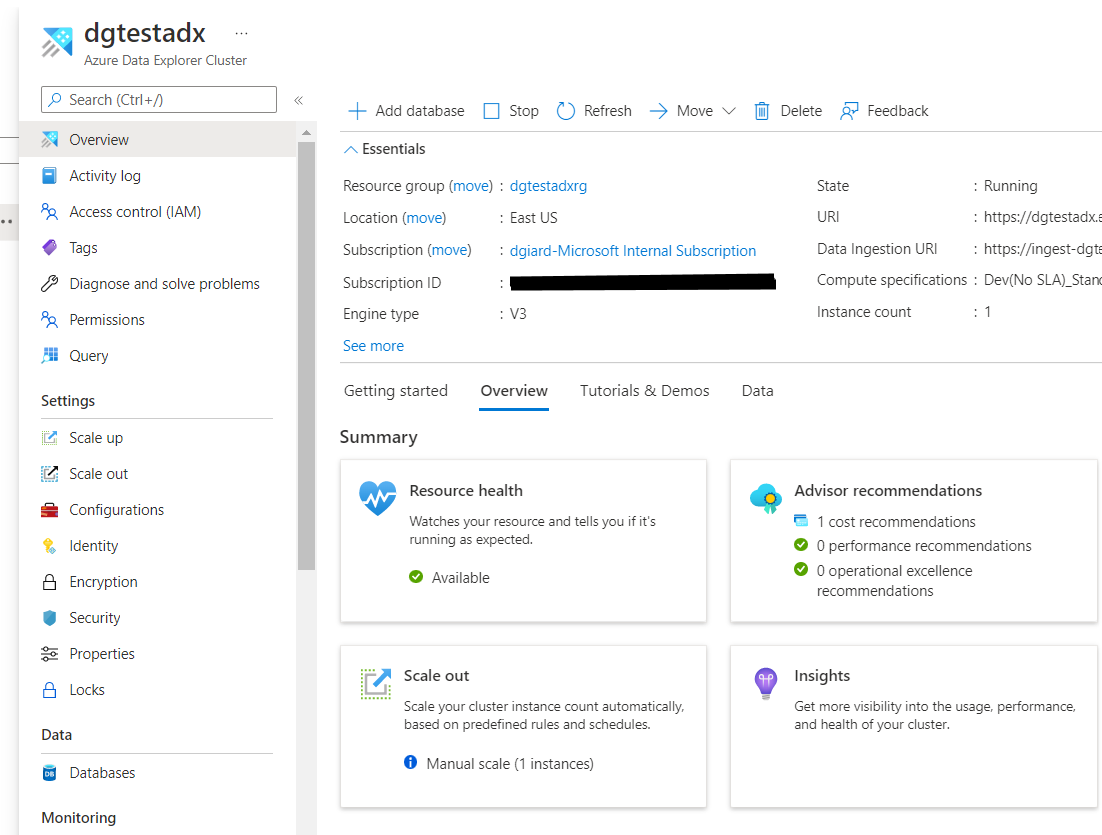
Fig. 1
Click the [Databases] button (Fig.2) in the left navigation menu to open the "Databases" blade, as shown in Fig. 3.
Fig. 2
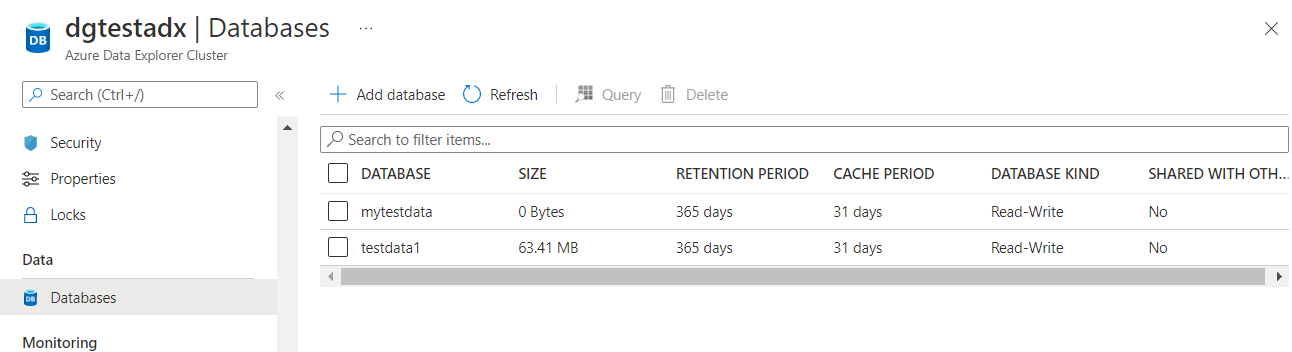
Fig. 3
All the databases in your cluster are listed. Click on the database in which you wish to create a table. This displays the database details, as shown in Fig. 4.
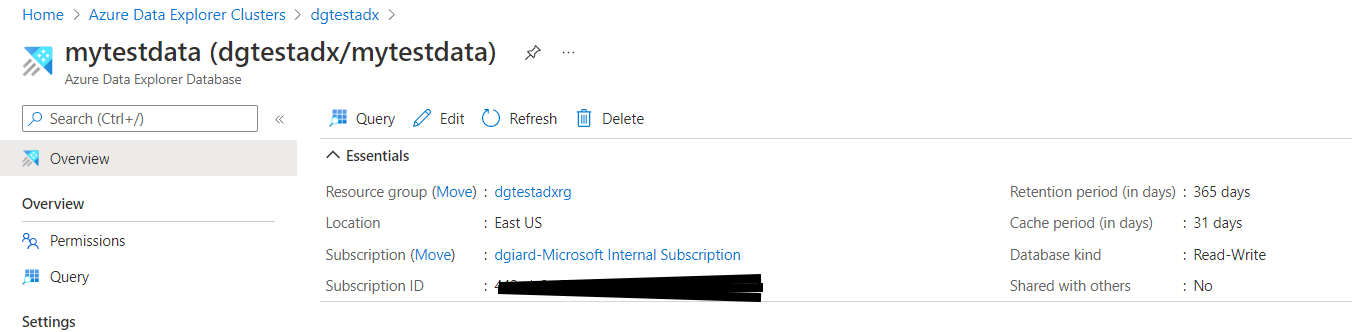
Fig. 4
Click the [Query] button (Fig. 5) at either the top or the left to open the "Query" blade, as shown in Fig. 6.

Fig. 5
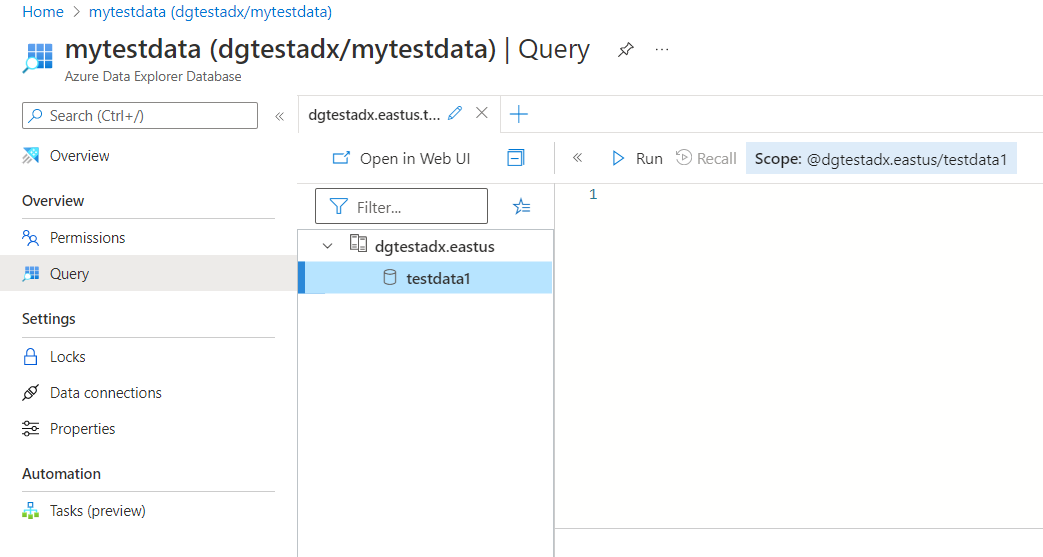
Fig. 6
Right-click the database name to display the context menu, as shown in Fig. 7.
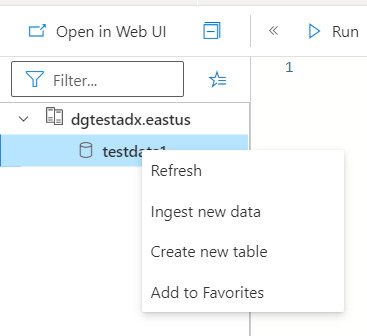
Fig. 7
Select "Create new table" from the context menu to display the "Create new table" dialog. By default, the dialog displays the "Destination" tab, as shown in Fig. 8.
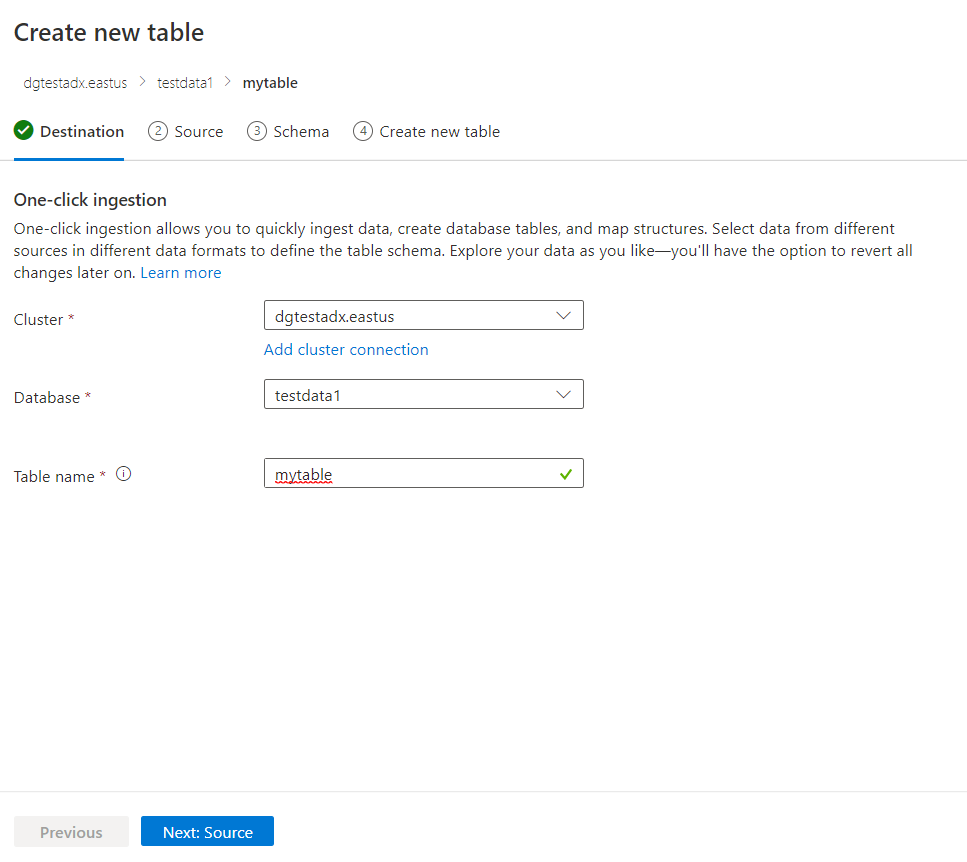
Fig. 8
At the "Cluster" dropdown, select the ADX cluster in which you wish to create the table.
After selecting a cluster, the "Database" dropdown lists all the databases in that cluster. Select the database in which you wish to create the table.
At the "Table name" field, enter a name for the table to create. This name must be less than 261 characters and can only contain letters, numbers, spaces, dots, dashes, and underscores. Of course, it must also not be the same as an existing table in the same database.
Click the [Next:Source] button to advance to the "Source" tab, as shown in Fig. 9.
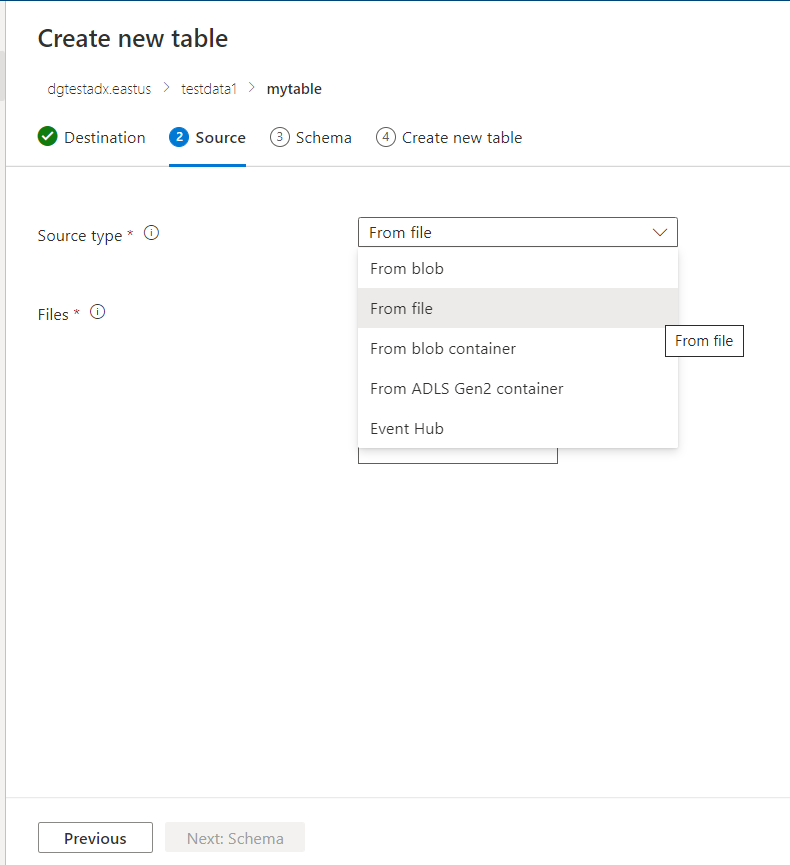
Fig. 9
At the "Source" dropdown, select from where you plan to import data. You can import from a blob in Azure Blog Storage, from a file on your local hard drive, from all the blobs in a given Azure Blob Storage Container, from an Azure Data Lake, or from an Event Hub. In this example, I will import data from a CSV file on my local disc.
A the "Files" field, click the arrow icon, to display the "File Open" dialog, as shown in Fig. 10.
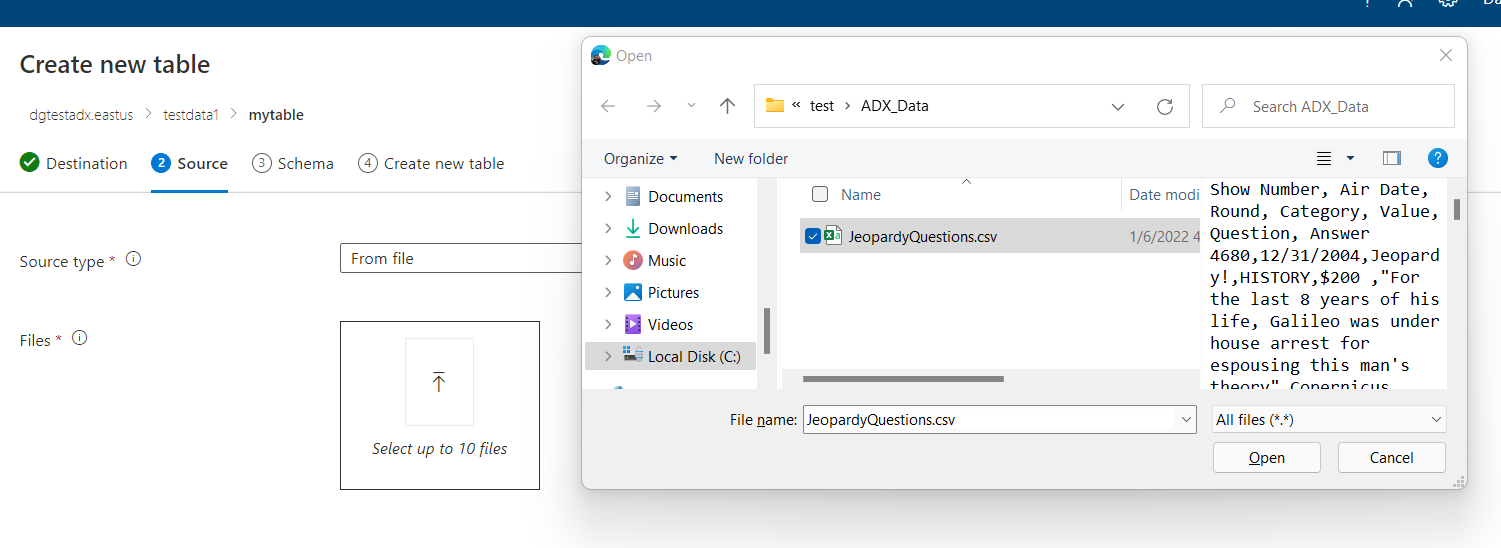
Fig. 10
Navigate to the folder containing your data file, select it, and click the [Open] button to close the dialog and begin importing the data into your table. This may take some time, depending upon the amount of data you are importing.
When the data has finished importing, click the [Next:Schema] button to advance to the "Schema" tab, as shown in Fig. 11.
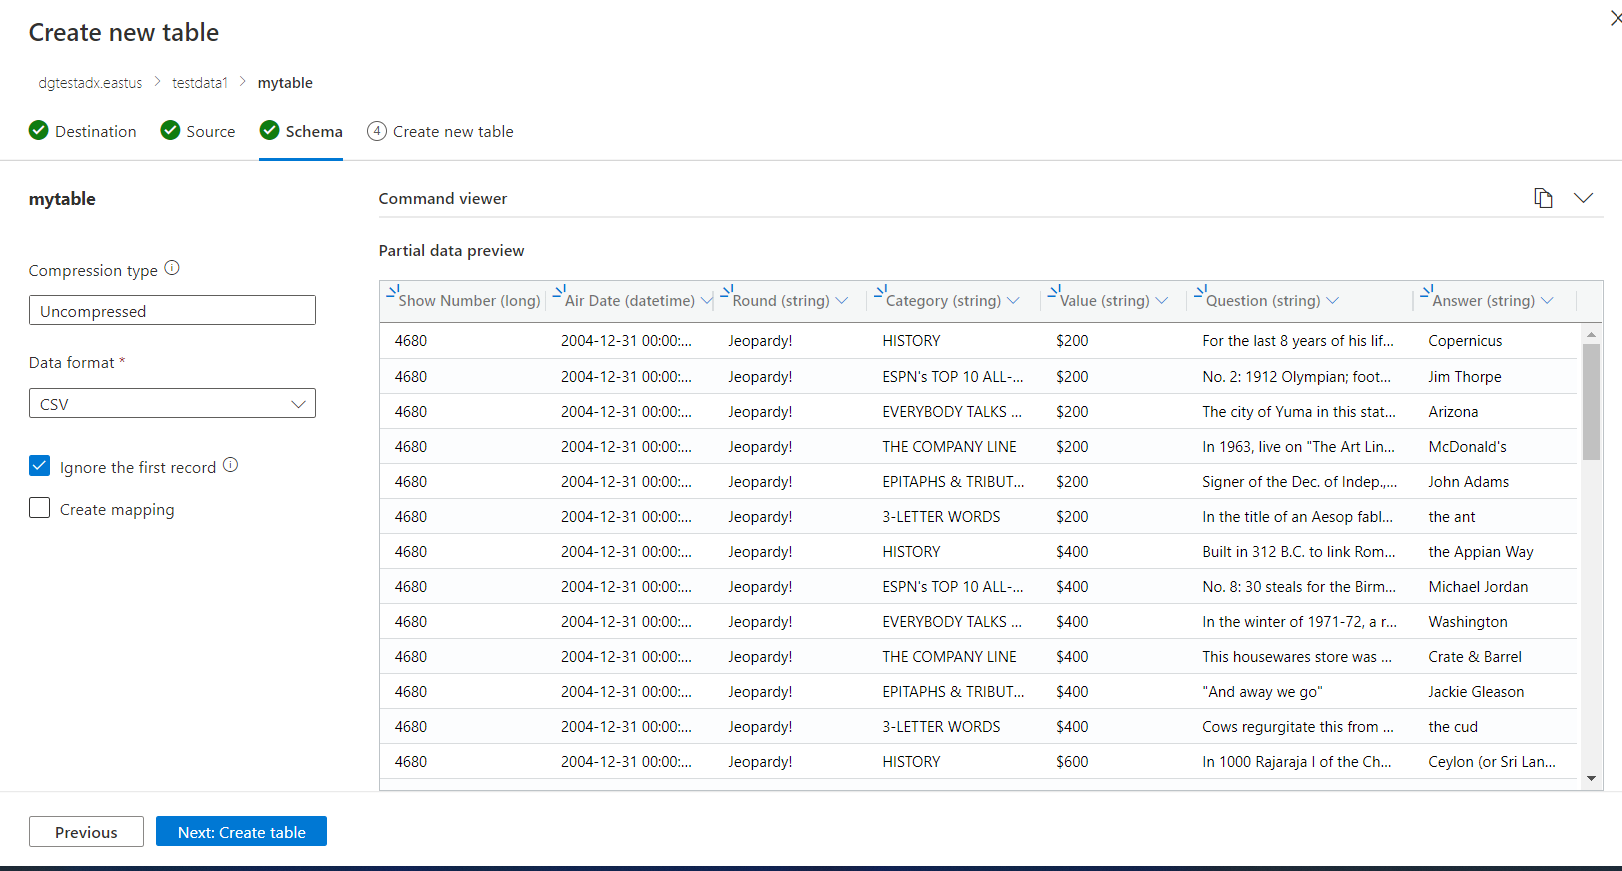
Fig. 11
The "Schema" tab displays a preview of the first few rows of your imported data.
The "Compression type" field displays whether or not the data is compressed.
At the "Data format" field, select the format in which the data is stored. My sample file happens to be a comma-separated-values (CSV) file format.
If your data contains a header row, check the "Ignore the first record" checkbox.
Click the [Next:Create table] button to commit the creation of the table with all the imported data. When this is complete, the "Data ingestion completed" dialog displays, as shown in Fig. 12.
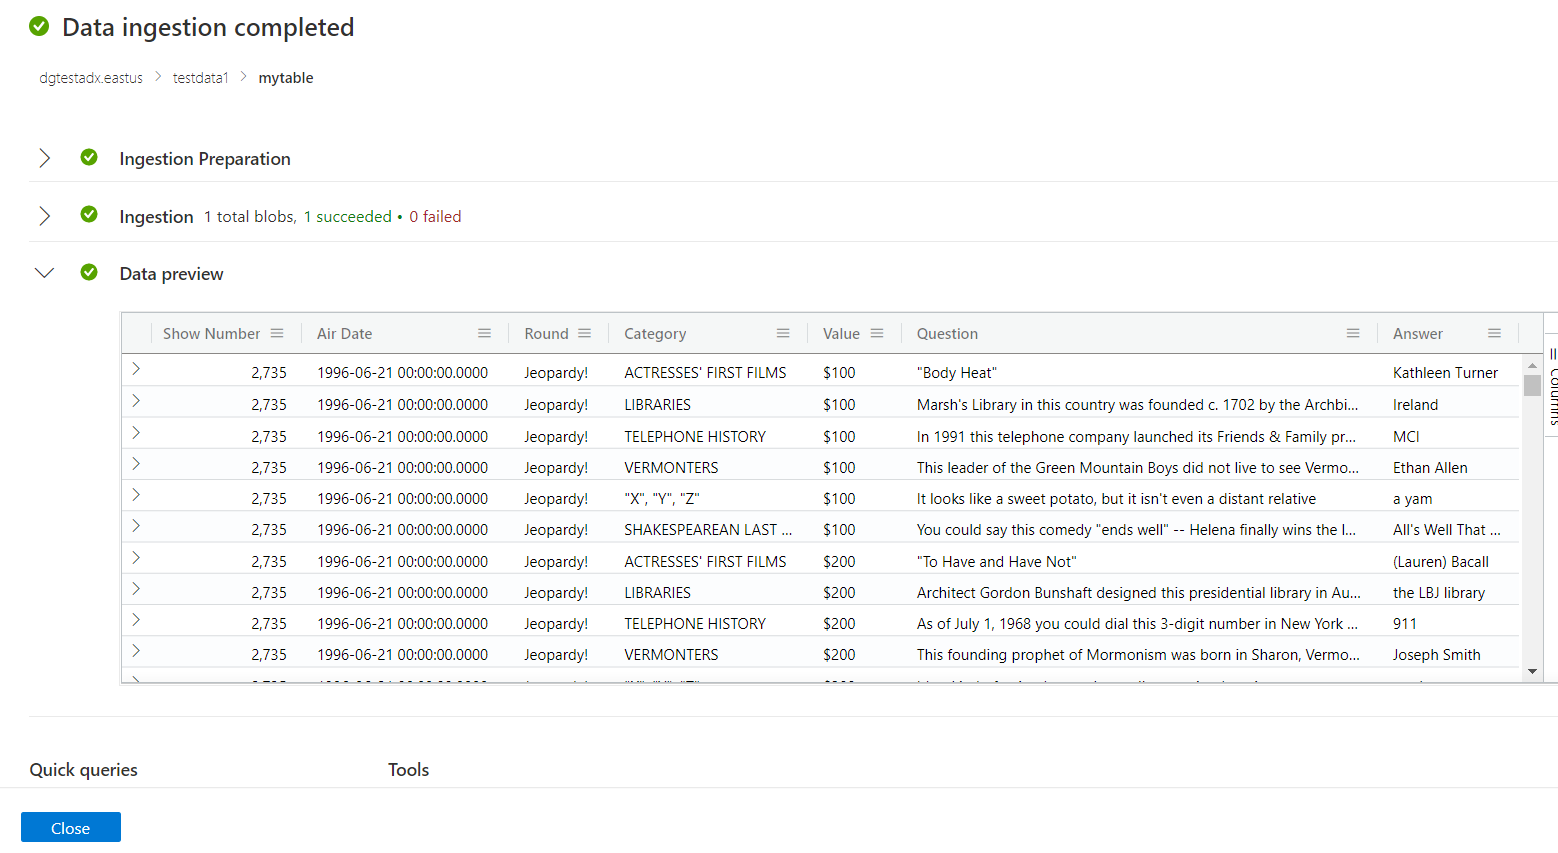
Fig. 12
You now have a table pre-populated with data to which you can query or append more data.