Machine Learning (ML) concepts can be challenging when you are beginning your journey. The iterative processes and pattern matching involved in creating ML models is less intuitive than the step-by-step instructions executed in sequence or loops that most of us learn as part of our computer science education.
Fortunately, there exist services that help abstract away some of this complexity.
One suite of tools is Azure Machine Learning Studio.
AML Studio allows you to create and manage data, ML models, pipelines, notebooks, Compute resources, and other services integral to machine learning. AML Studio provides a graphical interface for many of these services. Using these tools can accelerate the development of your ML services and can help you to learn some of the concepts.
Before you can start using Azure Machine Learning Studio, you must first create a Machine Learning Workspace. Here are the steps.
Log into the Azure Portal and click the [Create a resource] button (Fig. 1) and search for "Machine Learning", as shown in Fig. 2.

Fig. 1
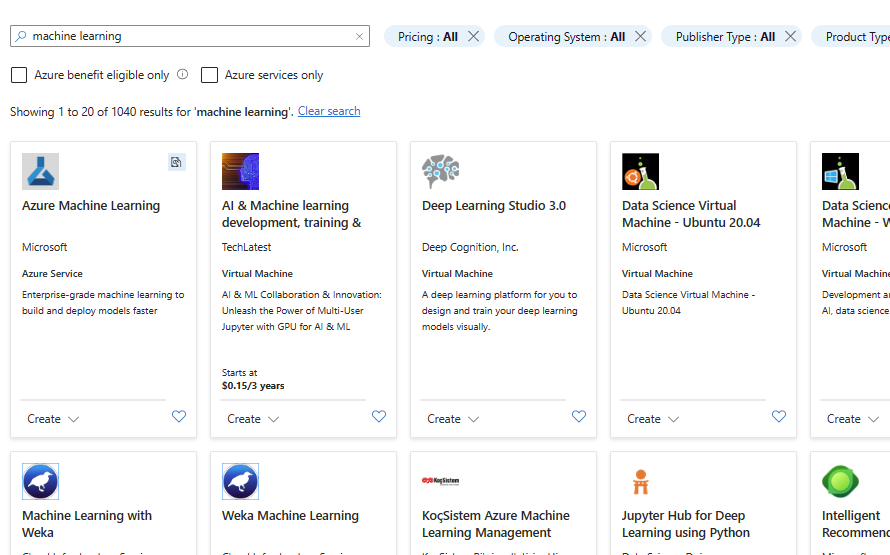
Fig. 2
On the "Azure Machine Learning" card, expand the [Create] menu and click [Azure Machine Learning], as shown in Fig. 3.
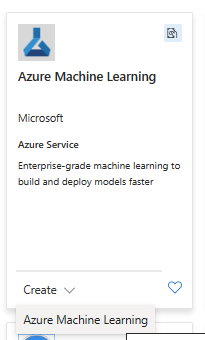
Fig. 3
The "Create Azure Machine Learning" dialog displays with the "Basics" tab selected, as shown in Fig. 4.
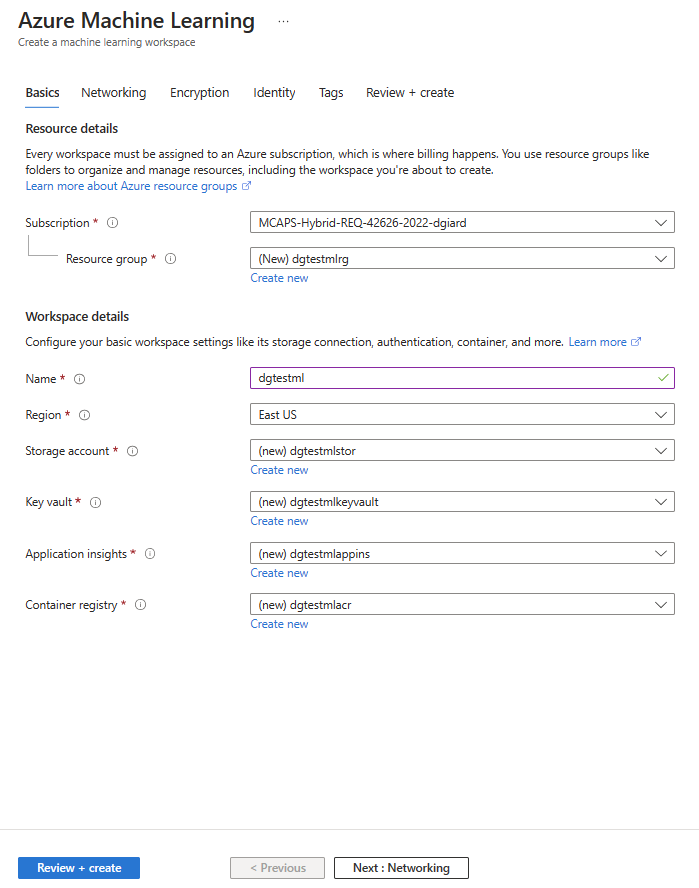
Fig. 4
This dialog allows you to configure and create an Azure Machine Learning (AML) Workspace.
At the "Subscription" field, select the Azure subscription in which you want to store this AML Workspace. Many of you will have only one subscription.
At the "Resource group" field, select the resource group in which you want to store the Workspace, or click "Create new" to create a new resource group, as shown in Fig 5.
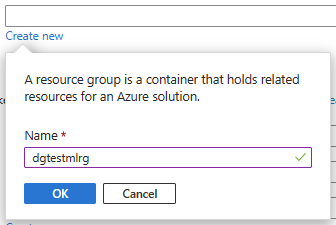
Fig. 5
At the "Name" field, enter a unique name for this AML Workspace.
At the "Region" dropdown, select the region into which you wish to deploy the Workspace.
At the "Storage account" field, select the storage account in which you want to save configuration information about this Workspace, or click "Create new" to open the "Create new storage account" dialog and create a new storage account, as shown in Fig. 6.
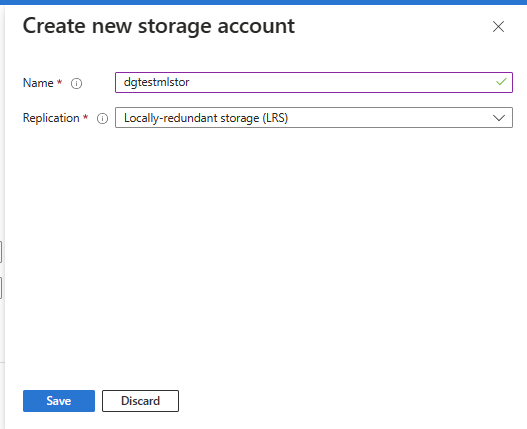
Fig. 6
At the "Key vault" field, select the Key Vault in which you want to store keys and secrets for this Workspace, or click "Create new" to open the "Create new key vault" dialog and create a new Key Vault, as shown in Fig. 7.
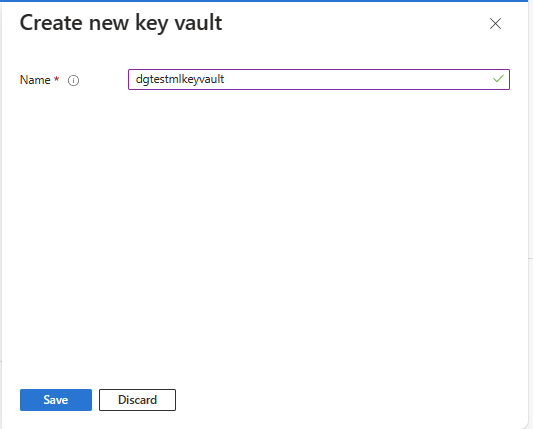
Fig. 7
At the "Application insights" field, select the Application Insights account in which to save logs for this Workspace, or click "Create new" to open the "Create new application insights" dialog and create a new Application Insights service, as shown in Fig. 8.
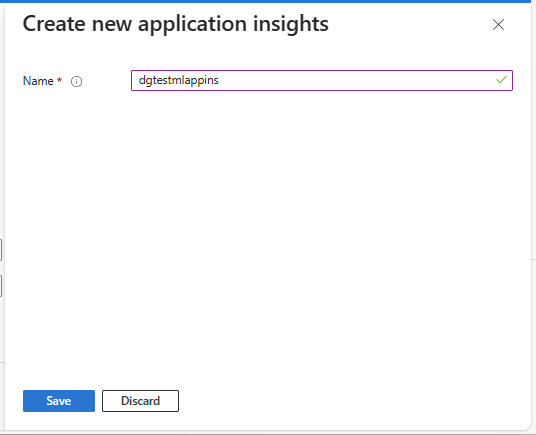
Fig. 8
At the "Container registry" field, select the Azure Container Registry in which to create container information related to this Workspace, or click "Create new" to open the "Create new container registry" dialog and create a new Azure Container Registry, as shown in Fig. 9.
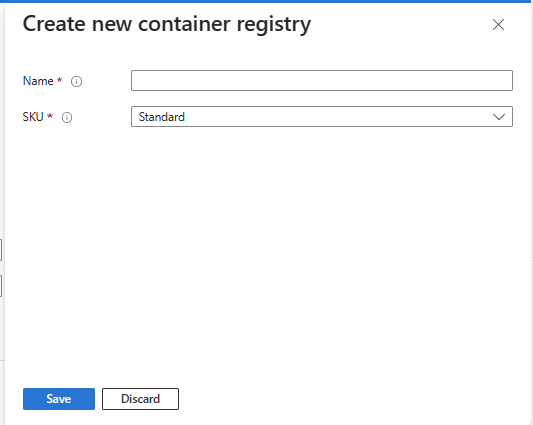
Fig. 9
Information on the "Basics" tab is required. Information on the other tabs ("Networking", "Encryption", "Identity", and "Tags") is optional, as the system sets reasonable defaults for the fields on these tabs. However, you can change the settings on these tabs to suit your needs.
On the "Networking" tab (Fig. 10), you can set how open the is the Workspace to the public Internet.
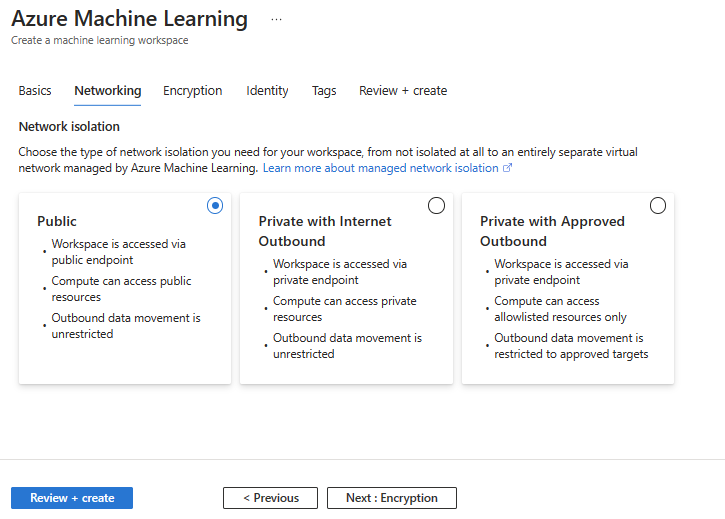
Fig. 10
All data stored in ML Workspace is encrypted. On the "Encryption" tab (Fig. 11), you can encrypt using a key provided by Microsoft or use your own key.
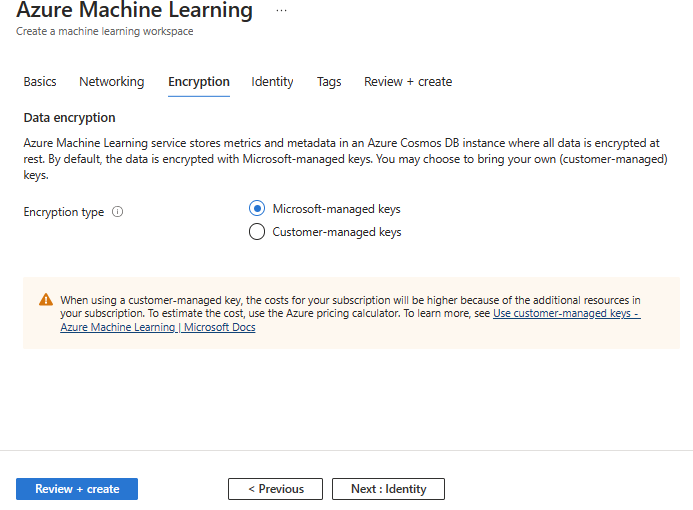
Fig. 11
On the "Identity" tab (Fig. 12), you can specify the identities used to access data in the Workspace.
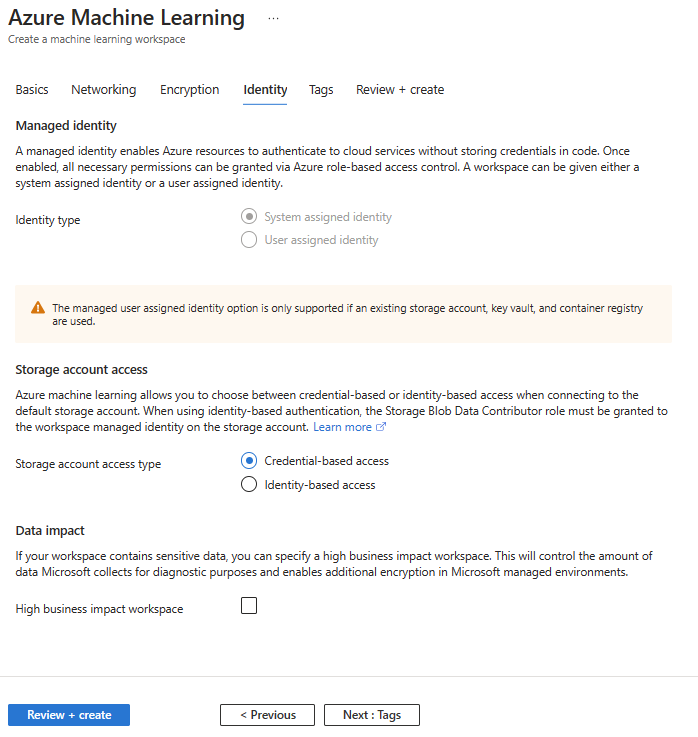
Fig. 12
On the "Tags" tab (Fig. 13), you can add name/value pairs to the Workspace. This does not affect the functionality of the Workspace but may be useful for reporting - particularly if you are a large organization with many workspaces and want to filter or sort your reports.
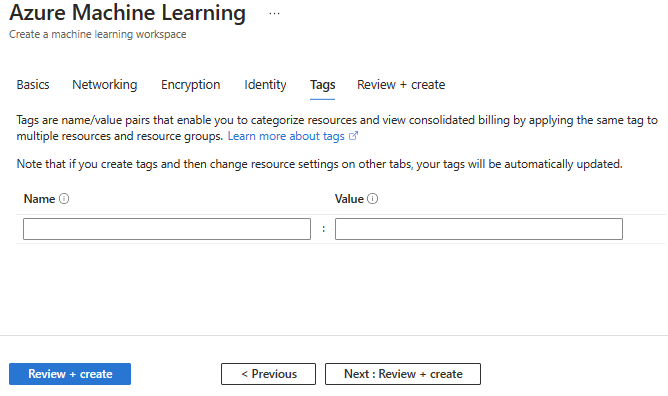
Fig. 13
The "Review + create" tab (Fig. 14) lists your choices on the other tabs and displays any errors or missing information.
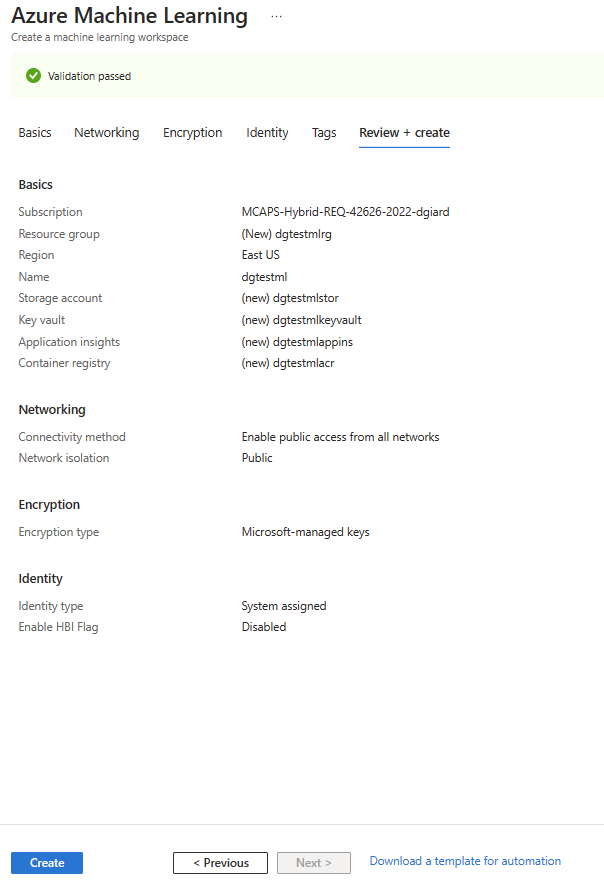
Fig. 14
You must correct these errors before you may create a Workspace. When you are satisfied with your responses, click the [Create] button to create the Azure Machine Learning Workspace.
After a few seconds, the Azure Machine Learning workspace displays, as shown in Fig. 15.

Fig. 15
Click the [Launch studio] button (Fig. 16) to open a new tab, displaying the Machine Learning Studio Home page, as shown in Fig. 17.

Fig. 16
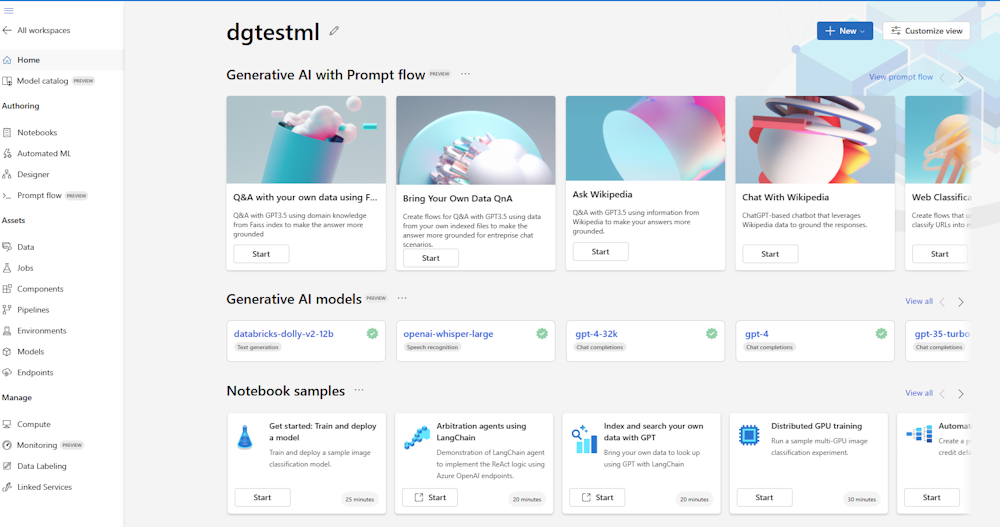
Fig. 17
From here, you can connect to data, create Compute services, create Machine Learning solutions, and perform other activities.
In this article, you learned about Azure Machine Learning Studio and how to create an Azure Machine Learning Workspace. In future articles, I will describe how to create some of the services within this Workspace.