Overview
Azure Active Directory provides the ability to invite users from outside the organization. This saves you the trouble of managing many aspects of the user and frees the user from managing yet another account.
Inviting a User
To invite an external user, first log onto the Azure Portal as an Administrator; then search for Azure Active Directory, as shown in Fig. 1.
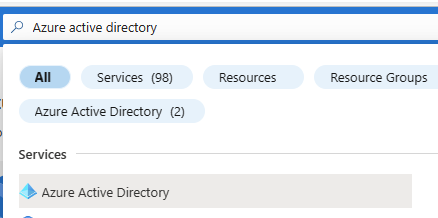
Fig. 1
The "Overview" blade of Azure Active Directory displays, as shown in Fig. 2.
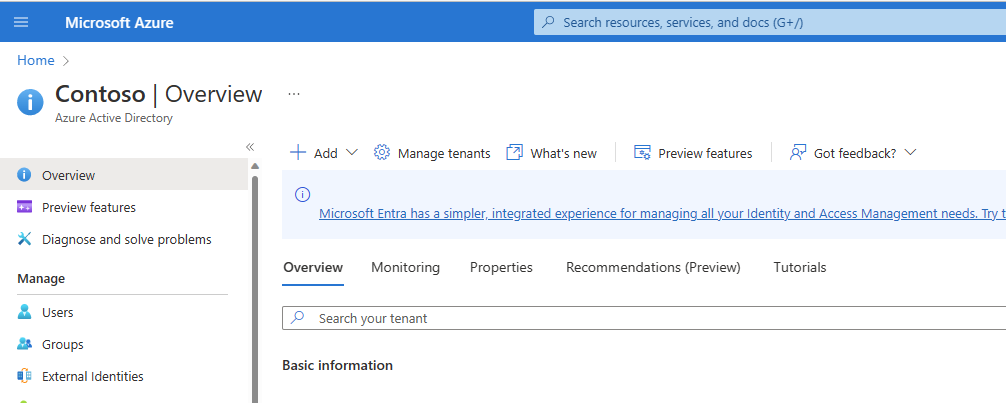
Fig. 2
In the left menu, click the [Users] button (Fig. 3) to open the "Users" blade, as shown in Fig. 4.
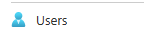
Fig. 3
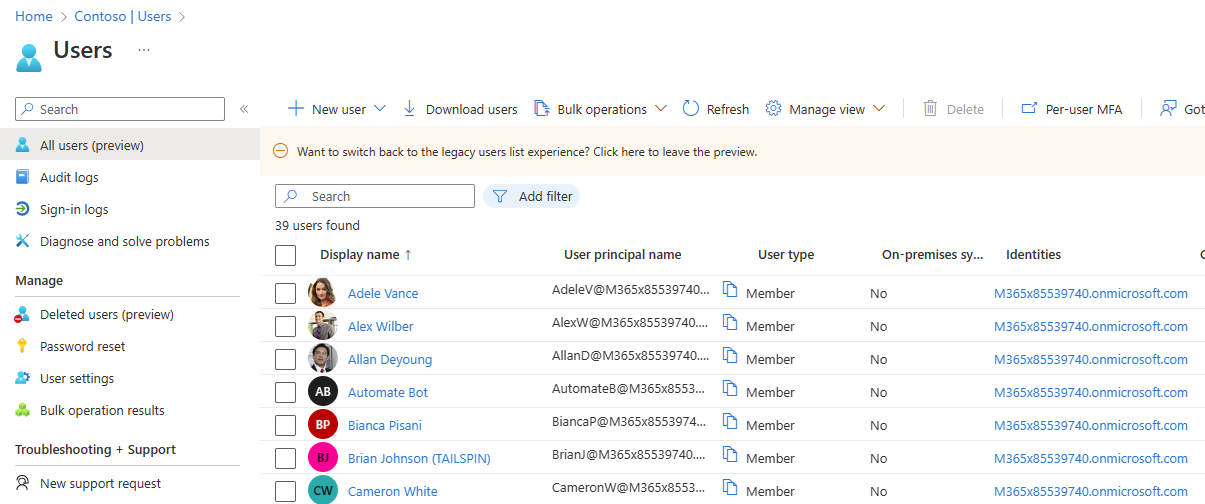
Fig. 4
Click and expand the [New User] button and select [Invite external user] from the dropdown menu, as shown in Fig. 5.
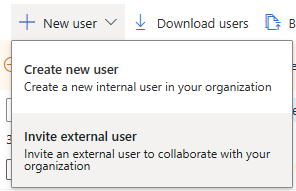
Fig. 5
The "New user" dialog displays, as shown in Fig. 6.
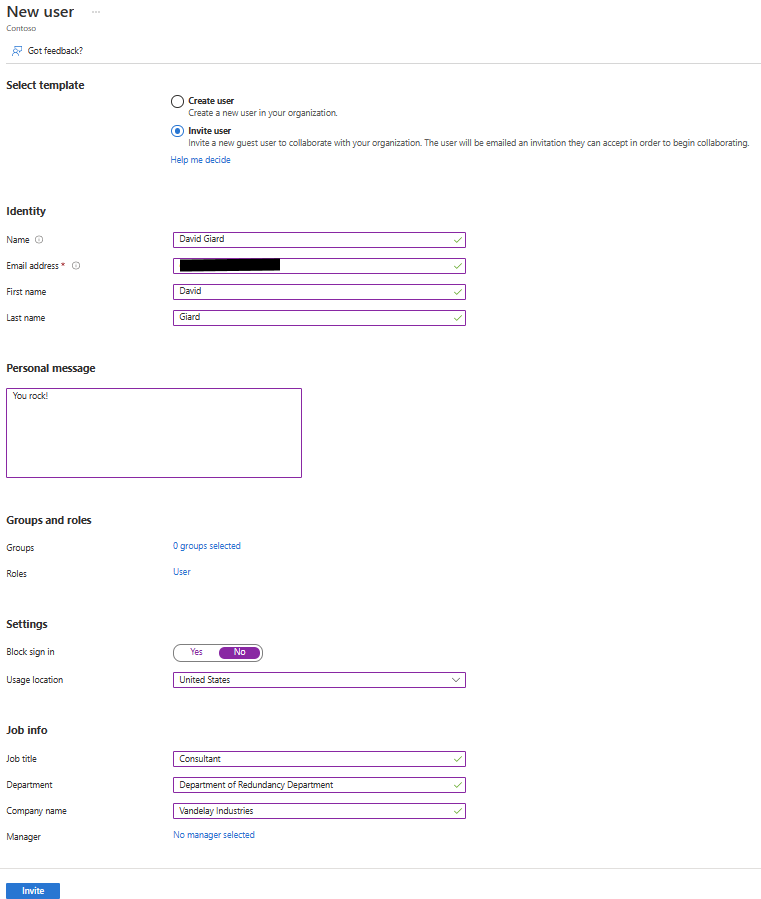
Fig. 6
The required fields in this dialog are marked with a red asterisk ("*").
At the "Name" field, enter the full name of the user.
At the "Email address" field, enter the user's email address.
At the "First Name" field, enter the user's first name.
At the "Last Name" field, enter the user's last name.
At the "Personal message" field, enter any extra text you wish to appear in the email invitation.
Click the "Groups" link to select any security or M365 groups to which you wish to add the user as soon as they accept the invitation.
Click the "Roles" link to select any Active Directory Roles to which you wish to add the user as soon as they accept the invitation.
If you do not want to allow the user to sign in immediately (for example, an employee with a future start date), toggle the "Block sign in" radio button to "Yes".
At the "Usage location" dropdown, select the user's home country.
At the "Department" field, enter the user's department.
At the "Company name" field, enter the name of the user's company.
Click the "Manager" link to assign another user as manager of this user.
Click the [Invite] button to generate and send an invitation to the user's email address.
The Invitation
The user will receive an email similar to the one shown in Fig. 7.
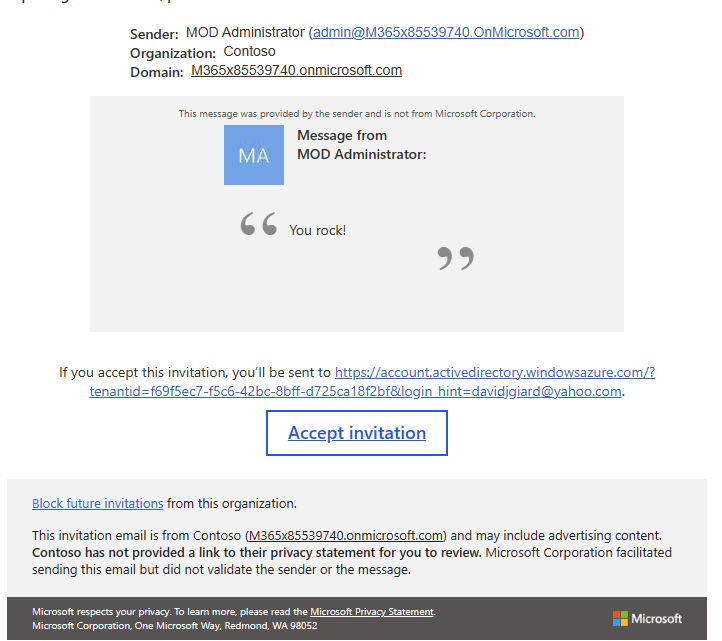
Fig. 7
They can click the "Accept Invitation" link to add themselves as a guest user in your Azure Active Directory.
They may see a dialog requesting permissions required by your AD, as shown in Fig. 8.
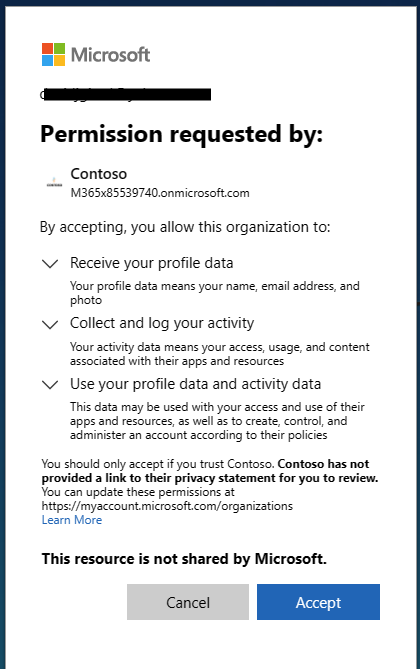
Fig. 8
After the external user accepts the invitation, you will see them listed in the "Users" blade, as shown in Fig. 9.
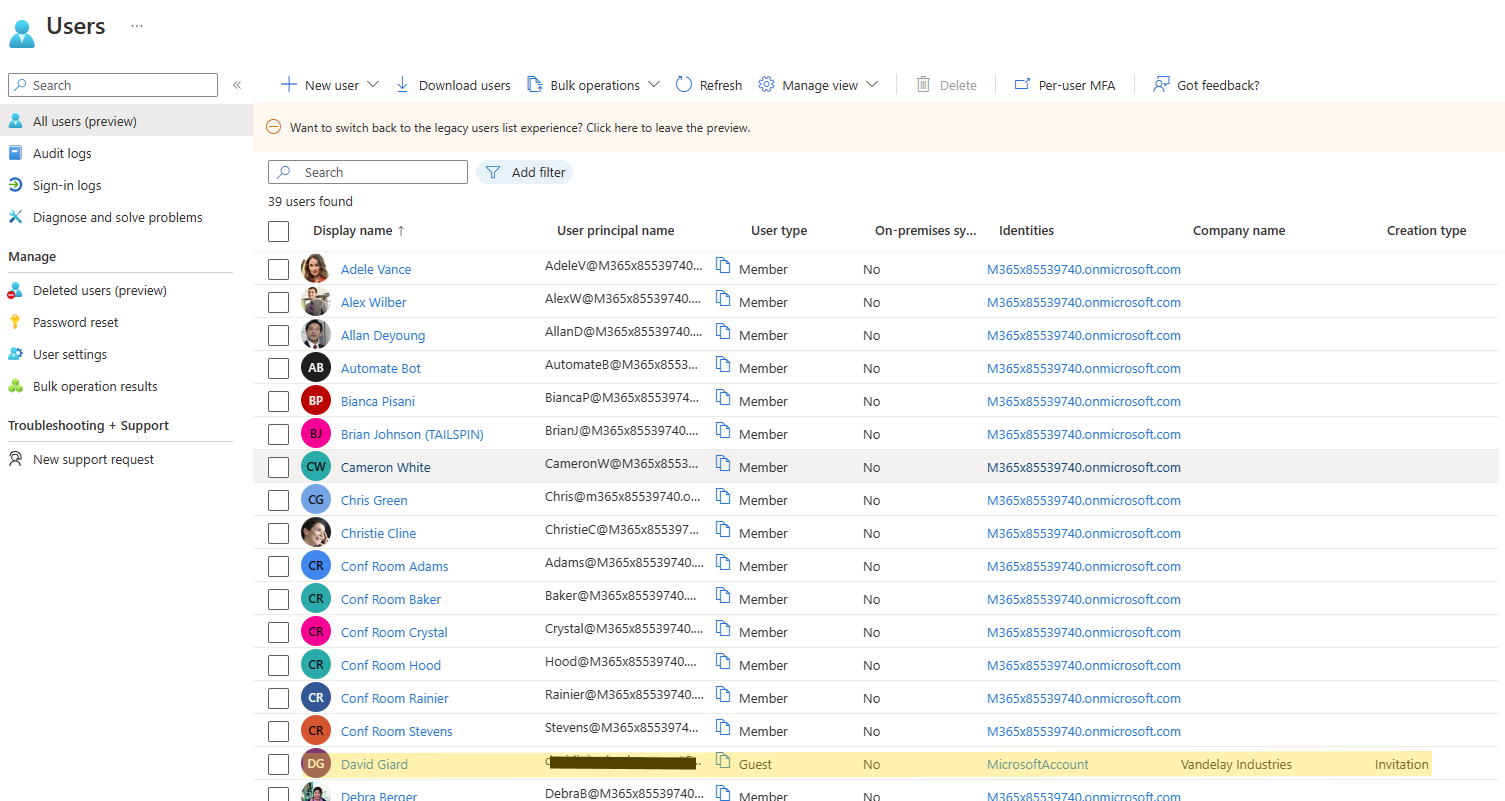
Fig. 9
Conclusion
In this article, you learned how to invite a guest user to your Azure Active Directory.